Note: This guide uses the Calendly AI Receptionist as the example, but the ElevenLabs (Voice) deployment process is identical regardless of which AI agent you purchased. Whether your agent handles appointment booking, lead qualification, product inquiries, or anything else, the steps for connecting it to ElevenLabs are exactly the same. Your agent’s tools and knowledge are configured in Second Brain OS; ElevenLabs is just the voice interface your callers speak through.
Hey there. You’ve got the Calendly AI Receptionist. Now let’s give it a voice. By the end of this guide, callers will phone in, talk to a natural-sounding voice agent, and walk away with a confirmed booking on your calendar. If you’ve also purchased the Reschedule & Cancel upgrade, the same voice agent handles those flows too. If you haven’t, callers who need to change a booking will be told to contact you directly.
Got web chat working? You’re in a good spot.
If you’ve already deployed ChatKit and tested the booking flow there, voice is the natural next layer. Same agent, same tools, same knowledge, just a phone line on top.
You don’t have to deploy web chat first. Voice works on its own. But if you have, you already know the booking flow works end-to-end, which makes voice testing easier.
Before you start, make sure you’ve completed:
- SBOS settings configured (covered in Calendly setup, Step 3)
- Calendly tools confirmed live in your dashboard
- System prompt swapped to the with-tools version (in your SBOS profile)
- (Recommended, not required) Web chat tested via ChatKit so you know the booking flow works before adding voice on top
If any of those are still pending, finish them first, then come back here.
What You’ll Need
- An ElevenLabs account (elevenlabs.io, $5/mo starter plan)
- Your Second Brain OS account and API key
- Your SBOS user ID
Step 1: Create Your Voice Agent in ElevenLabs
- Sign up or log in at elevenlabs.io
- Navigate to Agents
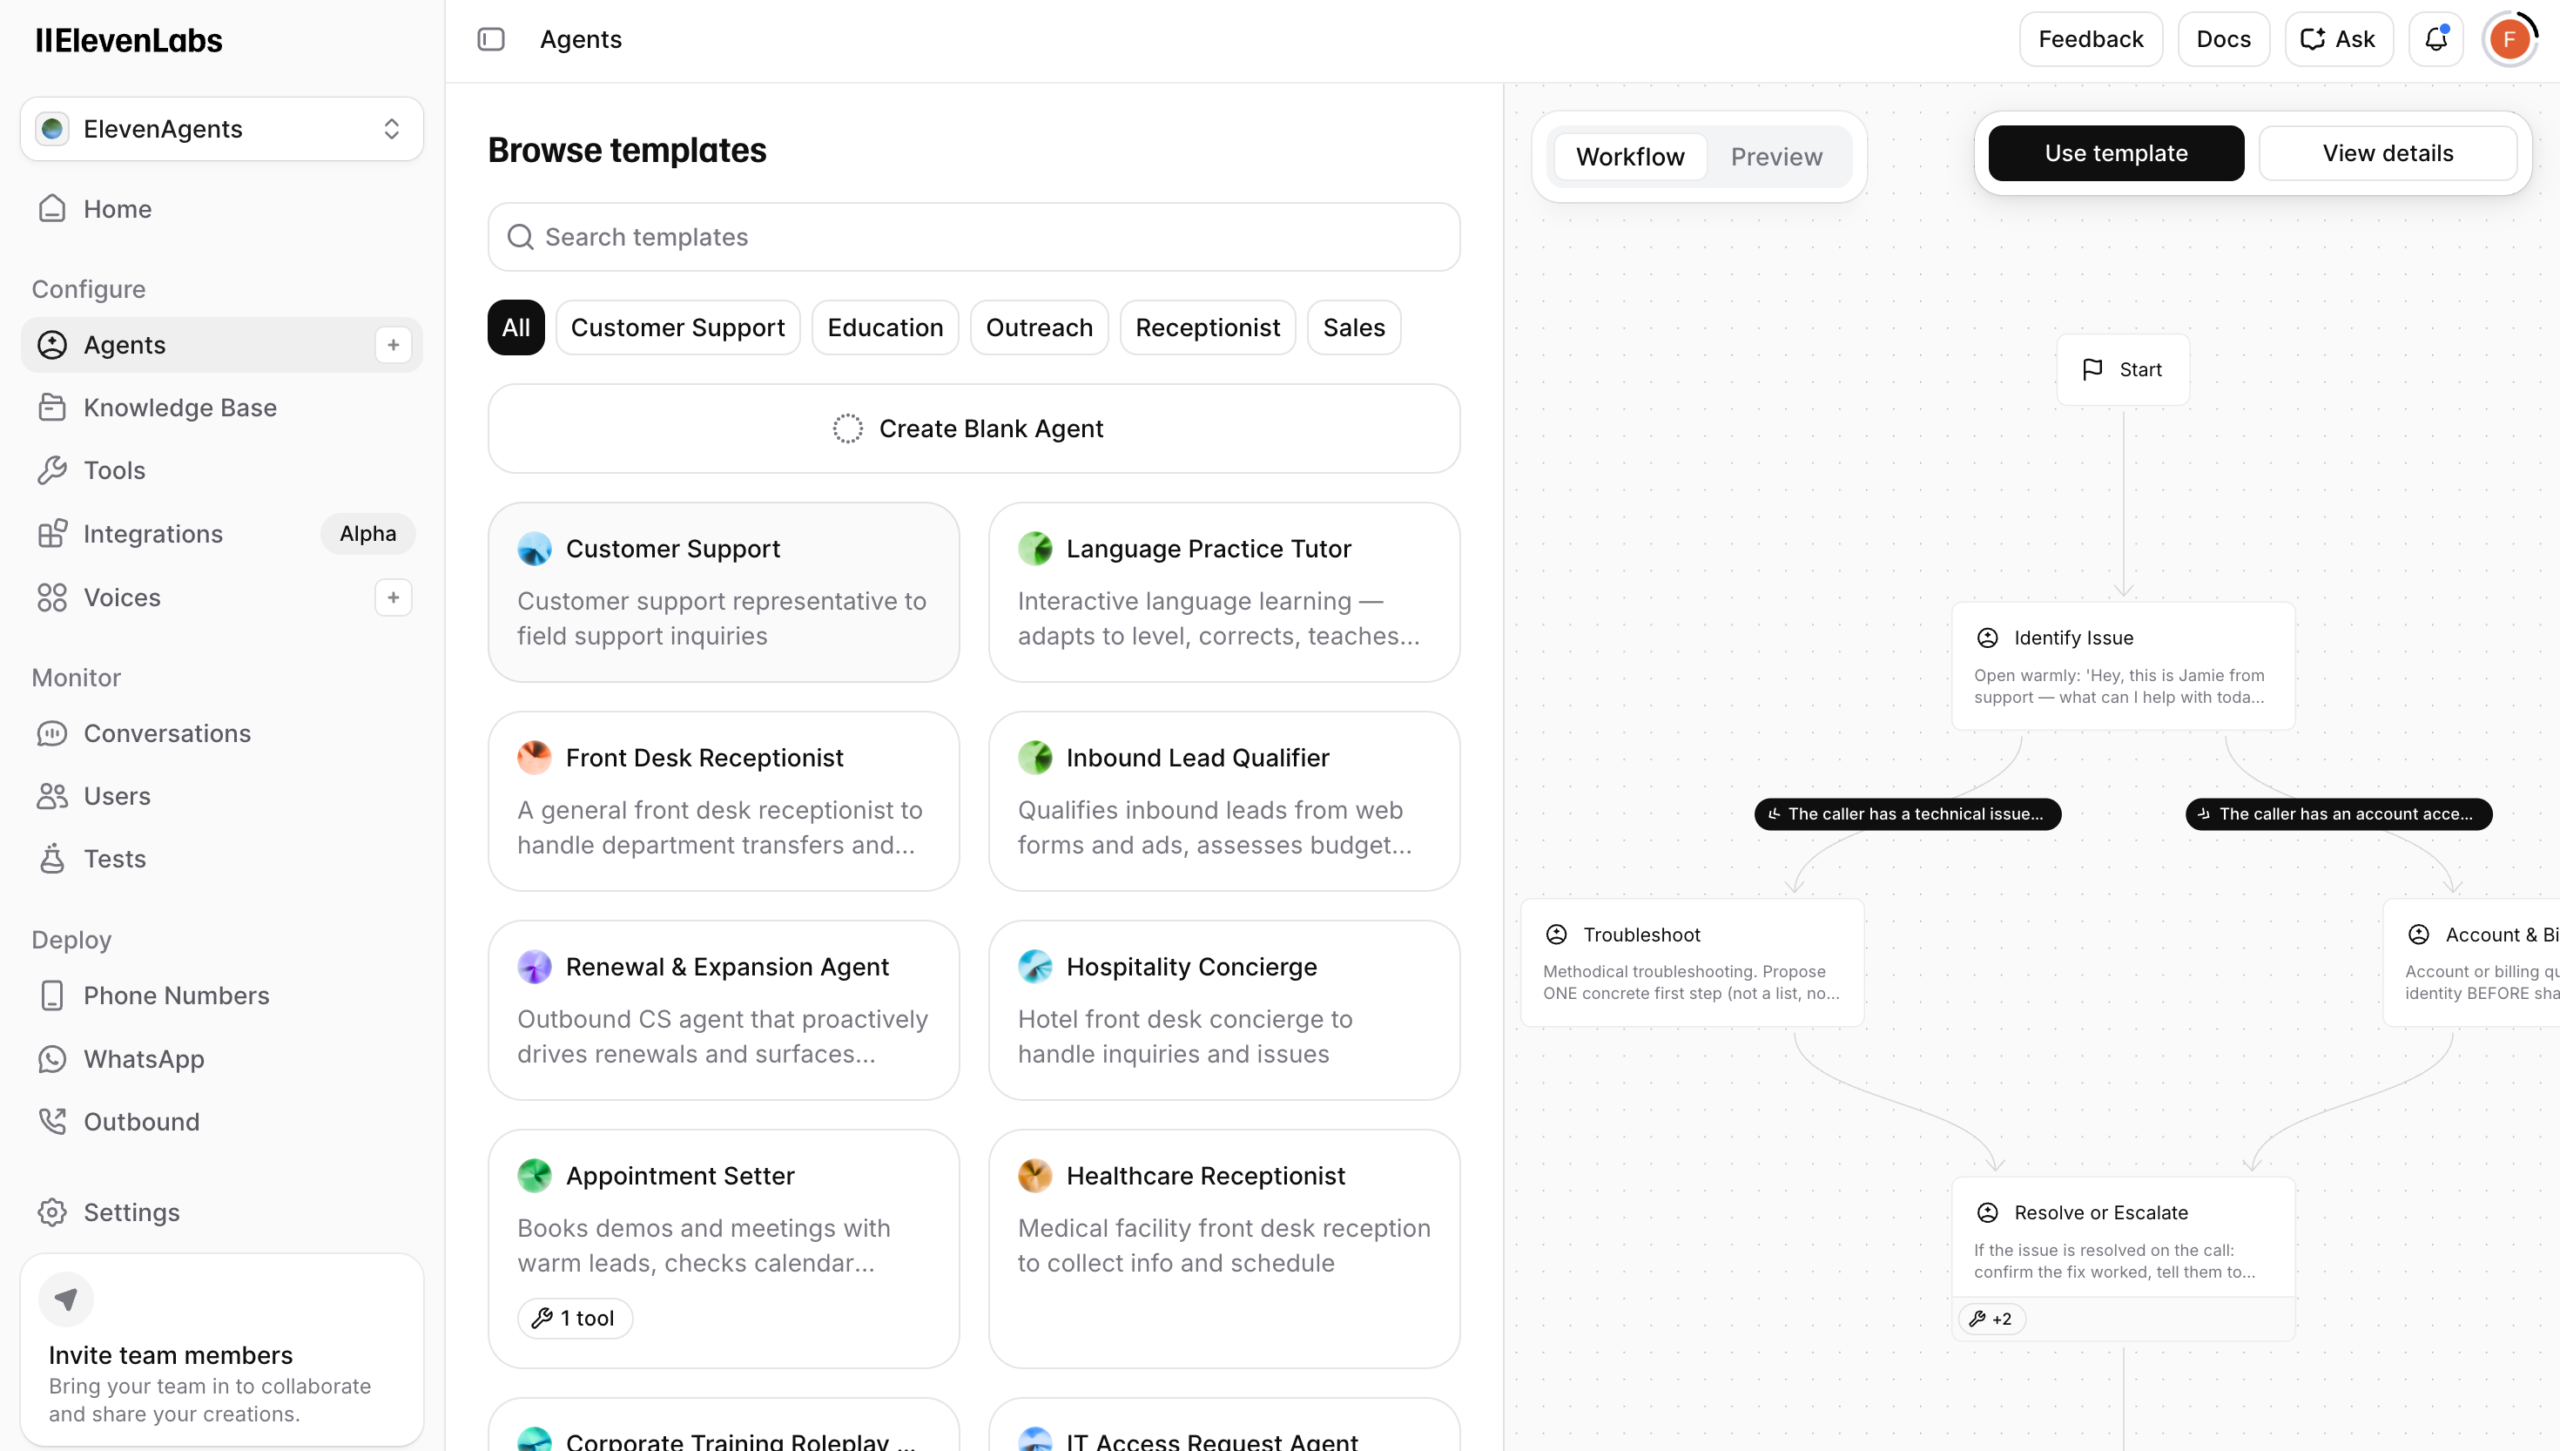
- Create a new agent
- Set the first message: this is what the caller hears first, e.g. “Hi, this is [Name] from [Business]. How can I help you today?”
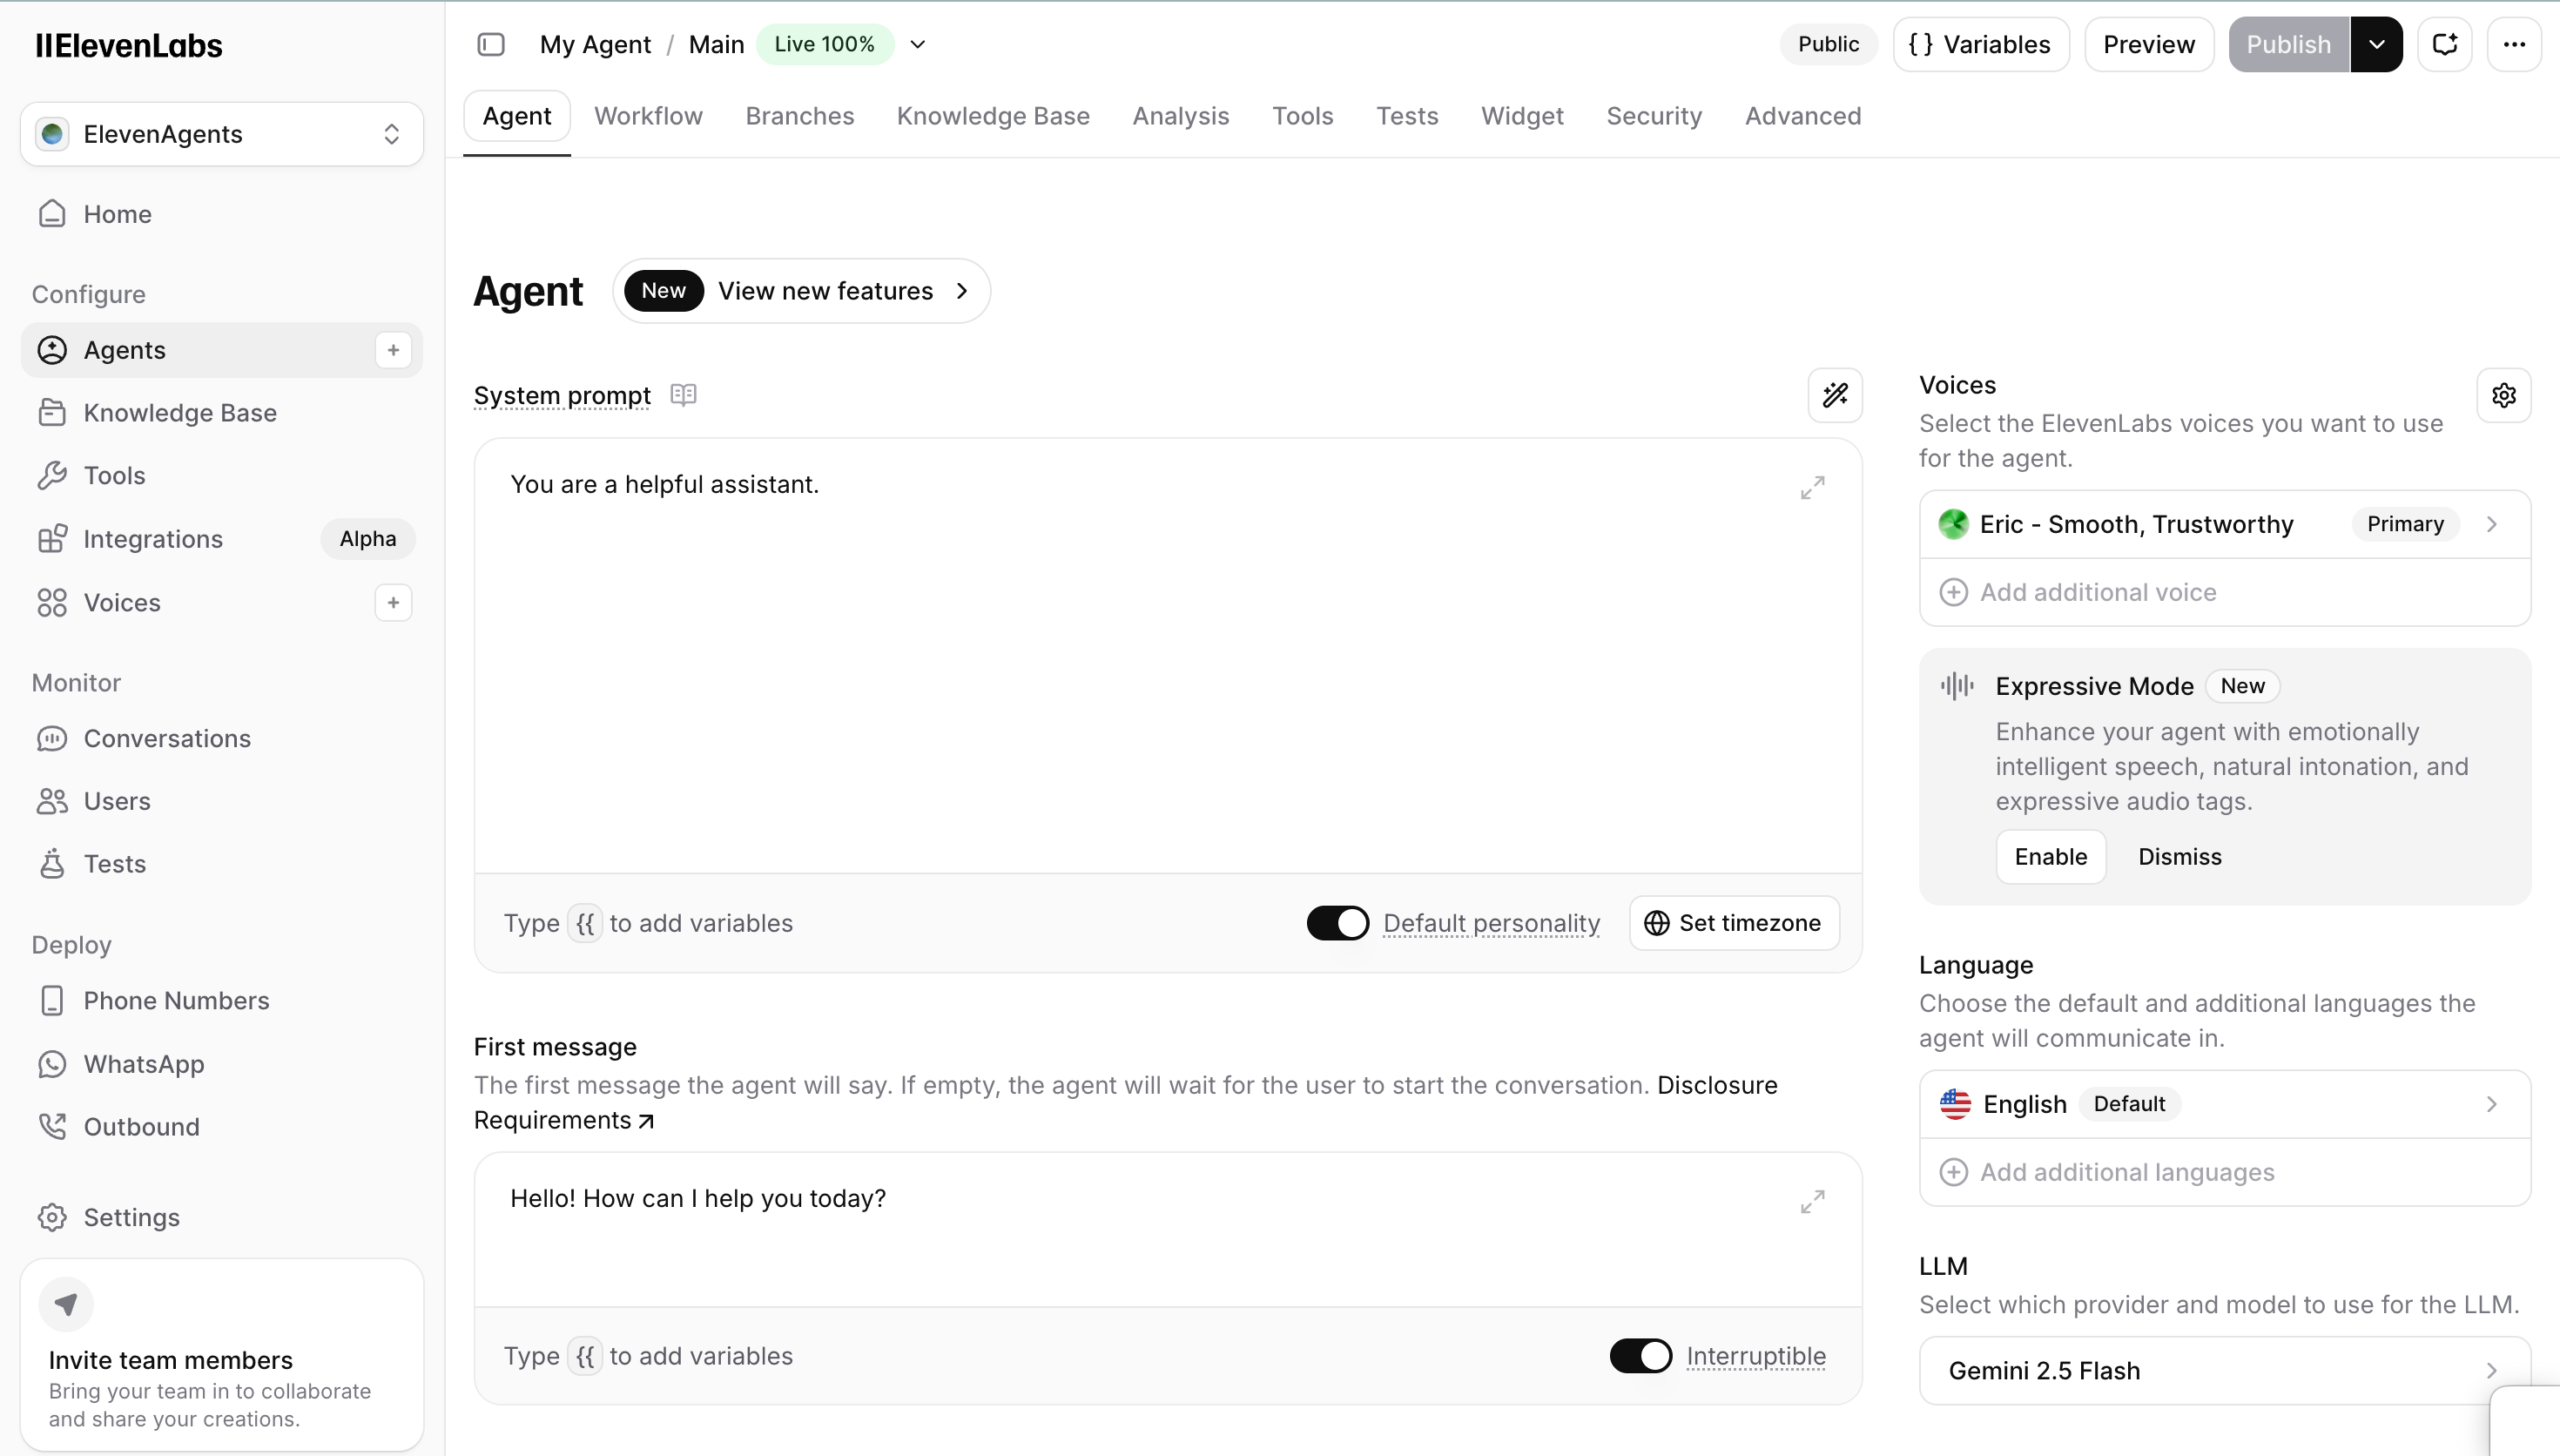
Step 2: Configure the System Prompt & Knowledge Base
Use the with-tools version of the humaniser prompt here. If your ElevenLabs agent is still running the without-tools version from the Quickstart, this is the moment to switch. The with-tools version contains the booking conversation logic your agent needs to use the Calendly tools correctly over a call. Without it, your voice agent has the tools but doesn’t know to call them.
The system prompt controls your AI receptionist’s personality and behaviour. A good voice agent prompt should cover:
- A friendly, professional persona (virtual receptionist, scheduling assistant, etc.)
- Conversational fillers to sound natural (“basically”, “I mean”, “well…”)
- Booking logic. Don’t over-qualify, lock in the appointment quickly
- Never interrupt the caller
- Guardrails for edge cases and off-topic requests
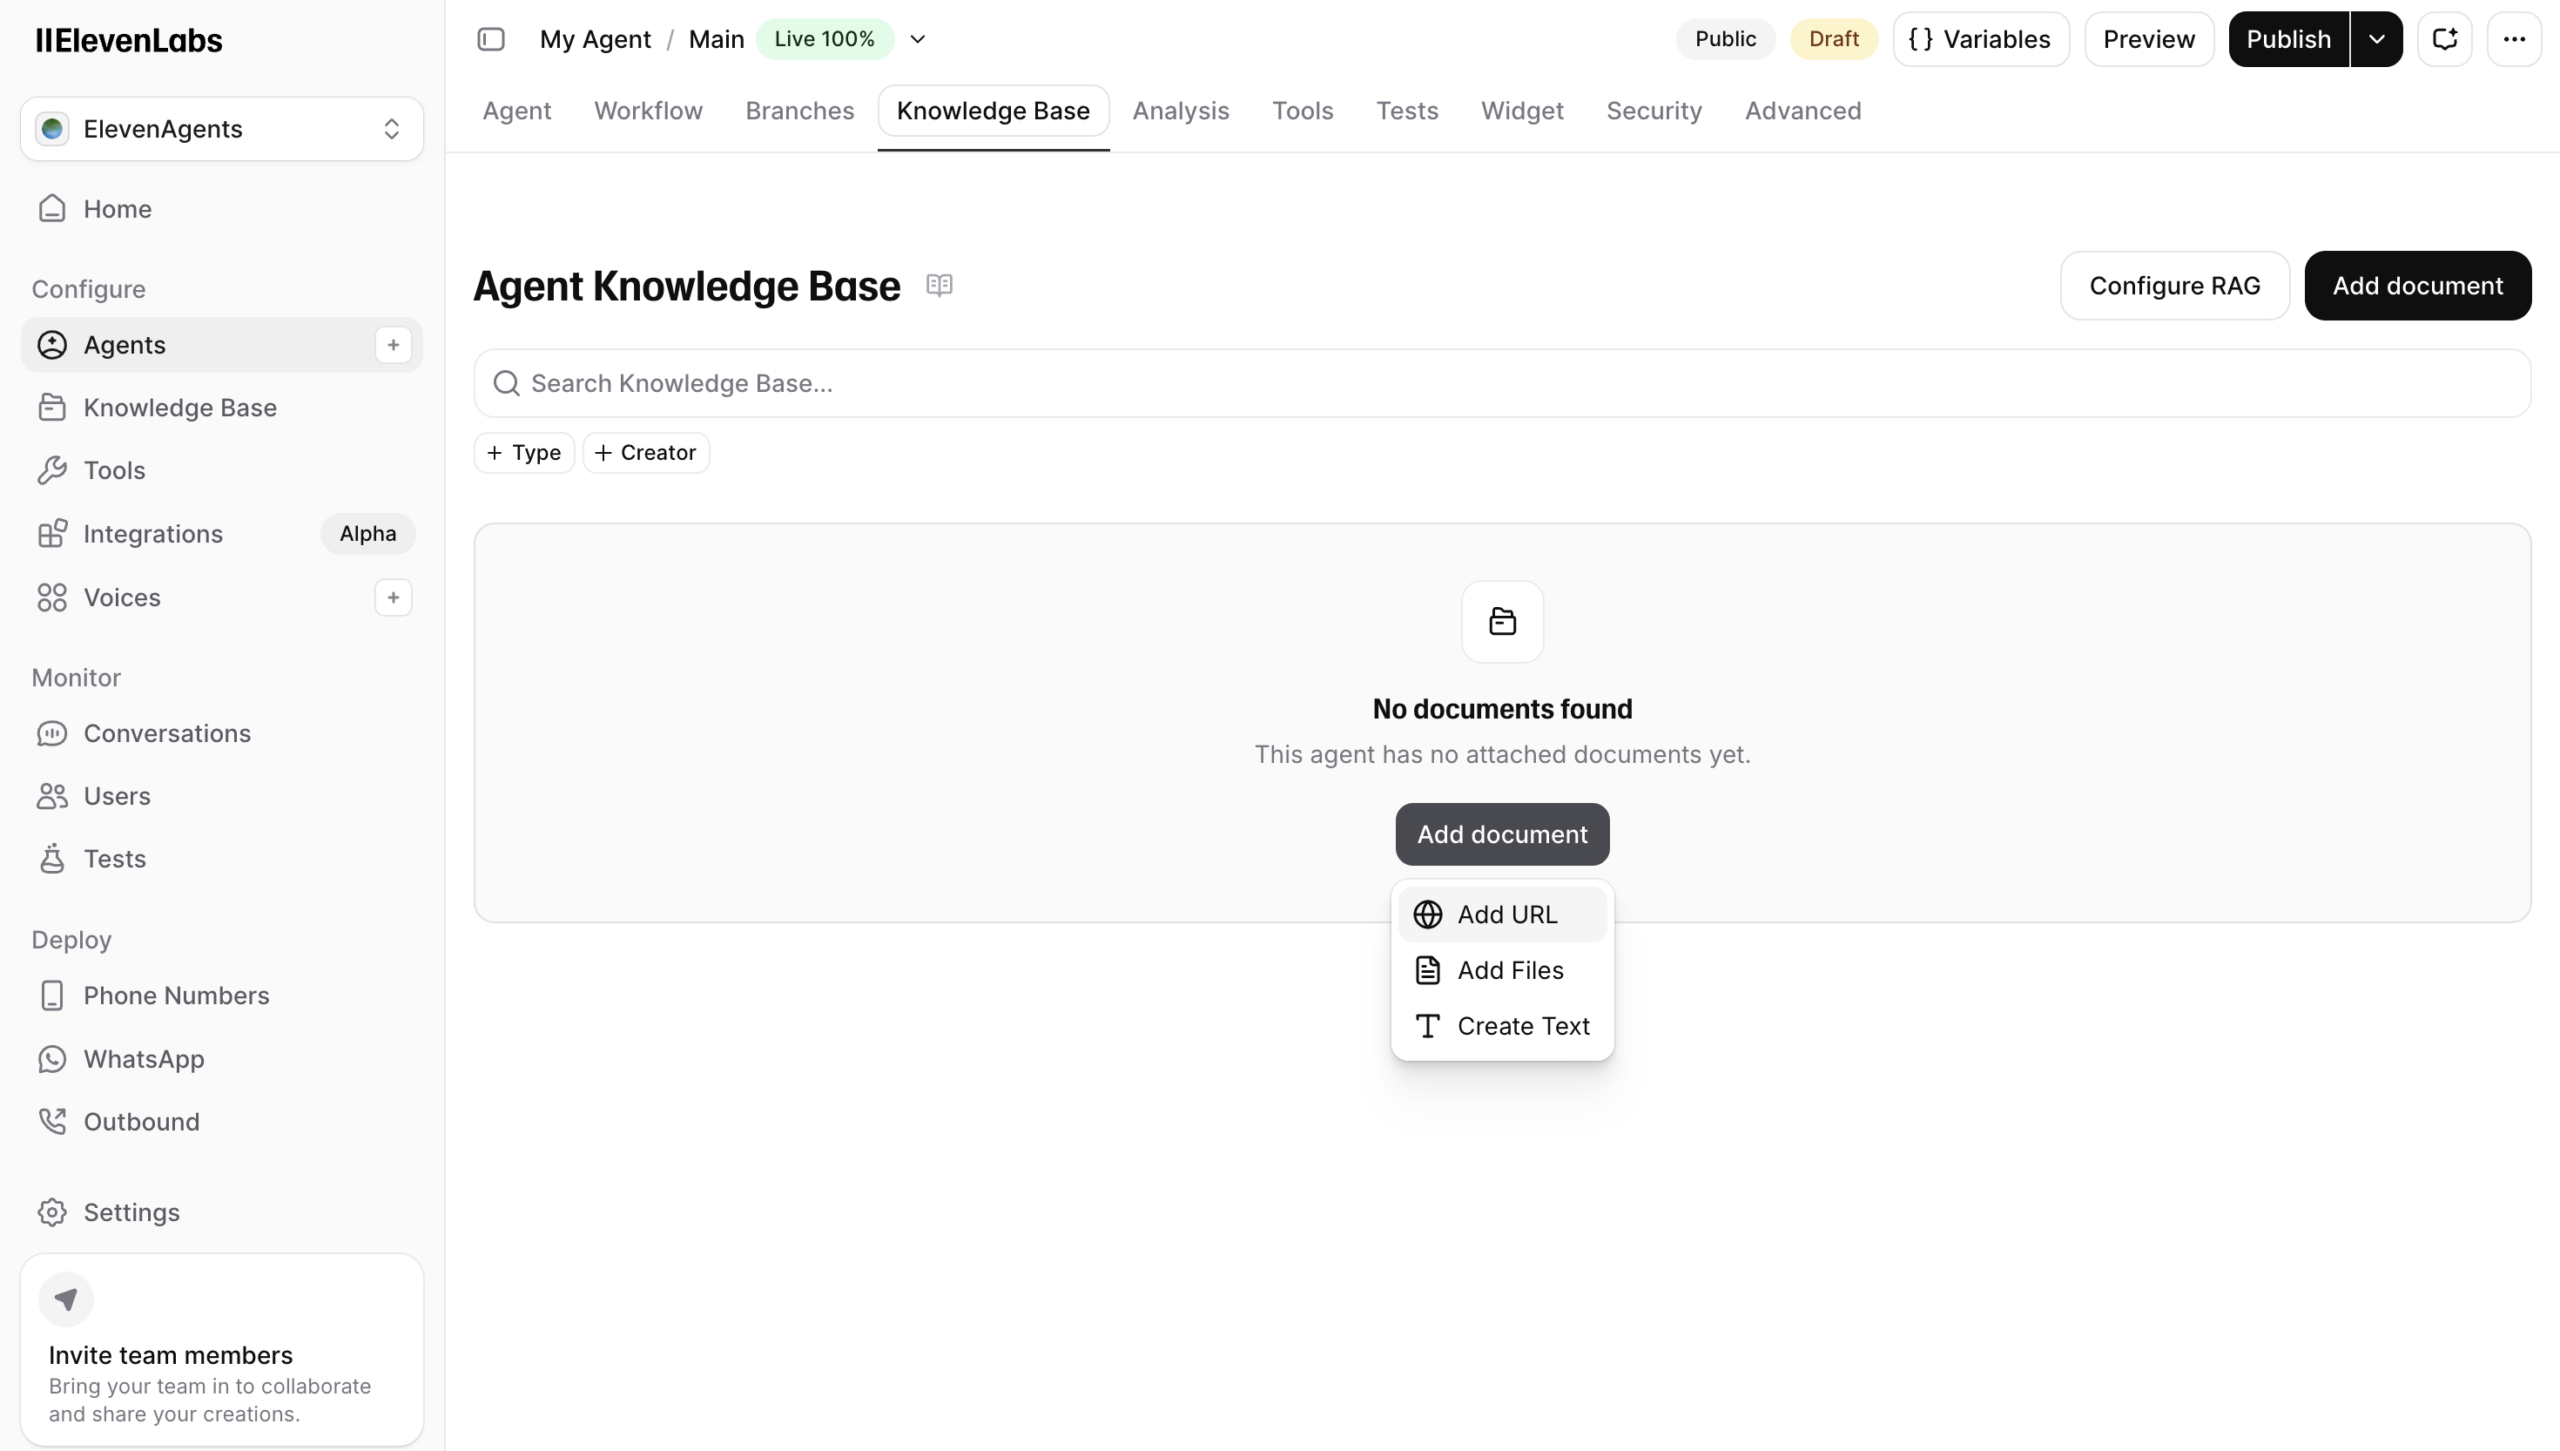
For the knowledge base, you have two options:
- Option A: Append your business info directly after the behaviour section in the system prompt
- Option B: Go to Agents → Knowledge Base → Create Text and paste your content there
Then set your LLM settings:
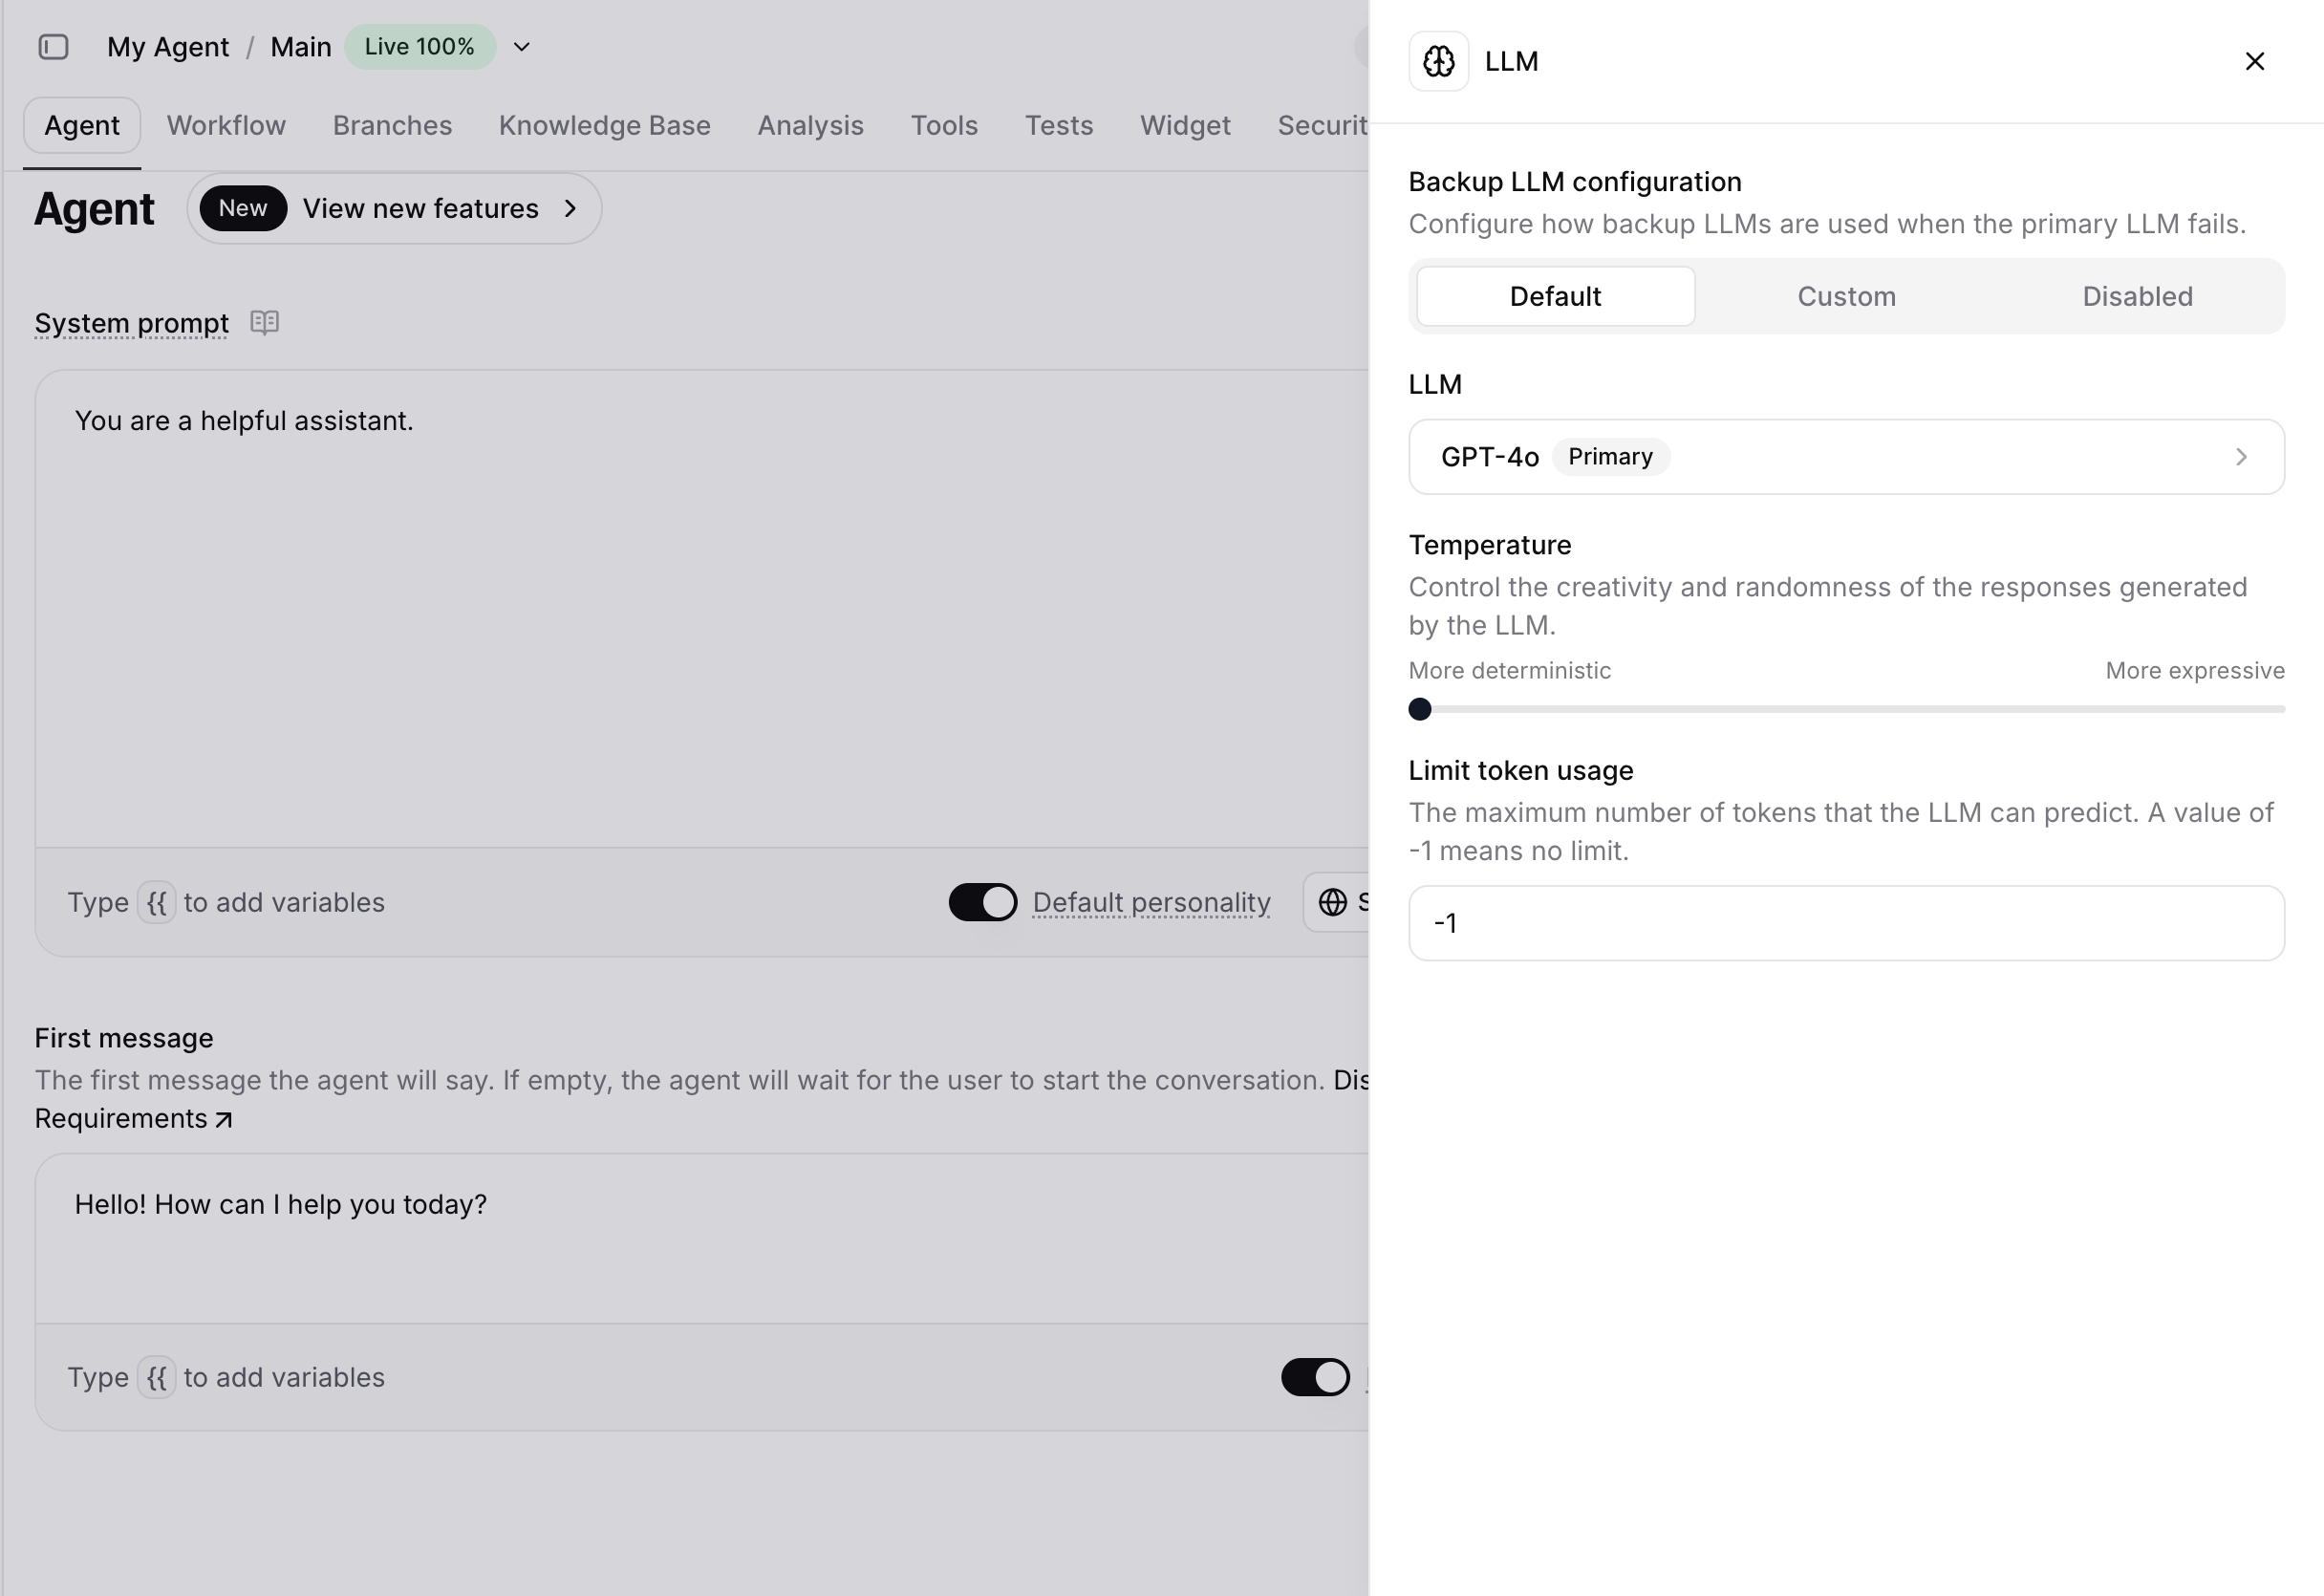
- Model: GPT-4o is the recommended starting point: fast enough for real-time conversation and smart enough for the scheduling tools. GPT-4.1 is also a solid choice if you want to experiment with a newer model. Either works for voice calls
- Temperature: 1 works well for natural conversation. If you find your agent too freeform or off-script, try lowering it (0 to 0.5) to make it more deterministic
- Timezone: Include
Time: {{system__time}}in your system prompt: this is a dynamic variable that ElevenLabs injects automatically with the current time, so your agent always knows what “today” and “tomorrow” mean
Step 3: Choose a Voice
- Navigate to Voice settings in your agent
- Select a V3 Conversational voice. Mark or James are both solid choices for stability and natural conversational tone. If Mark isn’t in the current library, James works equally well, and any V3 Conversational voice will do. You can also pick another voice from the library, or clone your own (Voices → Create → Instant Voice Clone: record 30-60 seconds)
- Set TTS model family to Flash (fastest response time for real-time calls)
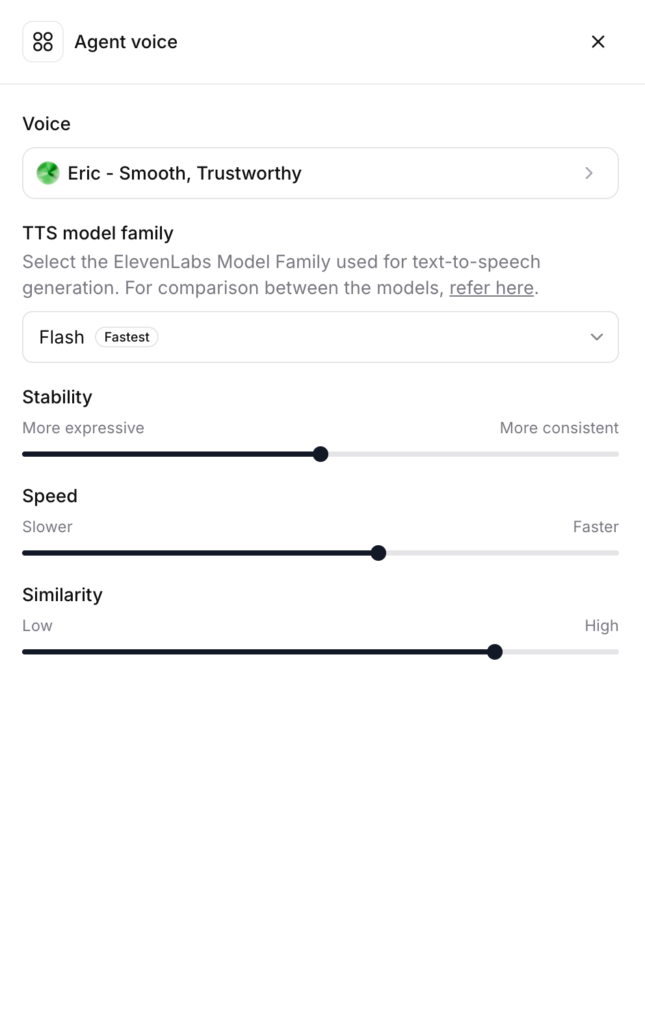
- Adjust voice parameters:
- Stability: 70%
- Speed: 1.10
- Similarity: 90%
- Under Advanced settings:
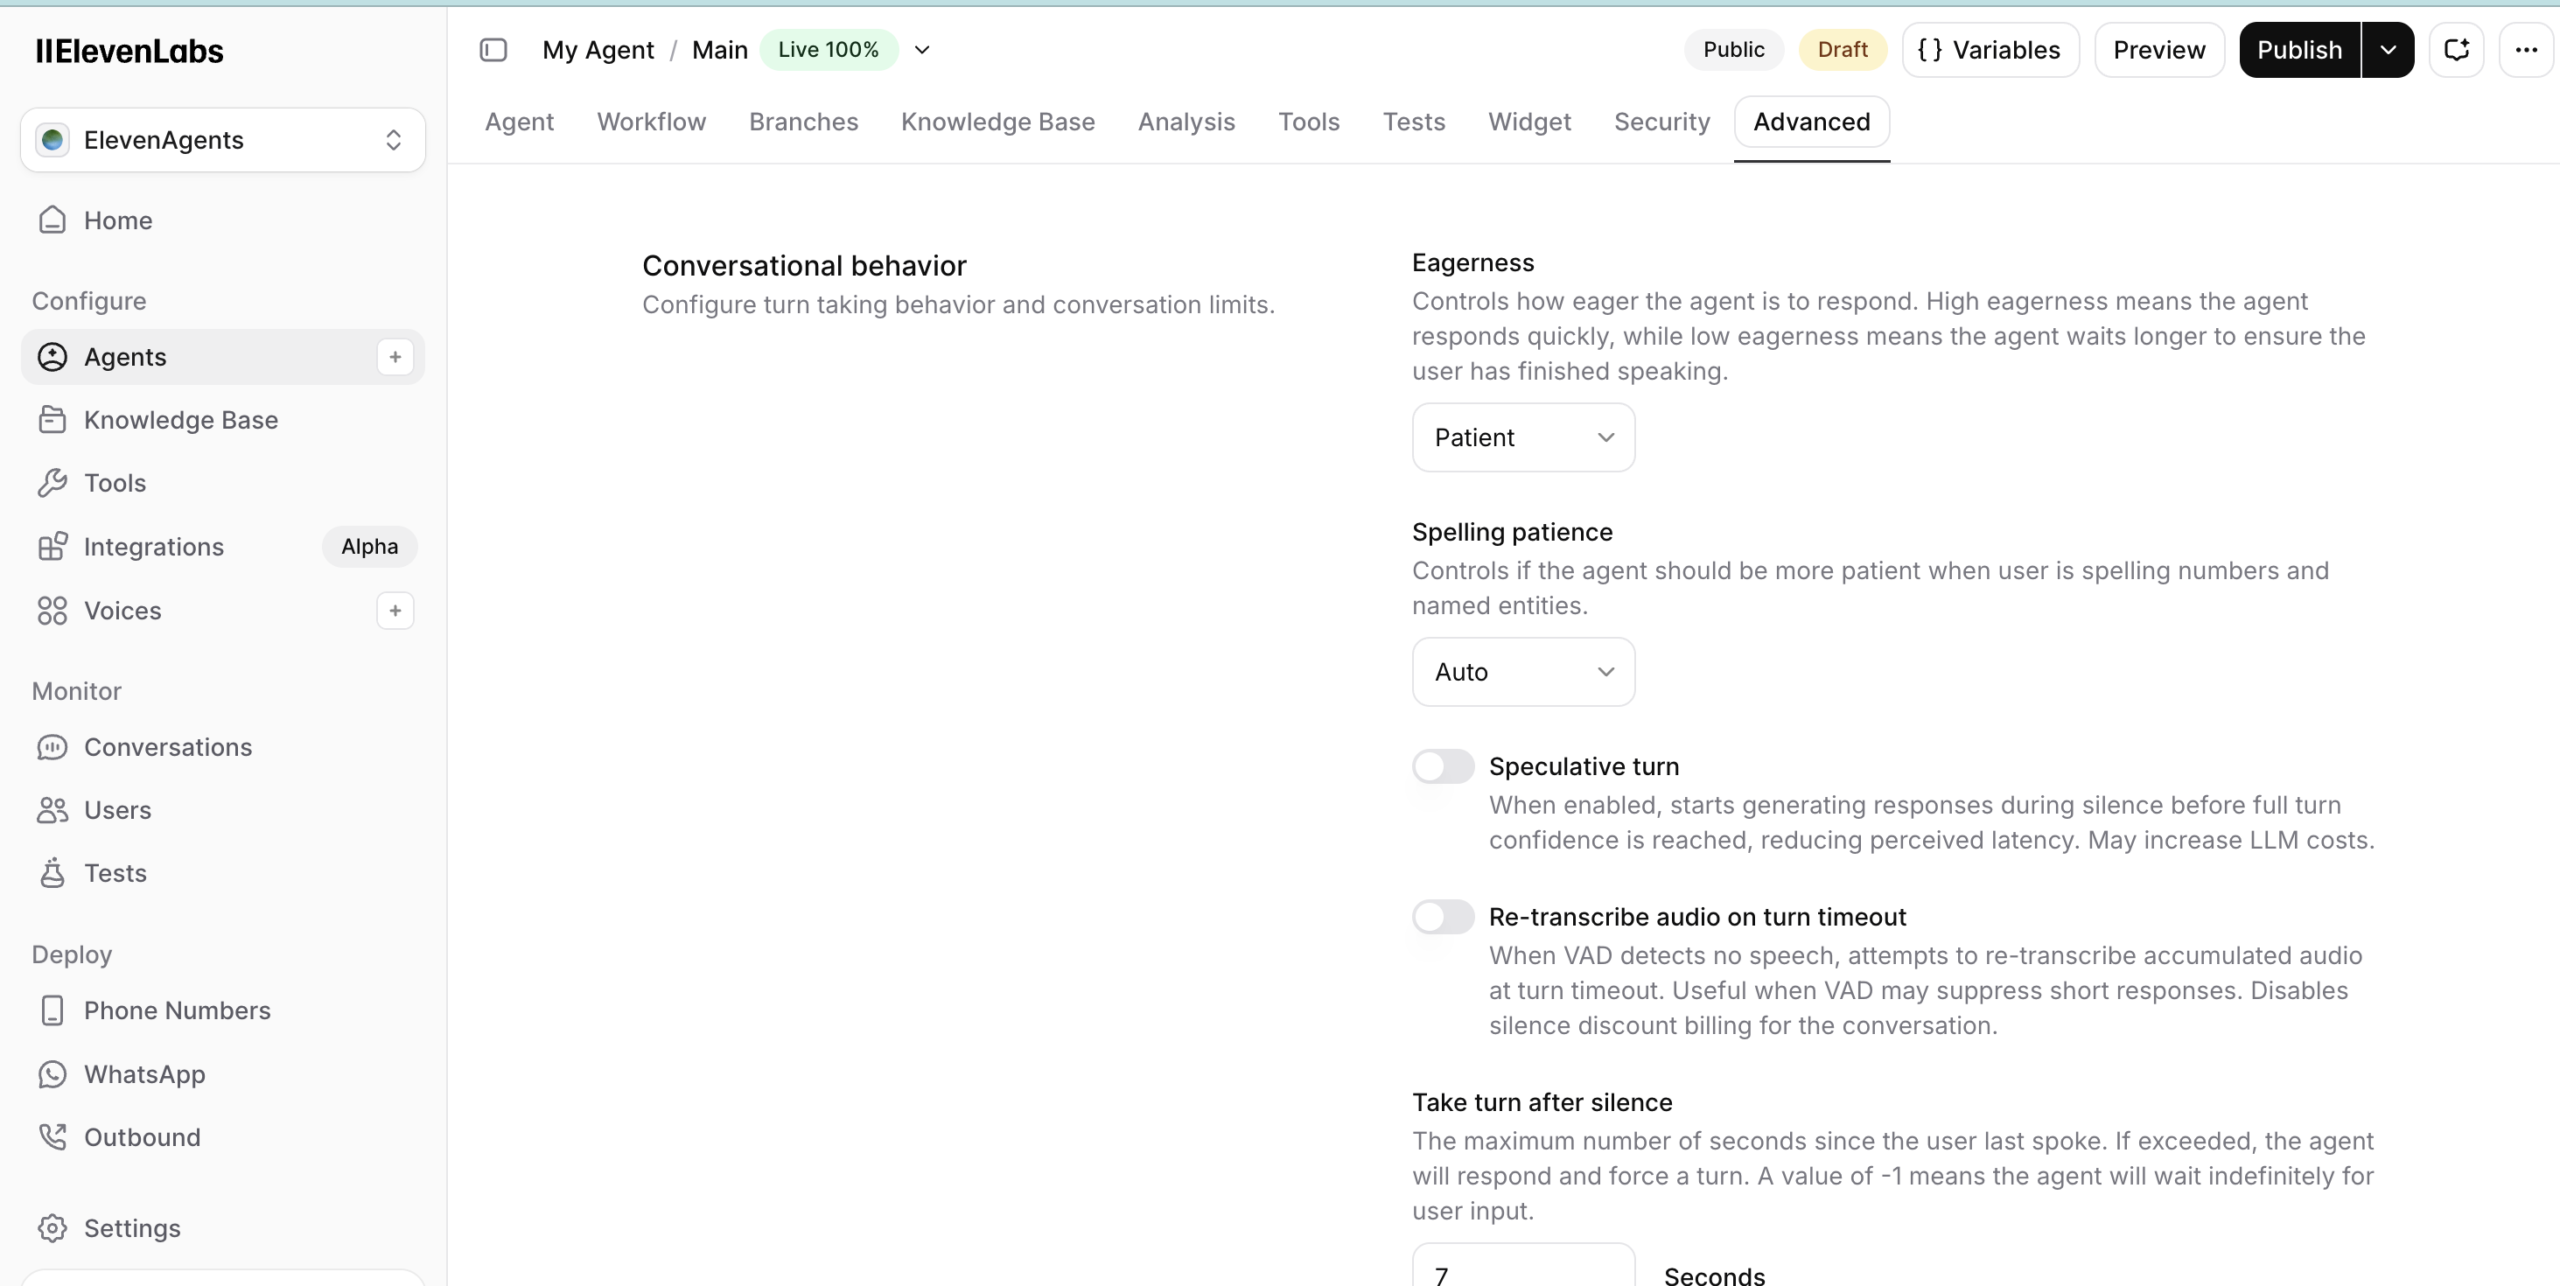
- Eagerness: Patient (prevents the agent from interrupting callers)
- Turn timeout: Increase slightly to give callers time to think
Update: Feel free to try the new TTS Mode called “V3 Conversational”. While it adds a tiny bit of delay, the calls feel way more natural. My verdict? Worth it!
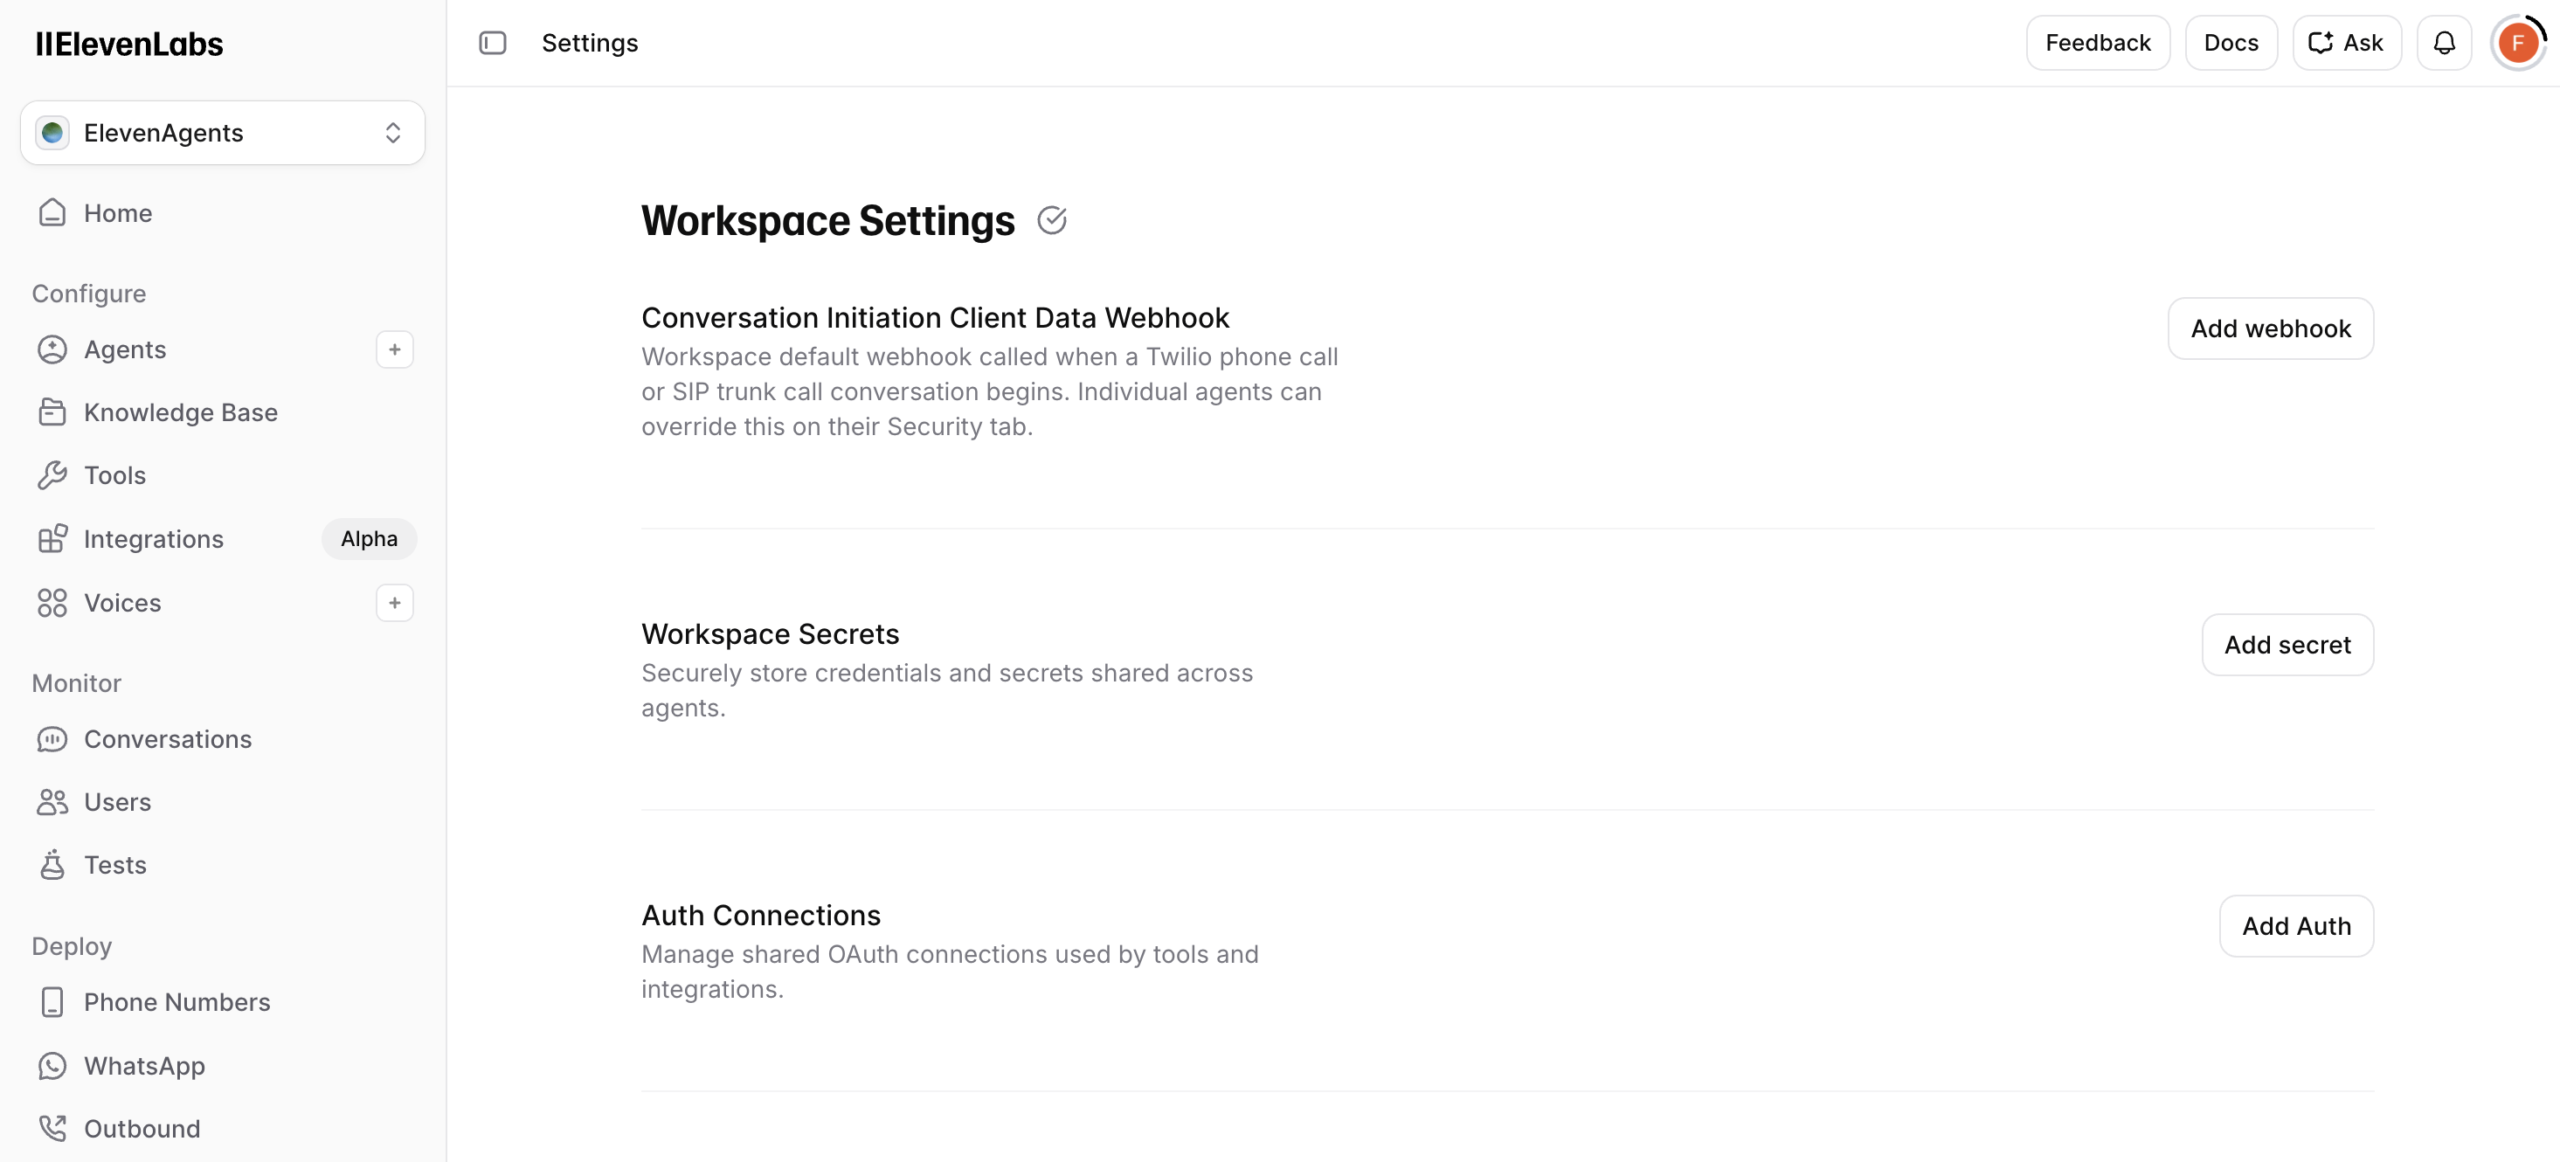
Step 4: Connect the Second Brain OS MCP Server
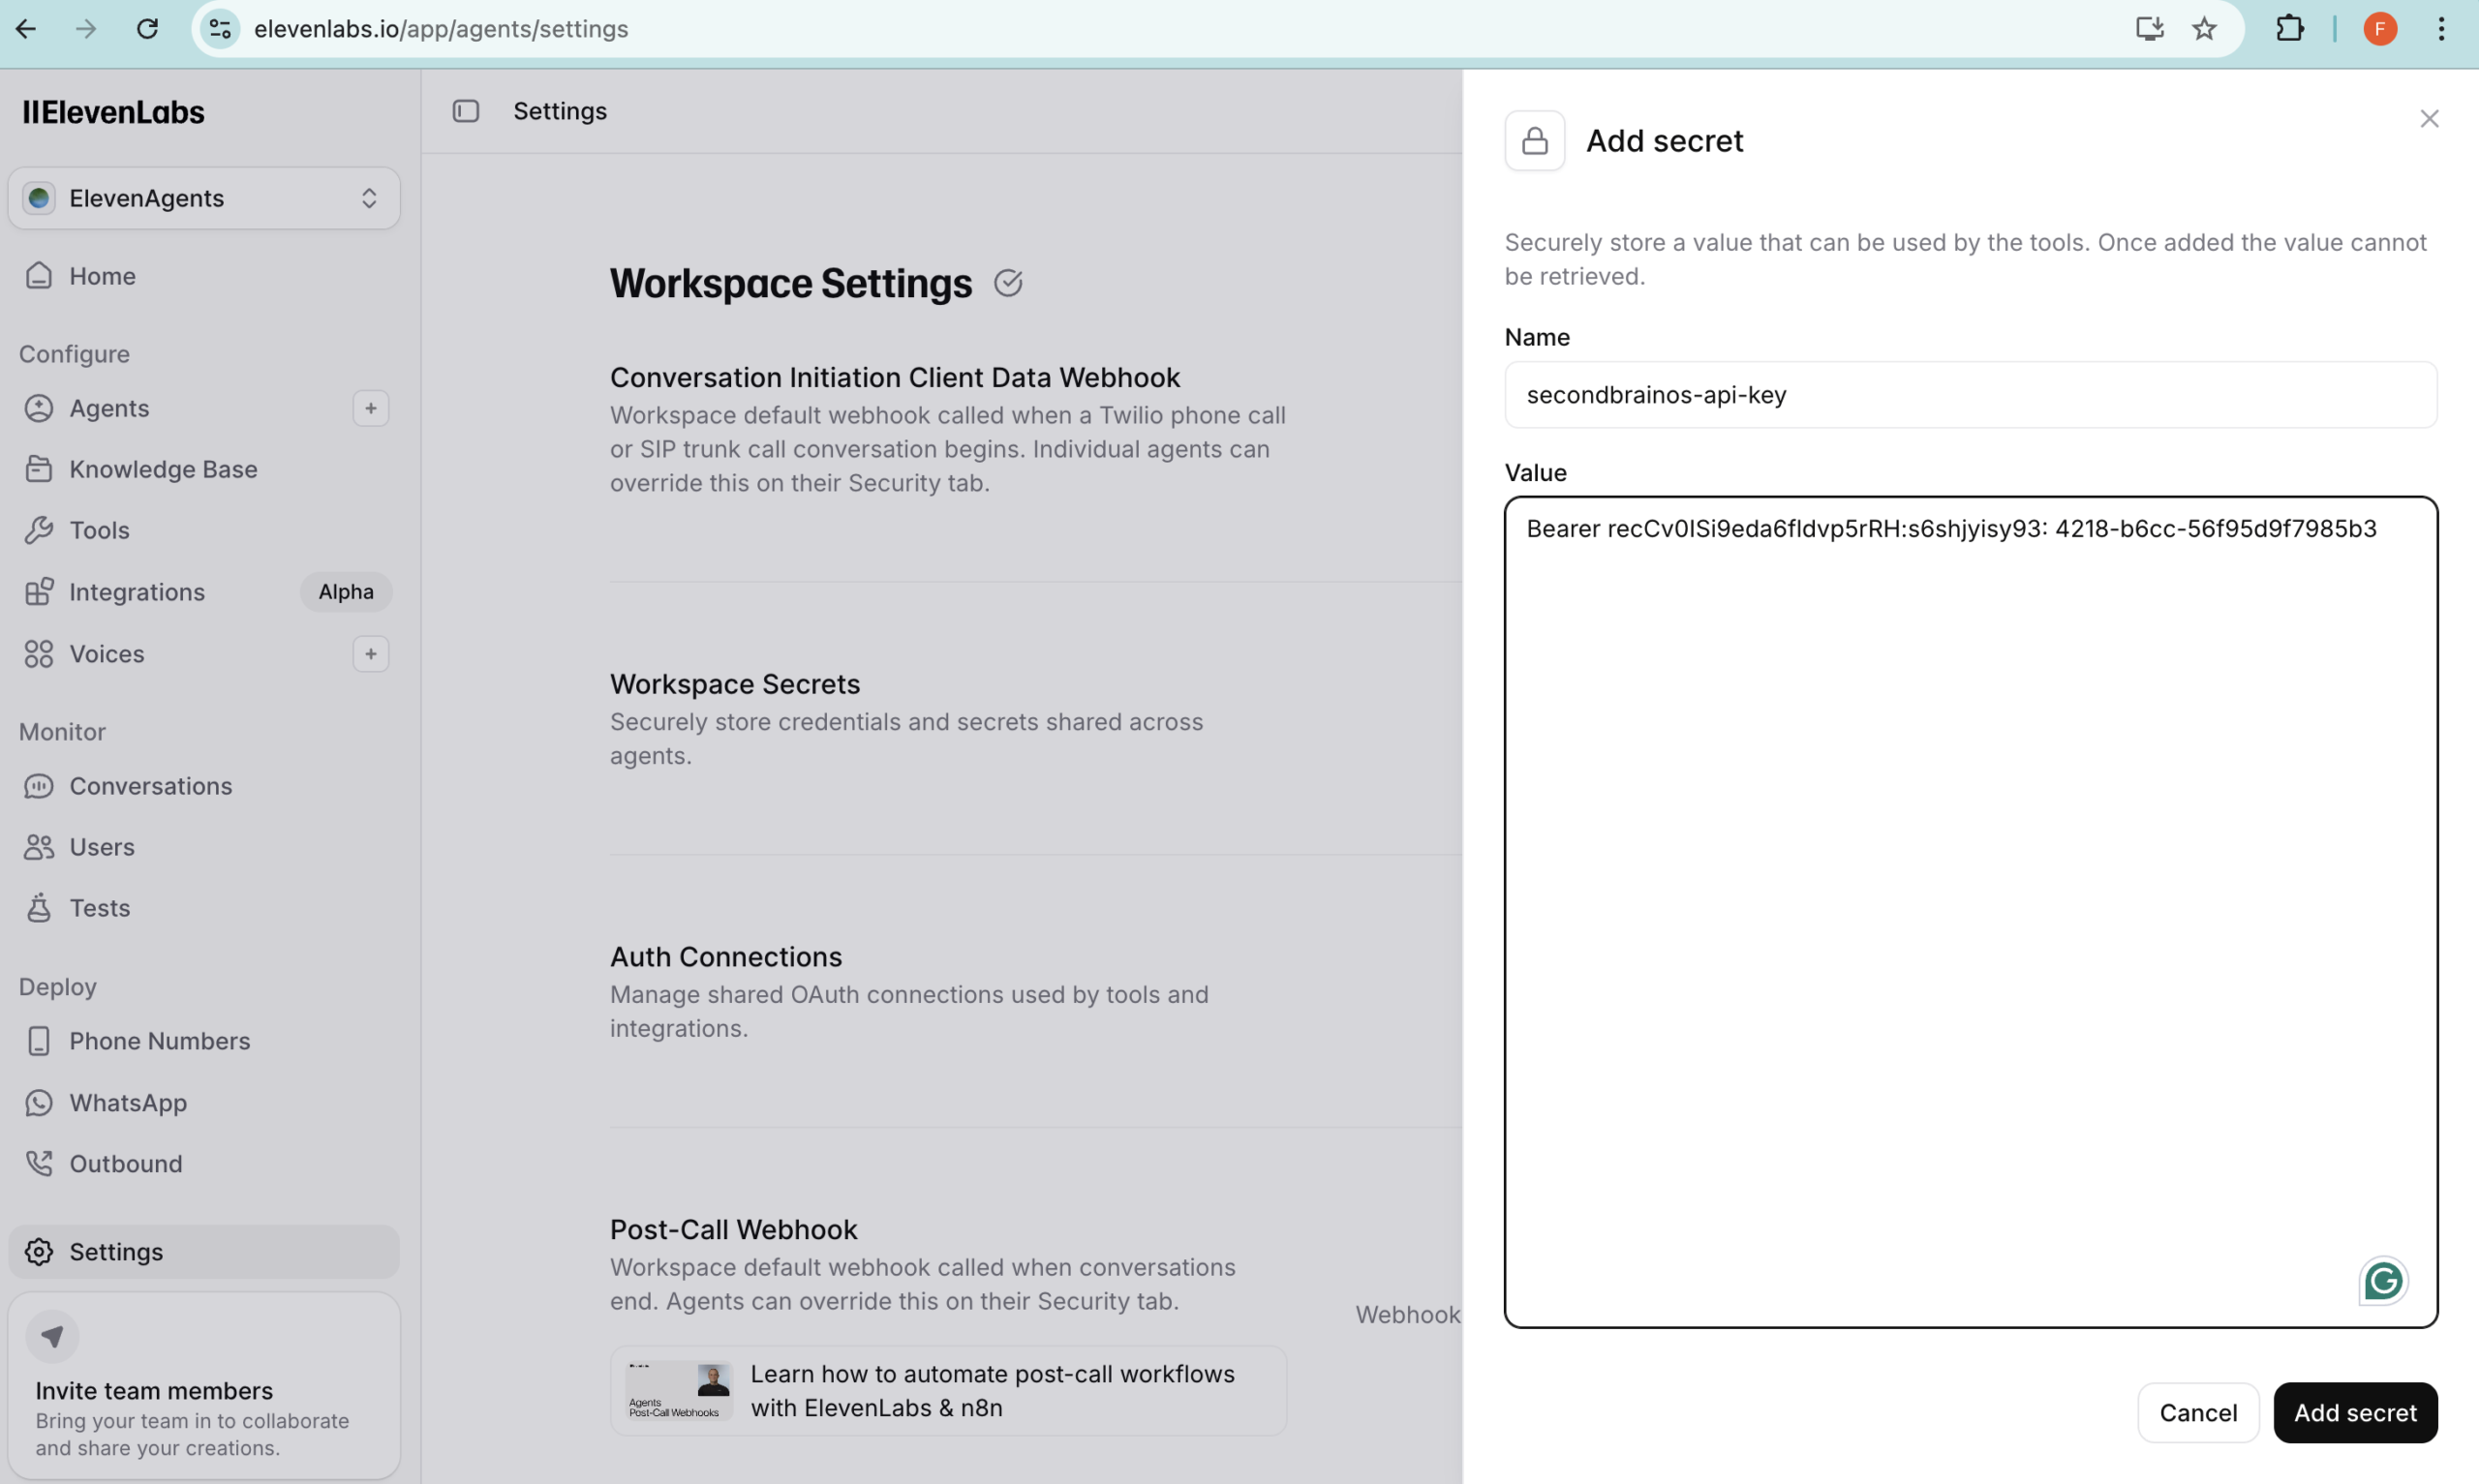
This is where your Calendly AI Receptionist comes to life inside ElevenLabs. First, add your SBOS API key as a workspace secret:
- Go to elevenlabs.io/app/agents/settings
- Under Workspace Secrets, click Add secret
- Name it
secondbrainos-api-key - For the value, paste your full SBOS API key with the
Bearerprefix. E.g.Bearer rec7kxm83YNpqFw2a:f49e6b3c-a871-4d2f-9c44-518274610
Then, create an environment variable that references the secret:
- Go to Developers → Environment Variables
- Click Add environment variable
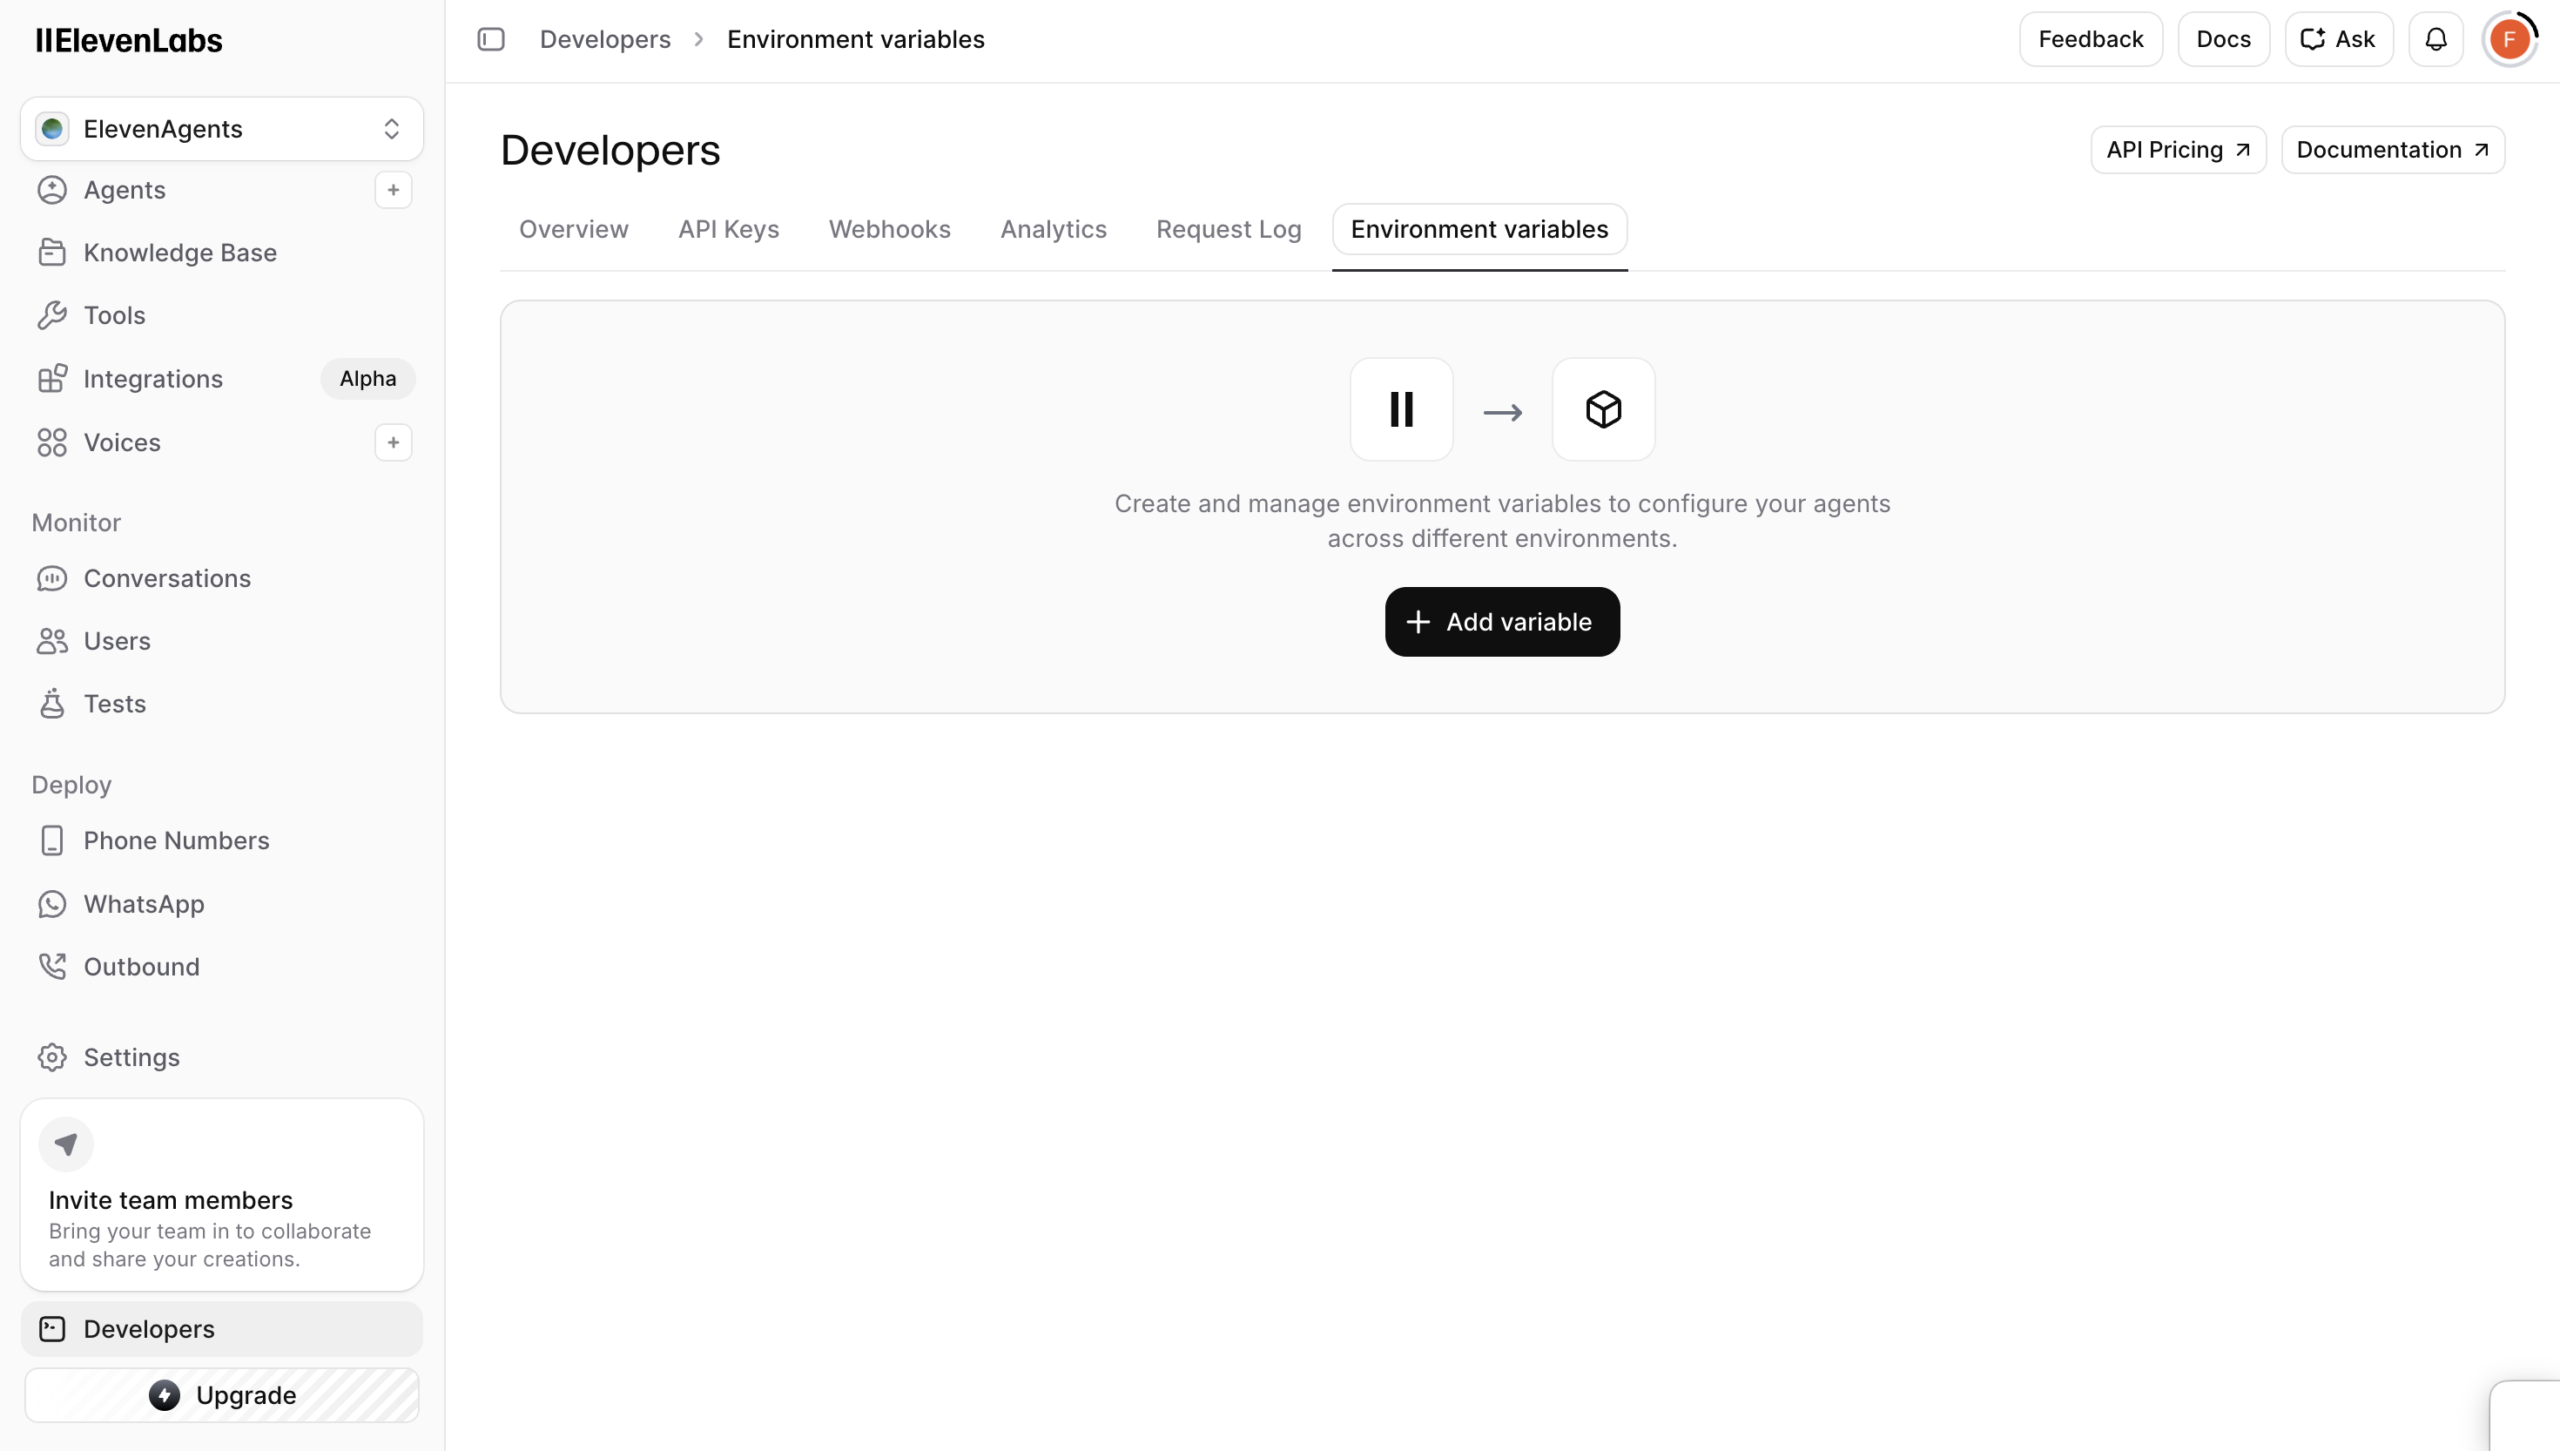
- Name it
SECONDBRAINOS_API_KEY(or any name you’ll remember) - Set the type to Secret and select the
secondbrainos-api-keysecret you just created

- Click Save
Then, add the MCP server:
- Go to elevenlabs.io/app/agents/integrations
- Click Add Integration → Custom MCP Server
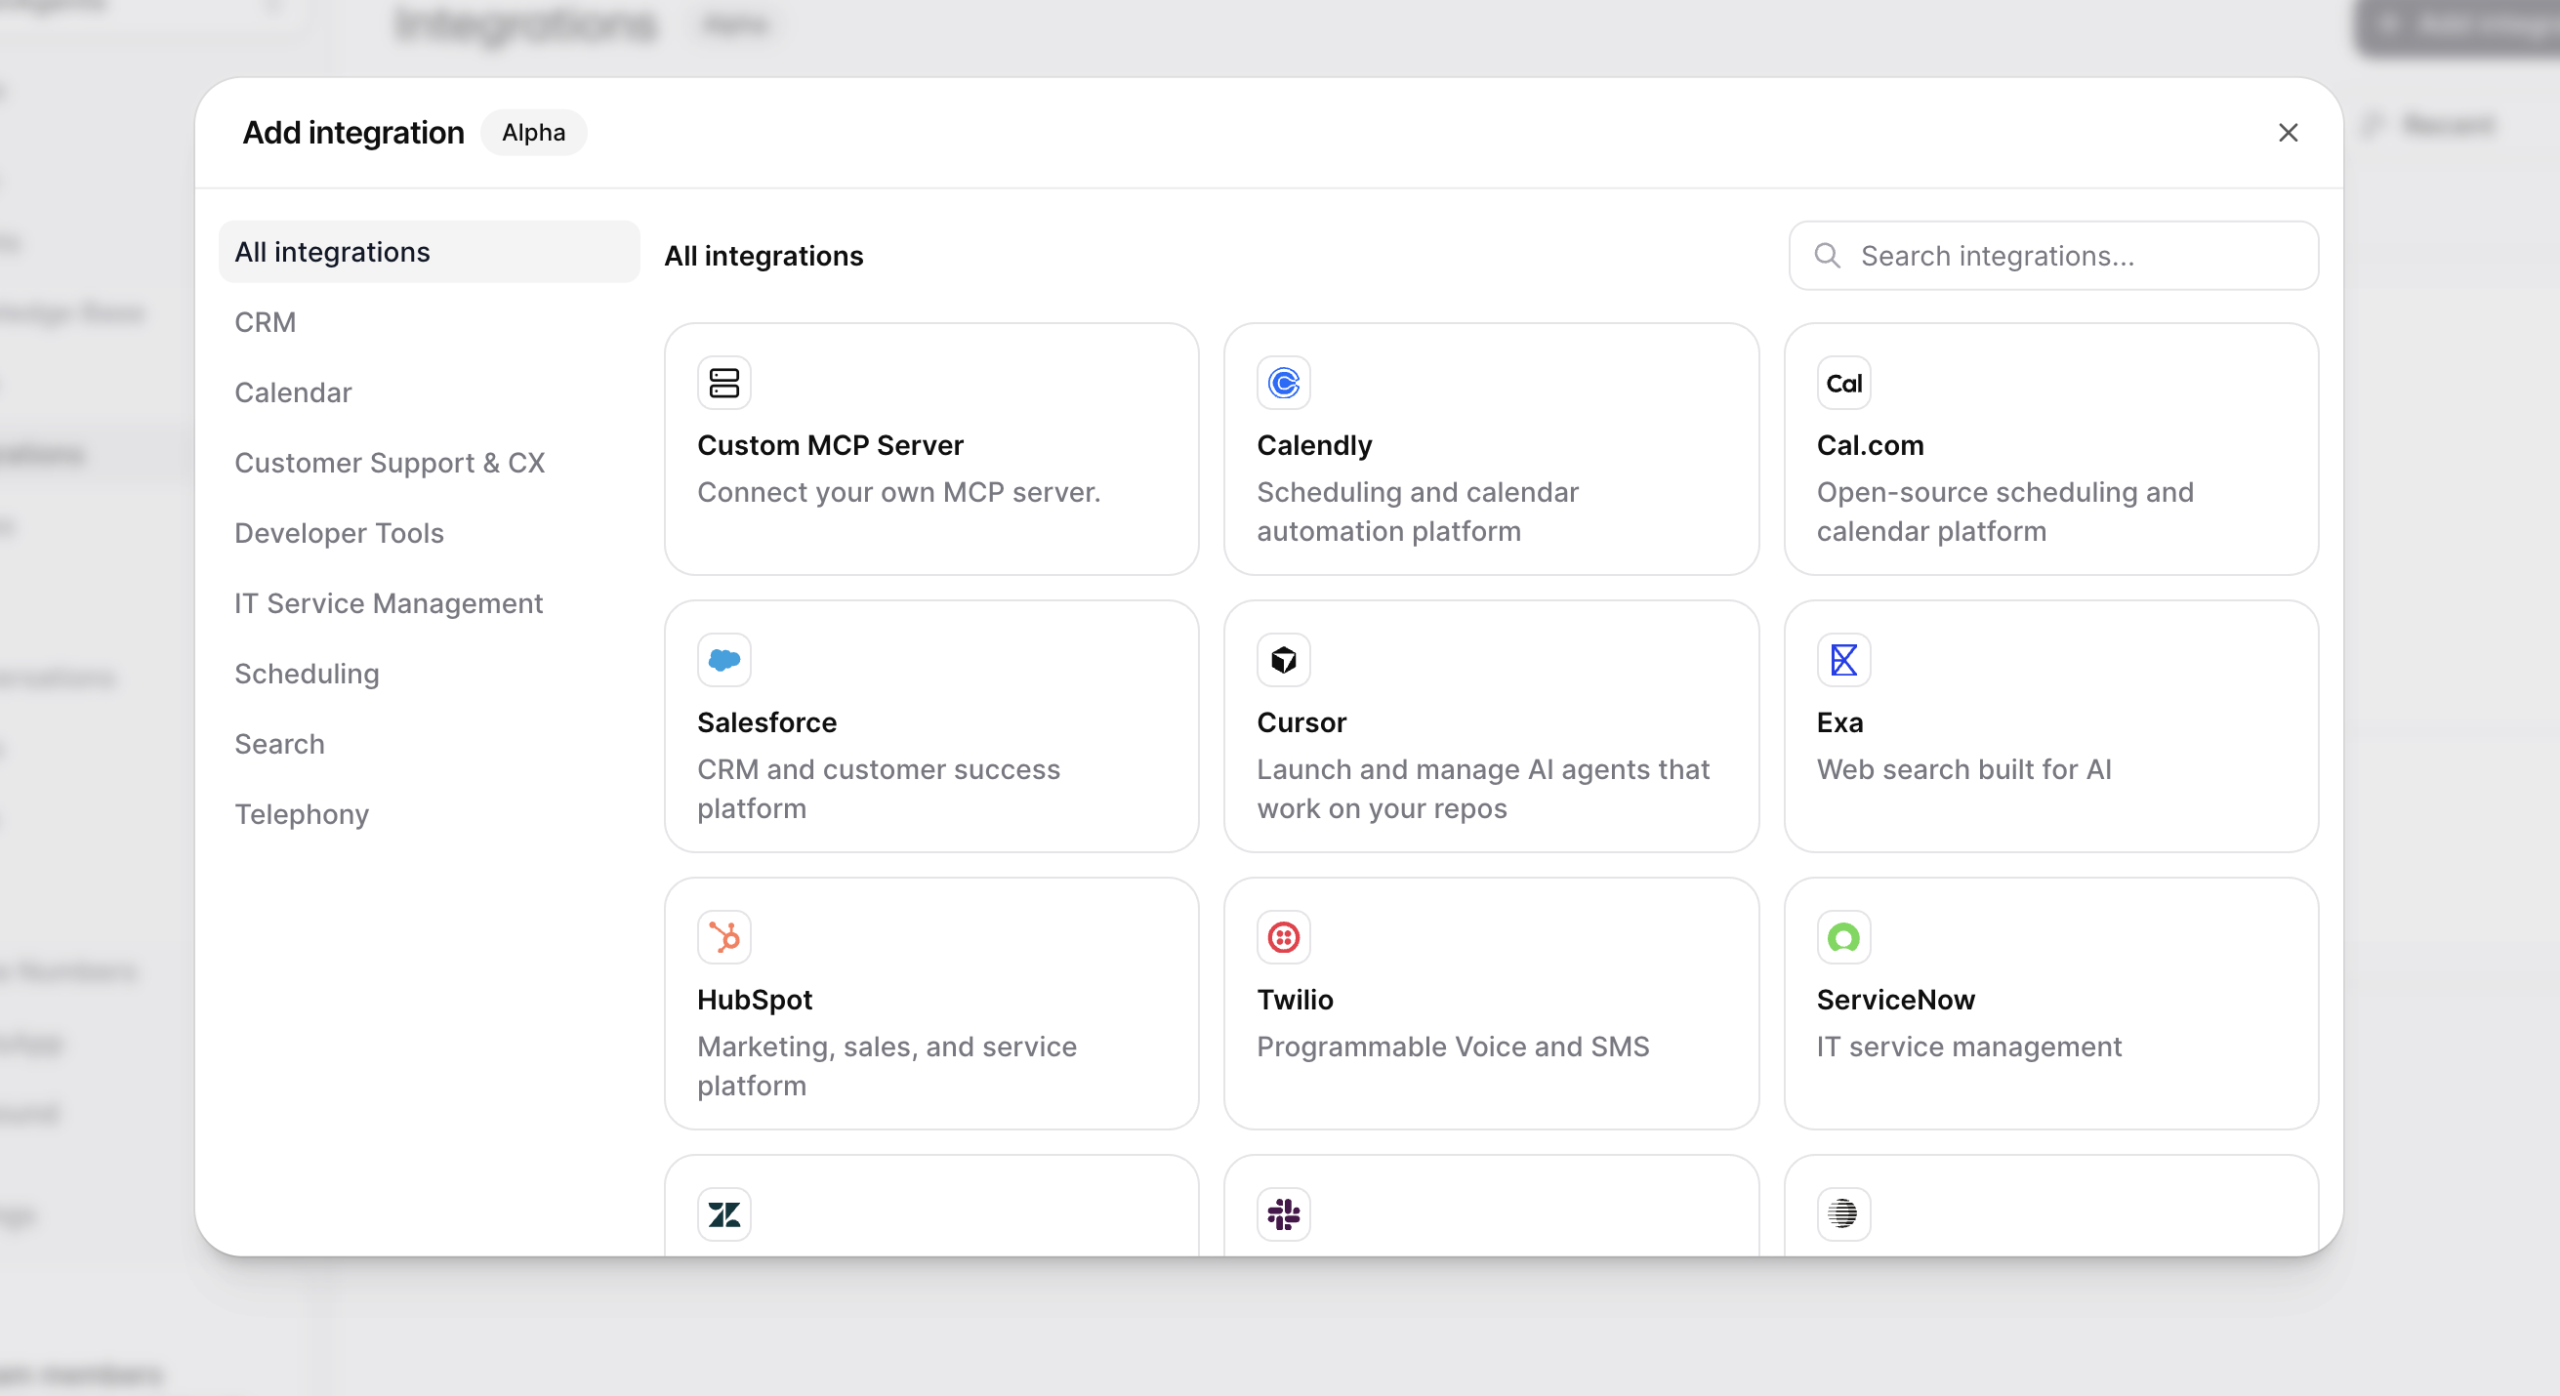
- Configure the server:
- Name:
Second Brain OS MCP - Type: Streamable HTTP
- URL:
https://api.secondbrainos.com/mcp?user_id=YOUR_USER_ID
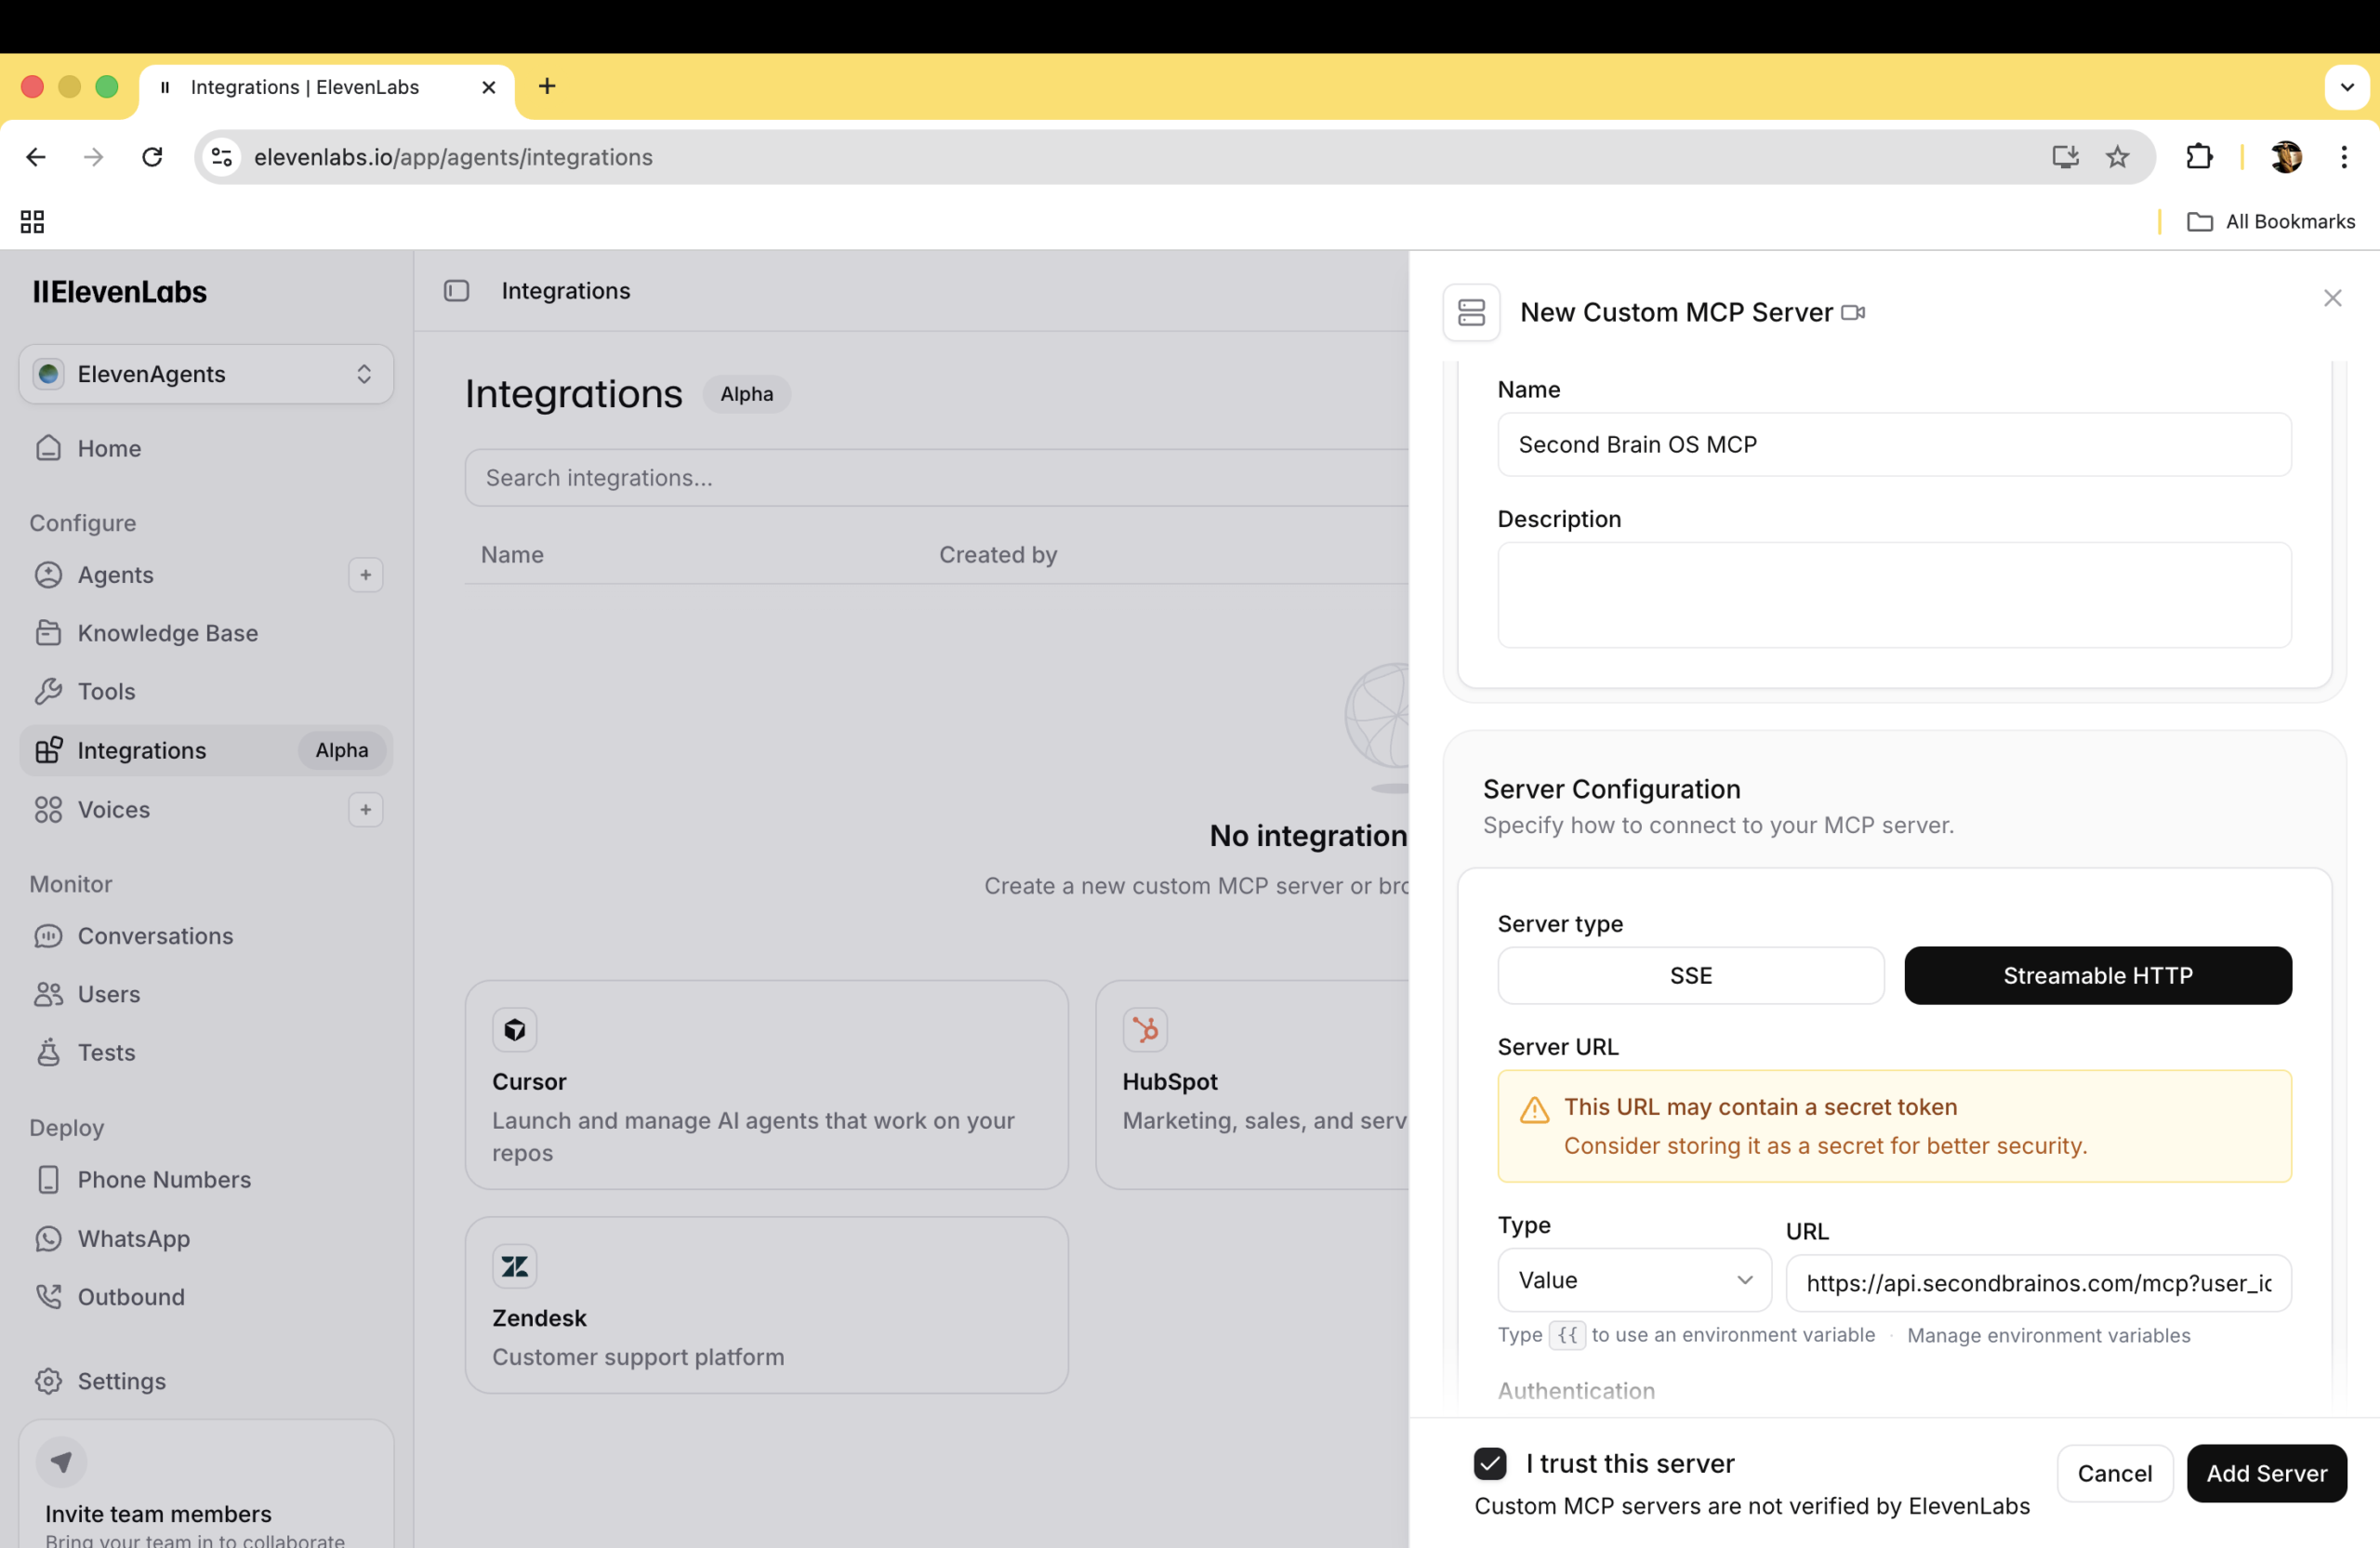
Your user ID is available from your Second Brain OS dashboard. It’s also the first part of your API key. Everything before the
:(e.g. if your API key isrec7kxm83YNpqFw2a:f49e6b3c..., your user ID isrec7kxm83YNpqFw2a). - Name:
- Under Request Headers, add a header:
- Key:
Authorization - Type: Environment Variable
- Value: Select
SECONDBRAINOS_API_KEY(the environment variable you created above)
- Key:
- Set Tool Approval to No Approval: the assistant can use any tool without asking
- Configure Tool Settings:
- Force pre-tool speech: On
- Disable interruptions: On
- Execution mode: Post-Speech
- Tool call sound: Typing
- Sound behavior: Always play
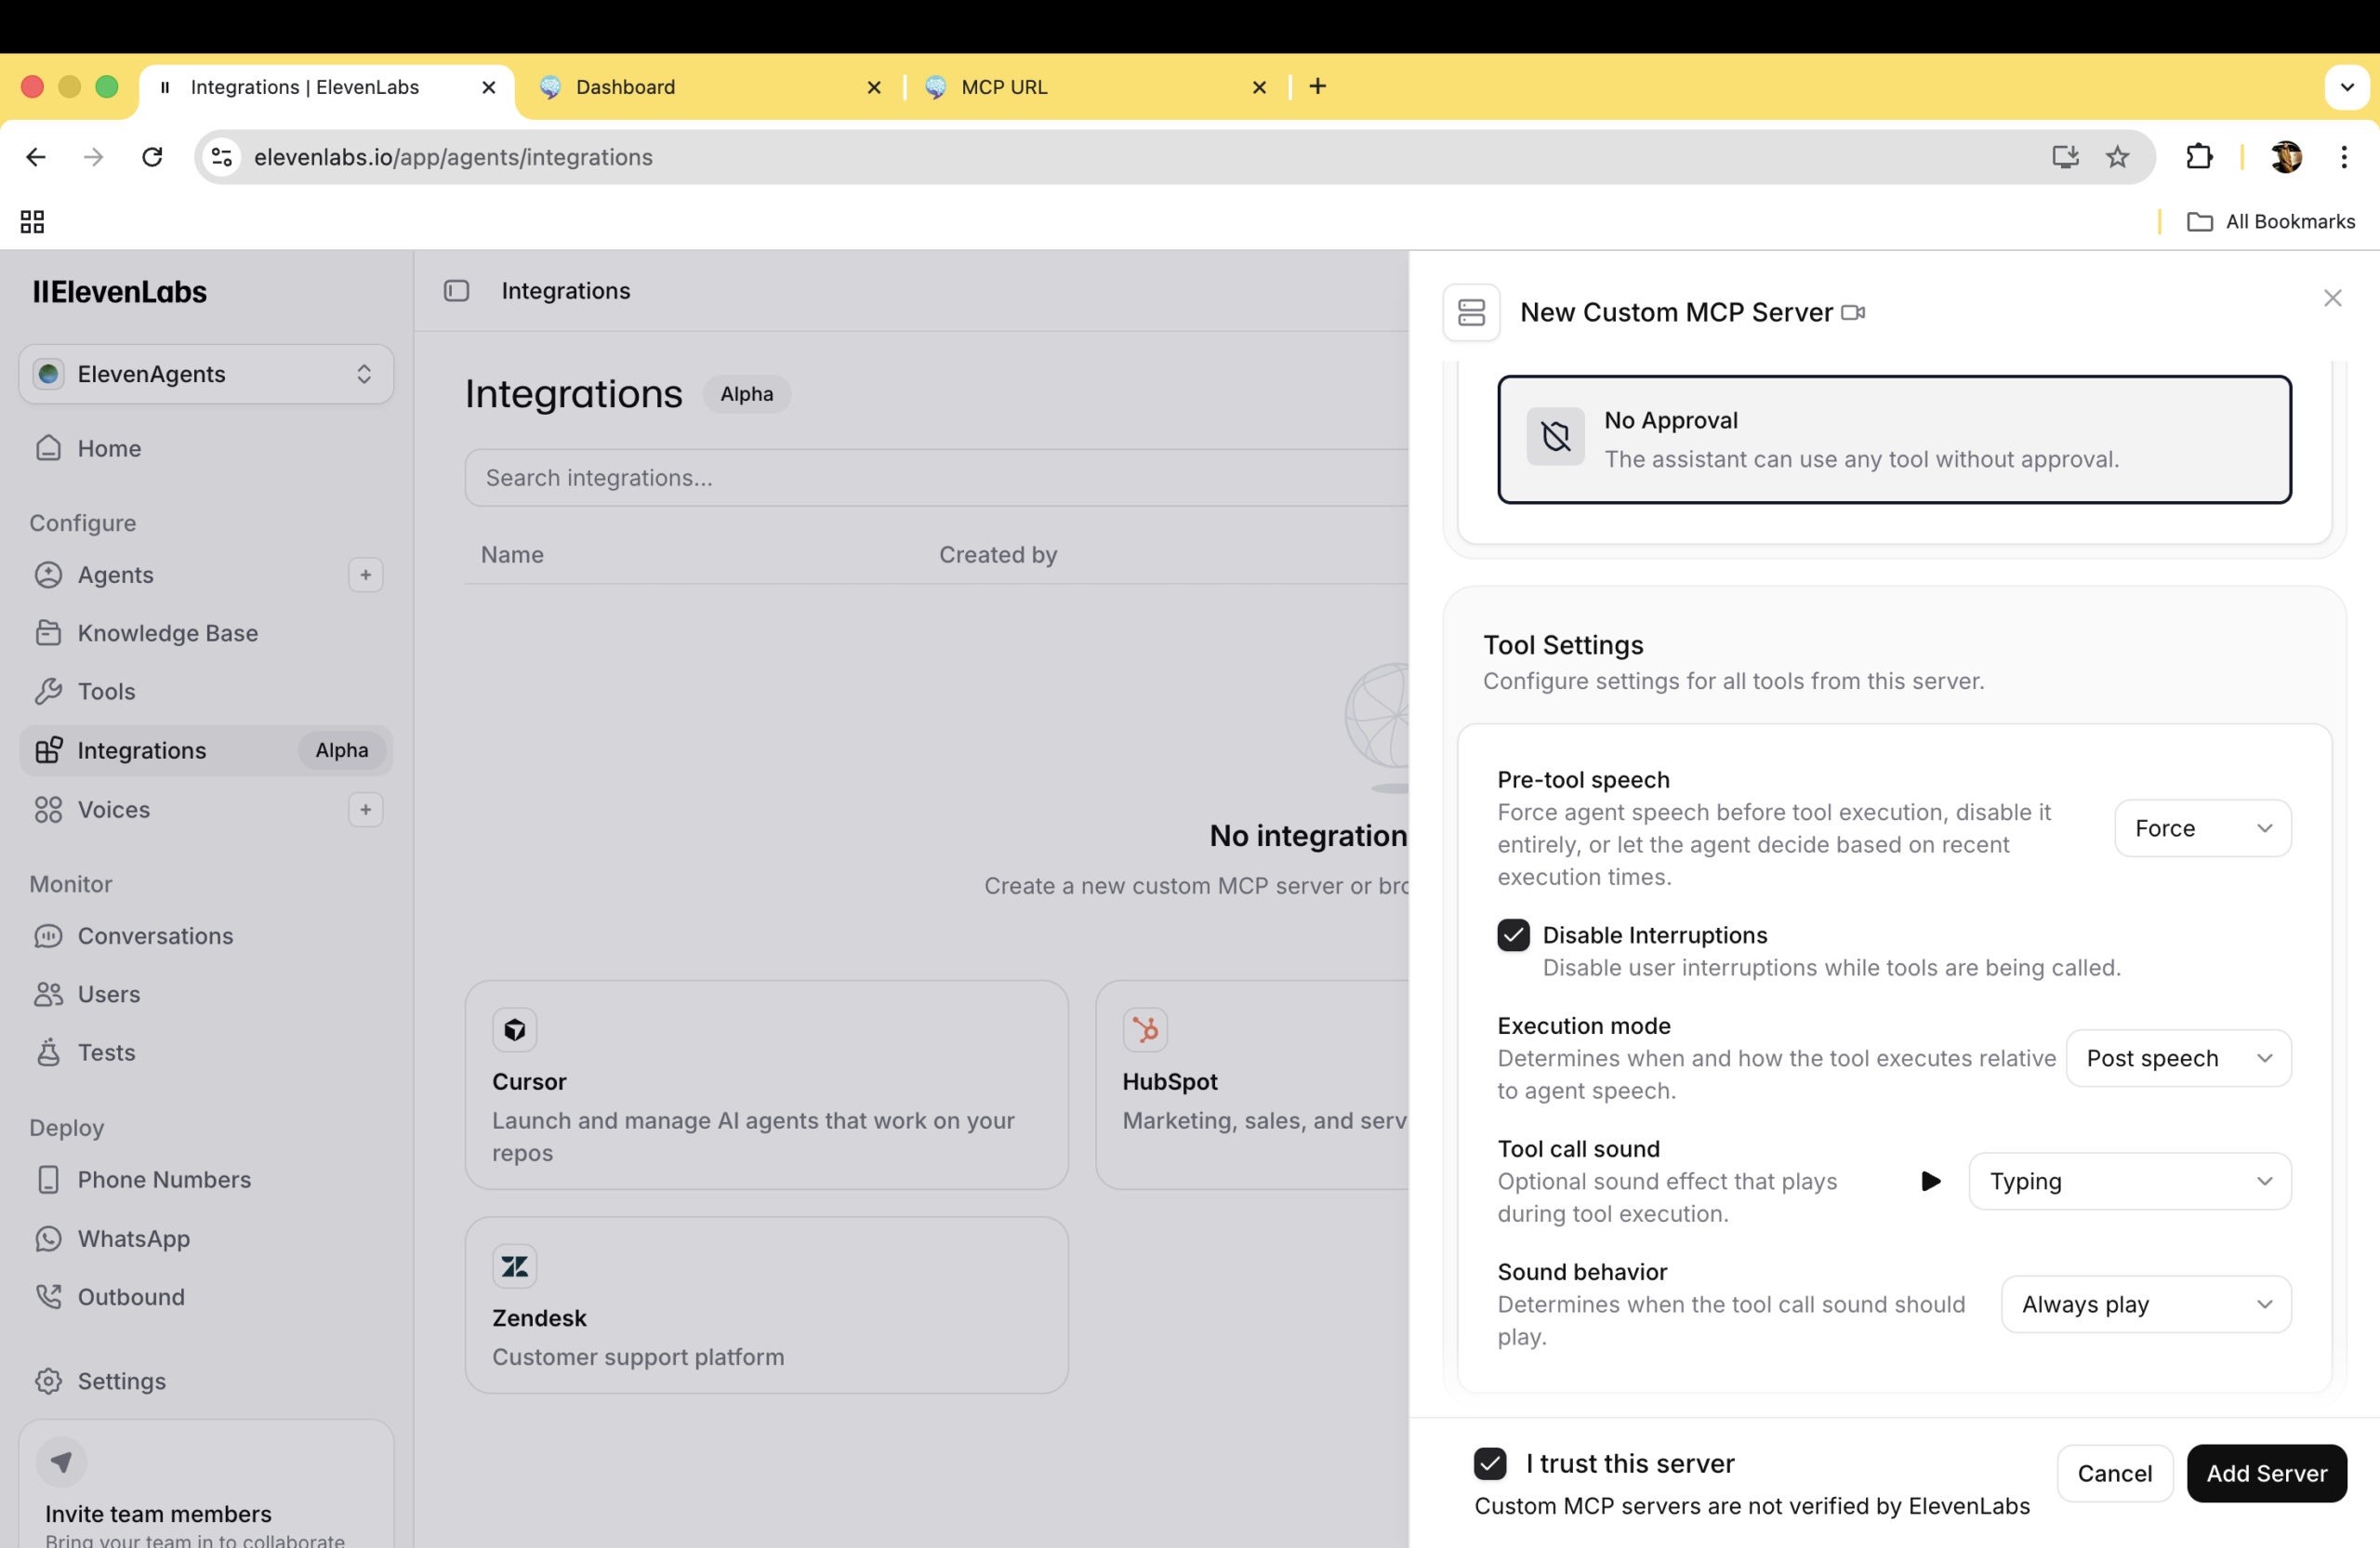
- Check “I trust this MCP server” and click Add Server
- Refresh the page and look for the green connection icon

Your Calendly tools will load automatically once connected.
Step 5: Make Sure Your Tools Are Visible
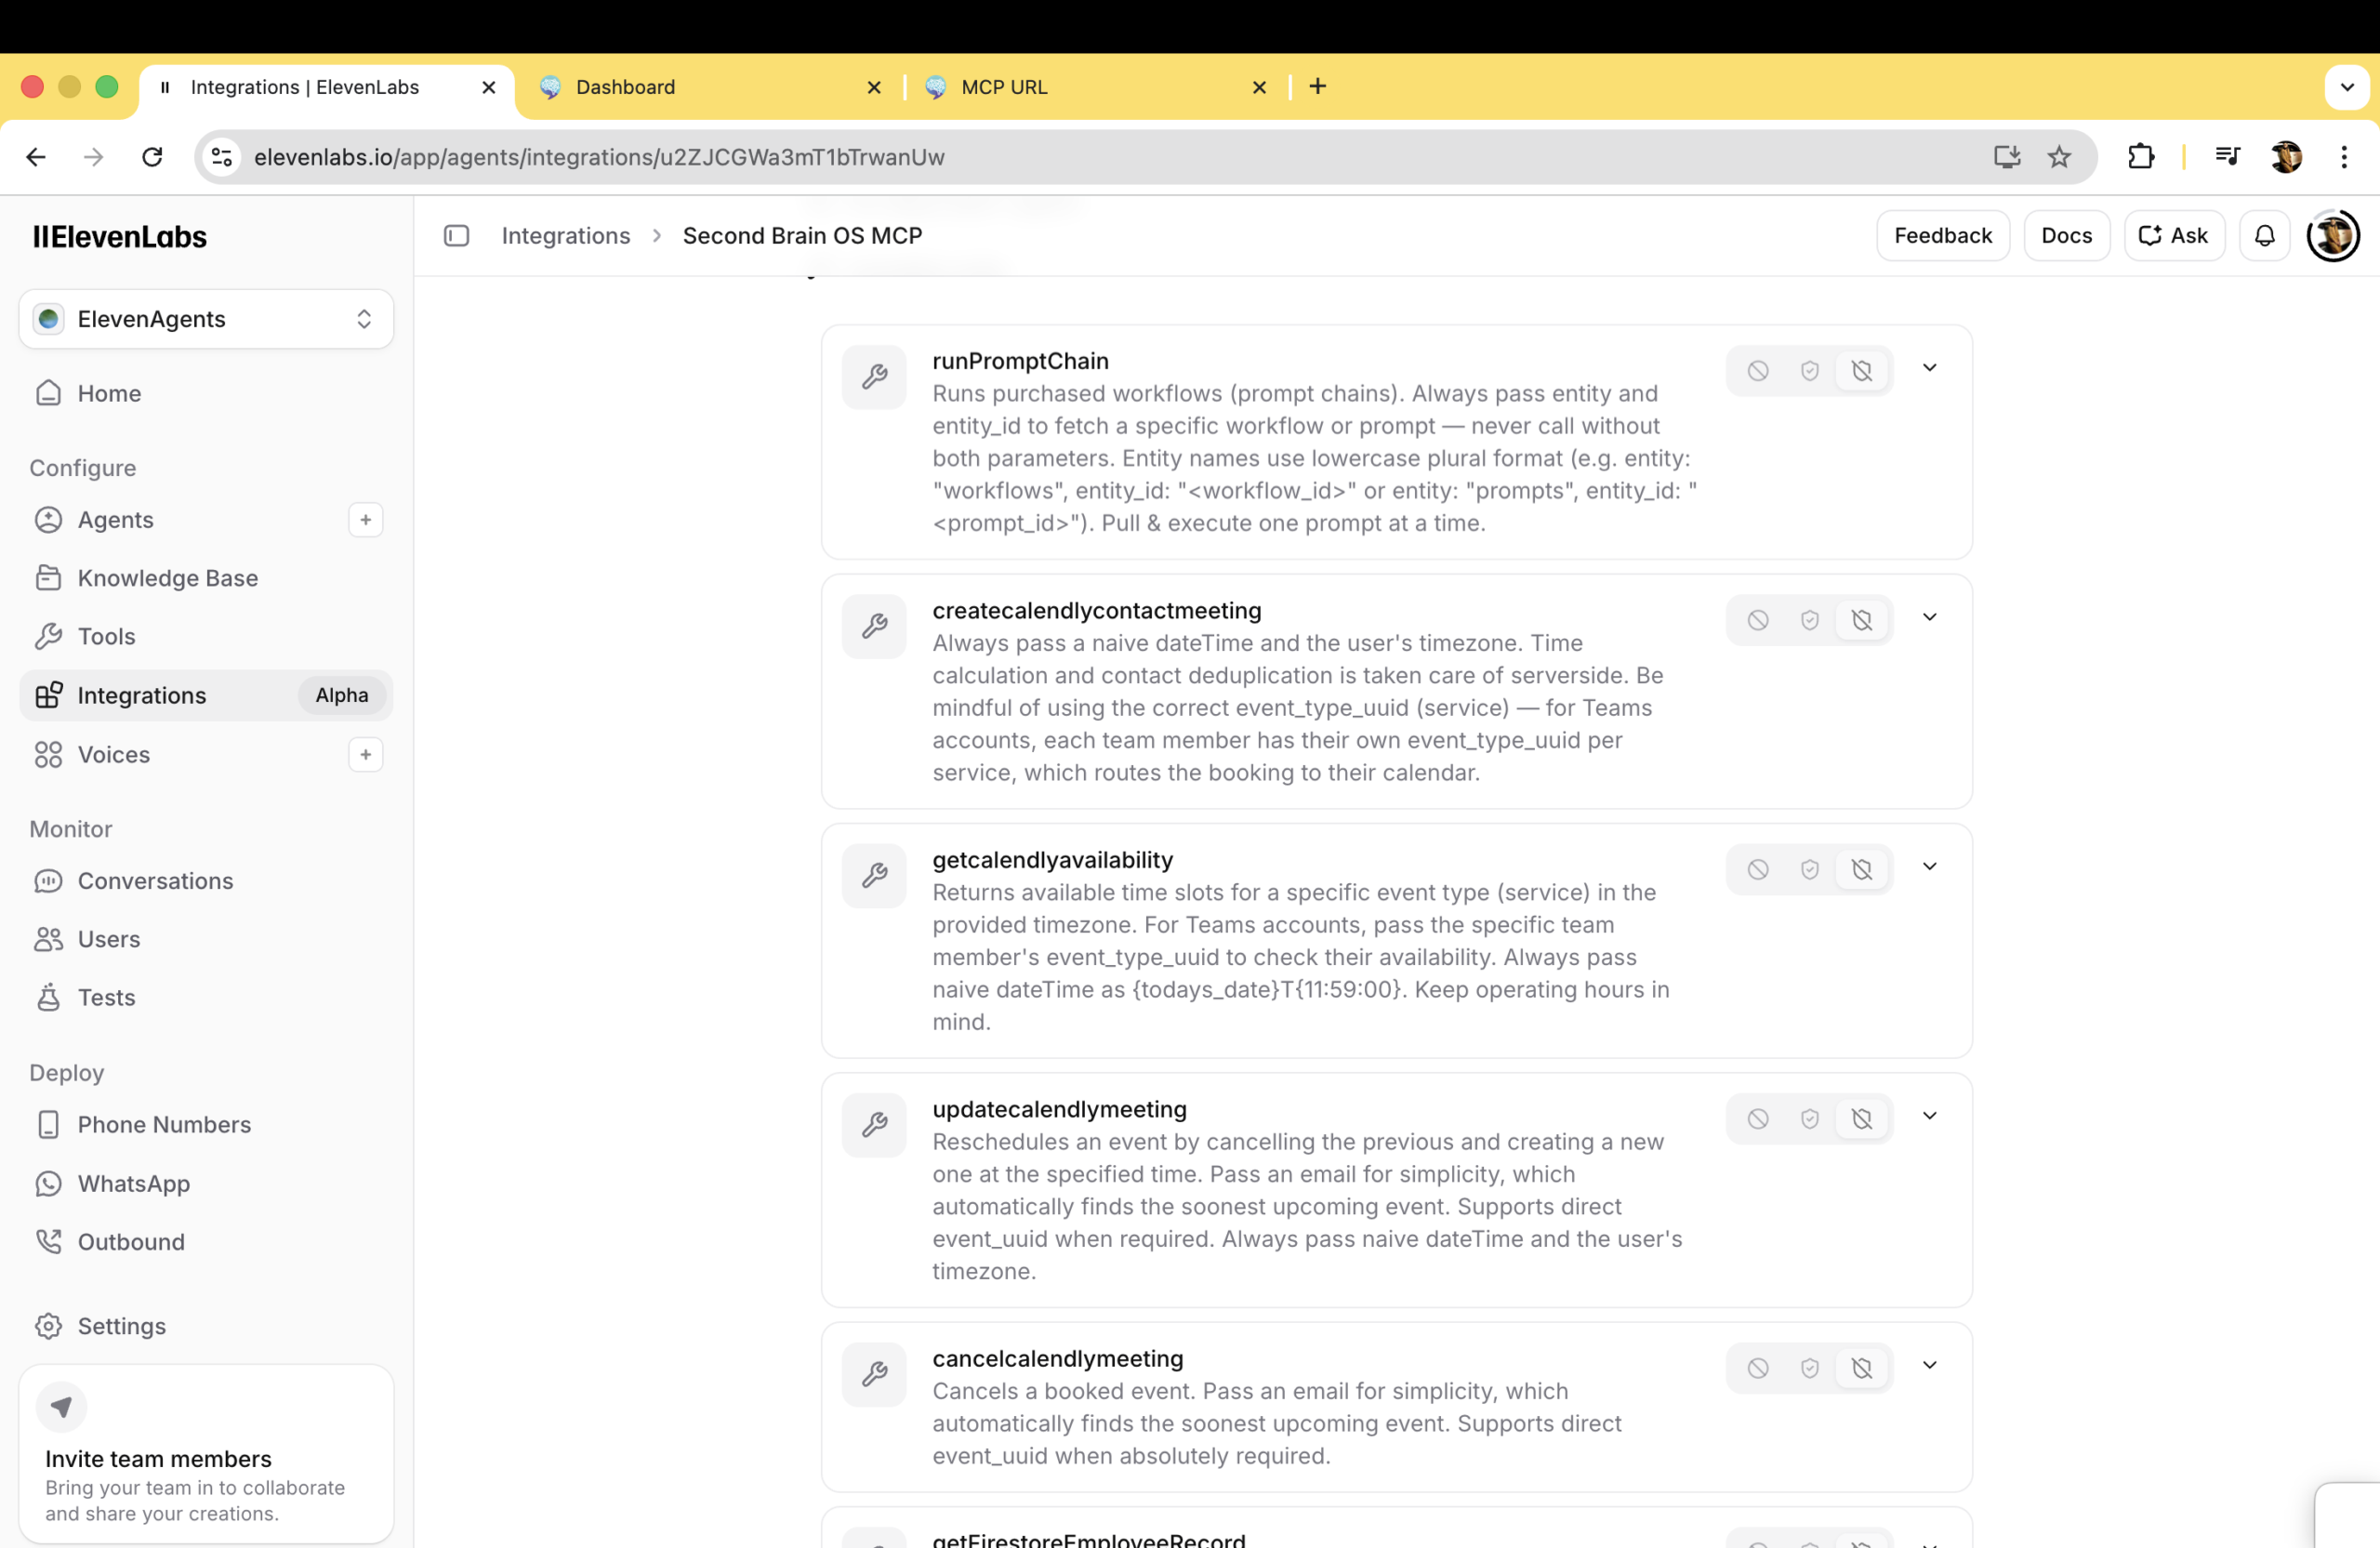
Your Calendly AI Receptionist comes with up to 7 scheduling tools, depending on which upgrades you’ve purchased. By default, the tools you own are already public and active:
If you’re ready this, you (probably) already have these (Product 2: Availability + Booking):
- getCalendlyAvailability: check open time slots
- createCalendlyContactMeeting: book appointments
You have these if you own the Reschedule & Cancel upgrade:
- updateCalendlyMeeting: reschedule appointments
- cancelCalendlyMeeting: cancel with reason tracking
These tools handle the entire appointment booking lifecycle your AI phone receptionist needs. For most setups, this is all you need. To verify or enable additional tools:
- Log in at secondbrainos.com
- Find each tool you want ElevenLabs to access
- Set visibility to
public - Set status to
active
There are 3 more advanced tools available if your business needs them. The tool visibility guide covers exactly when to use them and how to configure each one based on your scenario.
Step 6: Test & Optimize
- Click Preview / Test agent in ElevenLabs
- Make a live test call
- Try the full flow. Ask about availability, book an appointment, then (if you own the upgrade) reschedule it and cancel it
Common issues and fixes:
- AI interrupts the caller: add “never talk over the caller” to your prompt, and set Eagerness to Patient
- Weird tonality or phrasing: increase Stability (e.g. 0.55), adjust Similarity
- Over-qualifying before booking: update your prompt to lock in the appointment with minimal questions
After testing, verify your CRM data:
- Was the contact created?
- Is the appointment linked to the right contact?
- Did rescheduling and cancellation flow through correctly? (If you own the upgrade)
Once everything looks good, publish your agent.
How It Works Under the Hood
- A customer calls your AI phone receptionist
- ElevenLabs handles the conversation using your system prompt and LLM
- When the caller wants to book (or reschedule/cancel if you own those upgrades), ElevenLabs calls your Calendly tools via the SBOS MCP server
- The tools execute the action in Calendly, which syncs with your calendar, which syncs with your CRM
- The voice AI receptionist confirms the action to the caller in natural speech
All connector logic is rule-based and deterministic. No AI guessing on the backend. The data flows are resilient and zero-maintenance.
That’s it. Your Calendly AI Receptionist now handles phone calls. Customers call in, book appointments by voice, and everything lands in your CRM properly linked. Next up: check out the ChatKit guide if you want to add a website chat widget, or the Tool Visibility guide to fine-tune which tools your agent uses based on your business scenario.

