Where are you starting from?
Coming from the Quickstart? Your SBOS profile, OpenAI API key, domain, and public domain key are already configured from yesterday. Jump to the Calendly-only steps →. The only new field in your AI Agent Settings is calendly_access_token, which you’ll set in Step 2. Then read Step 4 to understand your new booking tools.
Starting fresh? Follow every step in order from the top.
Before you deploy to any channel. Website chat widget, voice, WhatsApp, or anything else. You need to configure your Second Brain OS account and understand the scheduling tools you now have access to. This guide covers everything you need to do first.
The channel-specific deployment guides (ChatKit for your website, ElevenLabs for voice) pick up where this one leaves off.
What you’ve just unlocked
Yesterday (or up until now) your AI receptionist answered questions and had natural conversations. From today it checks real availability and books directly into your calendar during the conversation. Same agent, same voice, same web widget. Now with hands.
Your Upgraded Agent Is Live
Log into your SBOS dashboard at secondbrainos.com. Your new Calendly tools (getCalendlyAvailability, createCalendlyContactMeeting, updateCalendlyMeeting, and cancelCalendlyMeeting) are already active in your account. They just need to be connected to your Calendly account, which is what the rest of this guide does.
*updateCalendlyMeeting & cancelCalendlyMeeting are included in the next upgrade.
Step 1: Set Up Your Calendly Account
If you don’t already have a Calendly account, you’ll need one. This is where your appointment booking system actually lives. The Calendly AI Receptionist connects to it via Second Brain OS MCP.
- Go to calendly.com and sign up
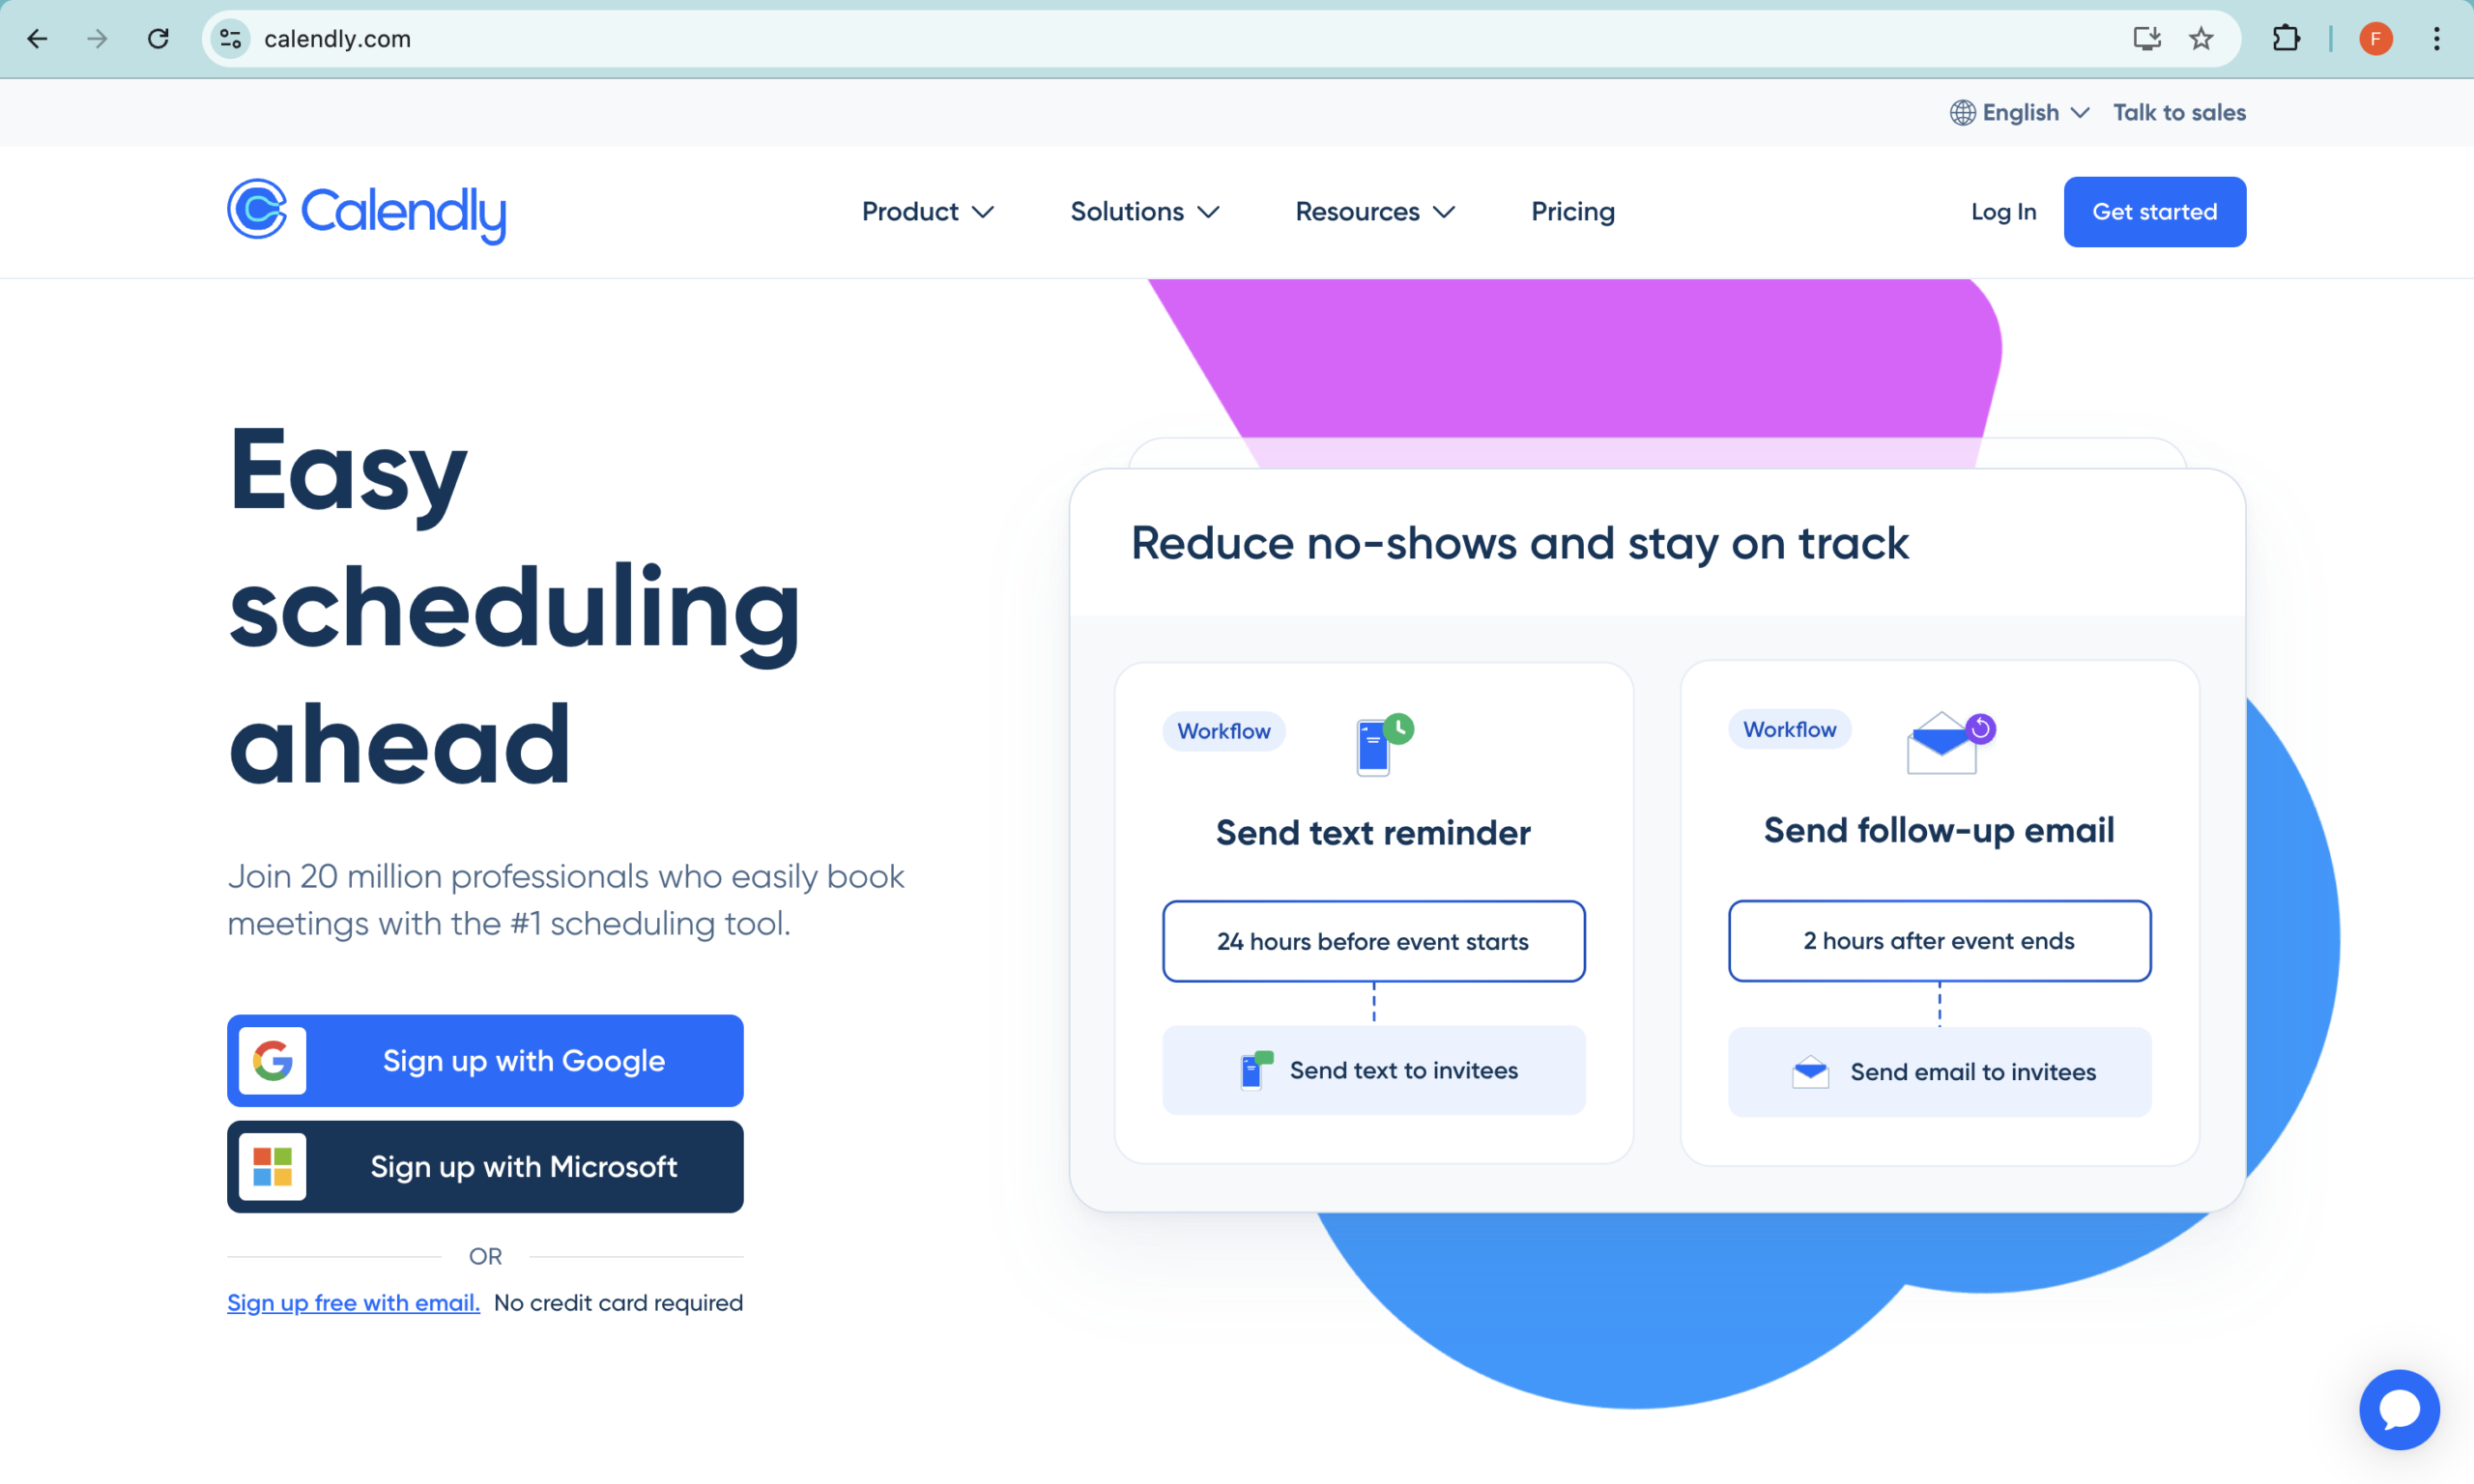
- Sign in with your Google or Microsoft account. This connects your calendar automatically
- During the onboarding flow, Calendly will walk you through creating your first event type (e.g. “30-min Meeting”). Create at least one. This is what your AI agent will use to book appointments
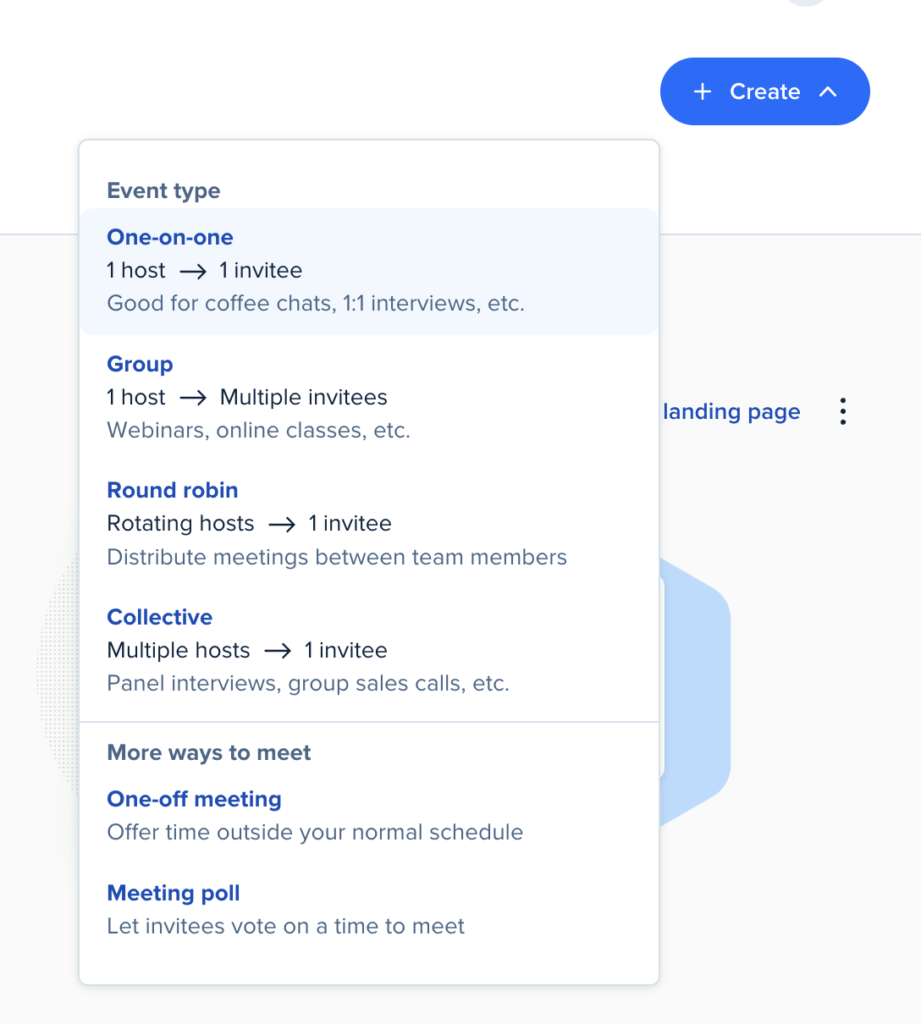
IMPORTANT: In calendly, event types are the different types of “meetings” or “services” you offer.
For example, one could be a workshop. Another could be a 1:1 consultation. Or one could be a Haircut and another could be a Facial.
Each event has slots. People book into your slots. And you have control over how long a slot is. For now, set up a single event (e.g 1:1 consultation) and set the slot time to 15, 30 or 60 minutes.
The smaller the slot, the more people can book. The longer the slot, the fewer people can book. The AI respects this to prevent anyone from “double booking” into the same slot.
The exception is when you have configured your event in calendly to be “1 to Many” (e.g Workshop). This of course allows multiple people to book into a single slot (i.e they attend the workshop at the same time). Of course, you can also limit this to (for example) “no more than 10 people can book at the sametime”. This limits how many people can attend it, for first come first serve or limited seats scenario.
- Once your account is set up, you need a Personal Access Token: this is what allows Second Brain OS to talk to your Calendly account:
- Go to calendly.com/integrations/api_webhooks
- Click Generate New Token
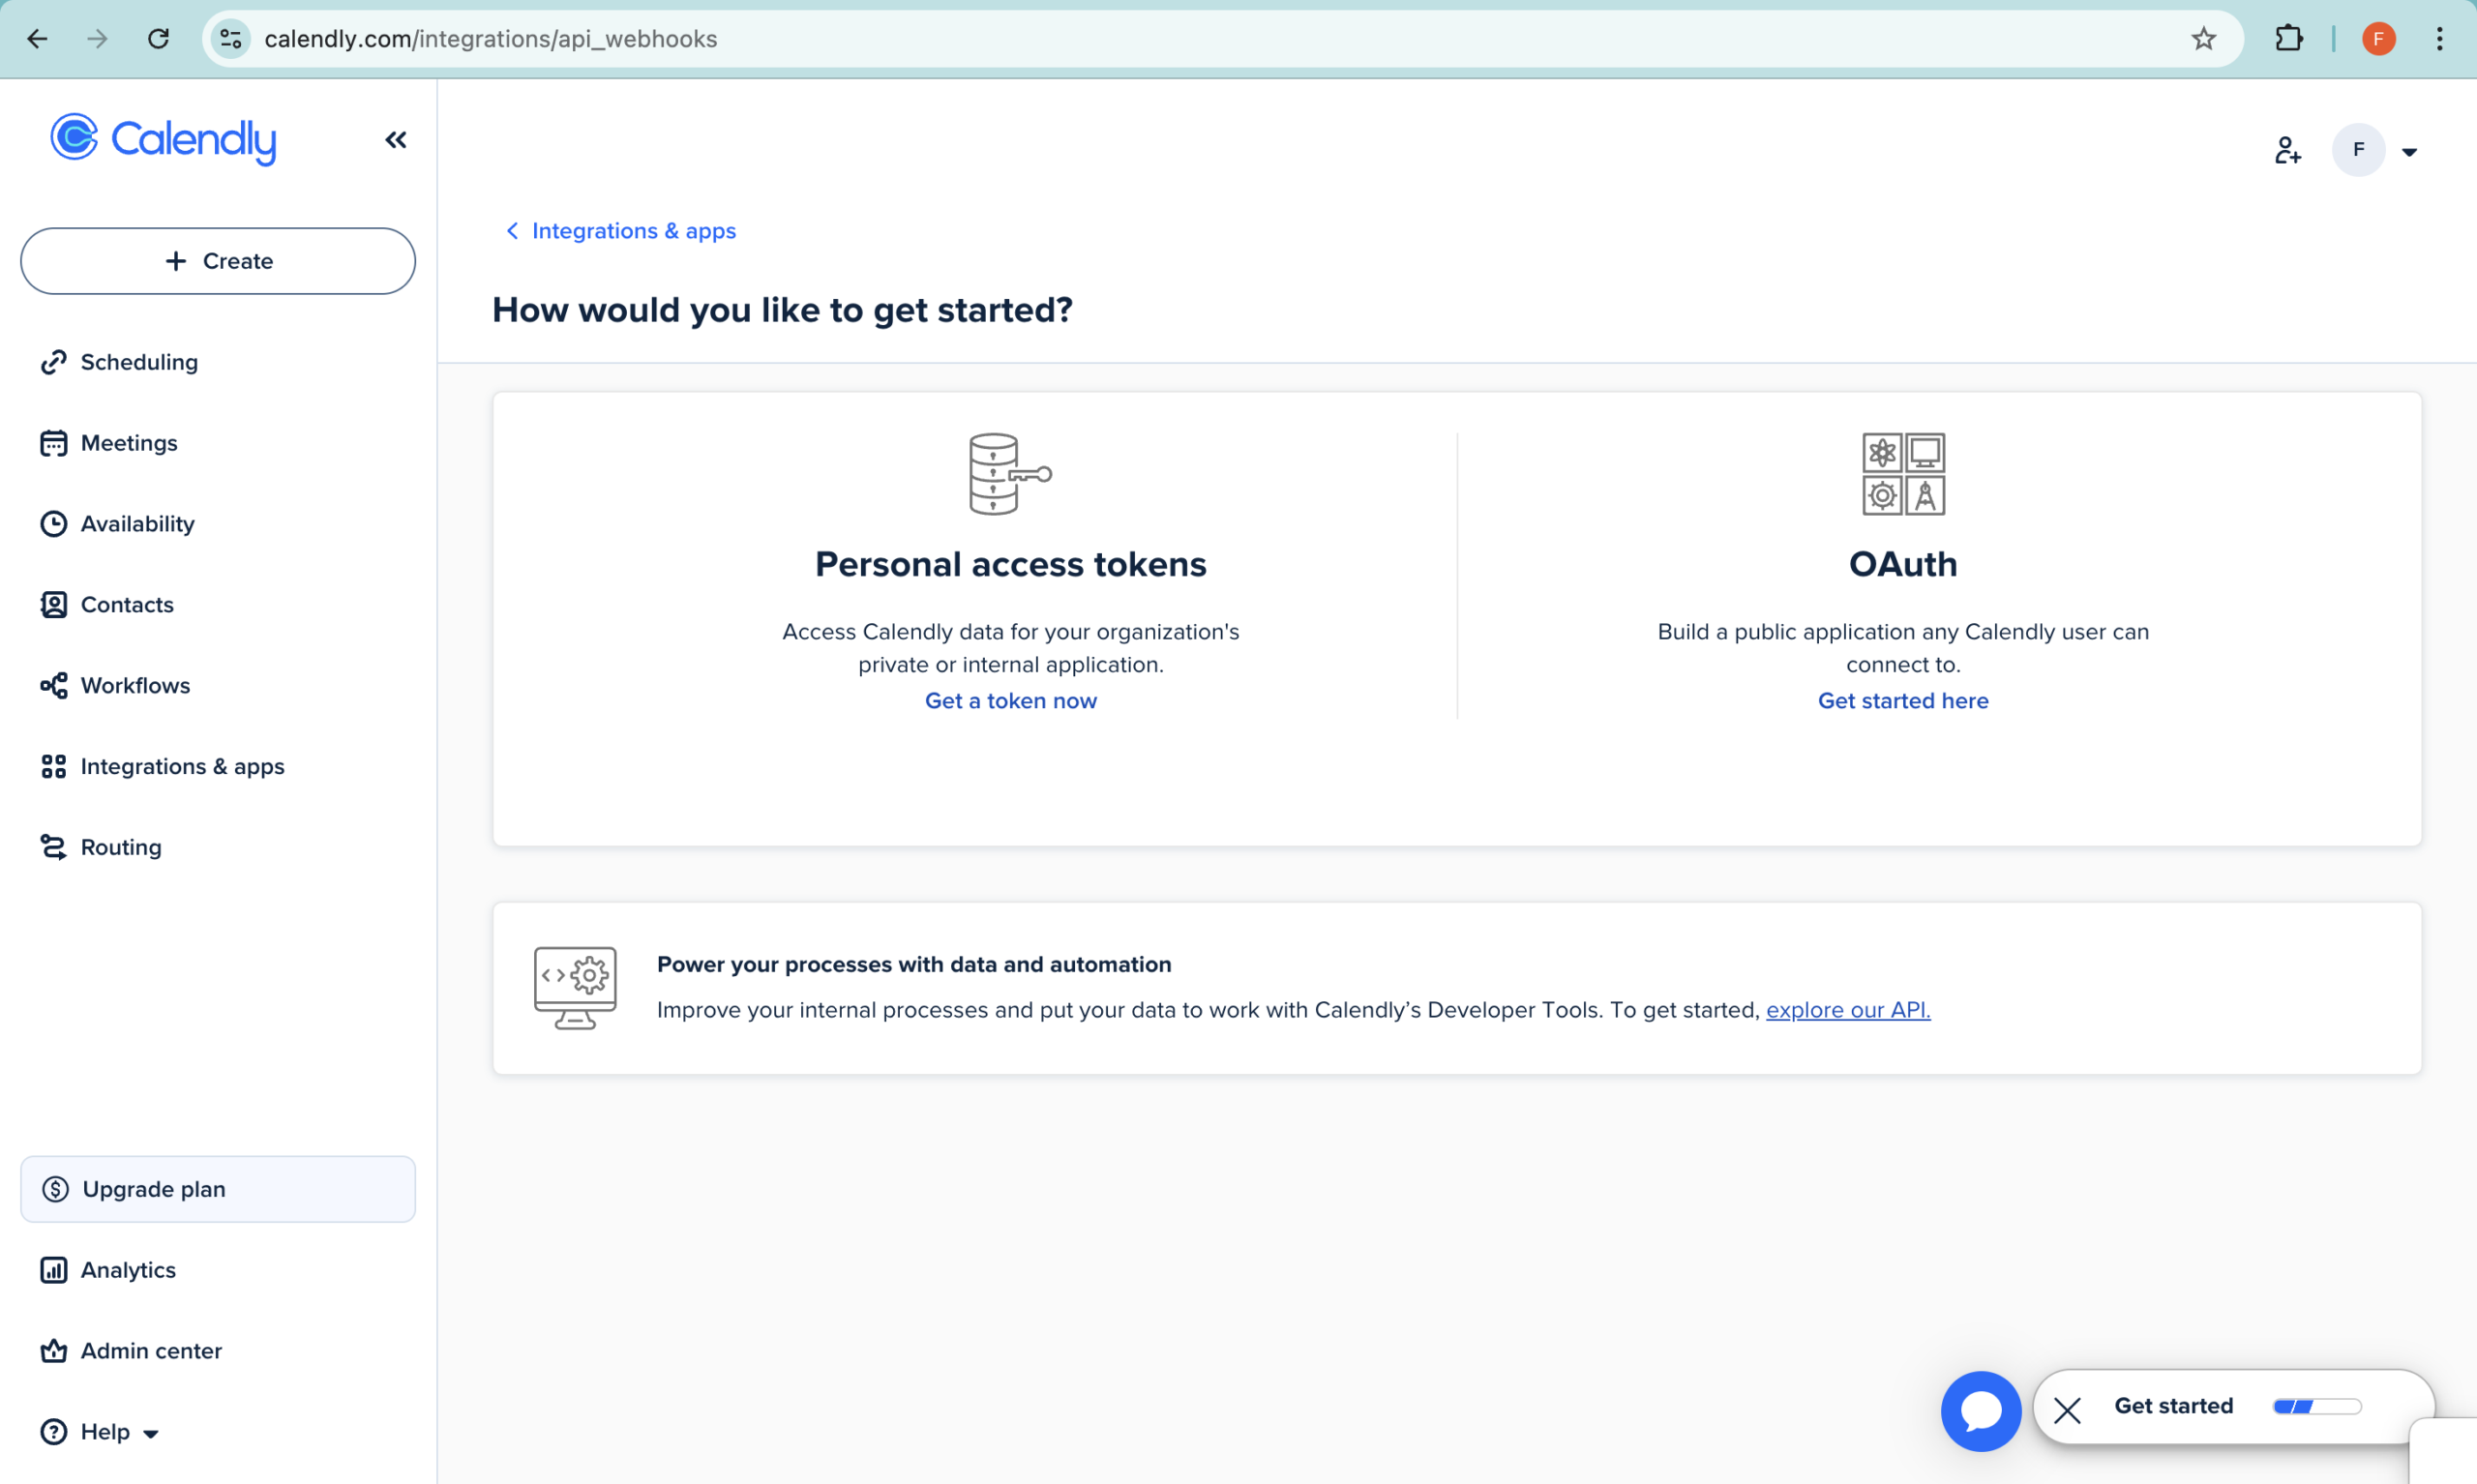
- Give it a name (e.g. “Second Brain OS”)
- Copy the token and save it securely. You’ll need it in the next step
Step 2: Log In to Second Brain OS & Connect Calendly
- Go to secondbrainos.com and log in
- Click the “Update CRM Settings” button. This opens a modal with 3 fields:
- calendly_access_token: paste your Calendly Personal Access Token here
- crm: leave empty for now (used when connecting a CRM like HubSpot or Pipedrive)
- crm_api_key: leave empty for now
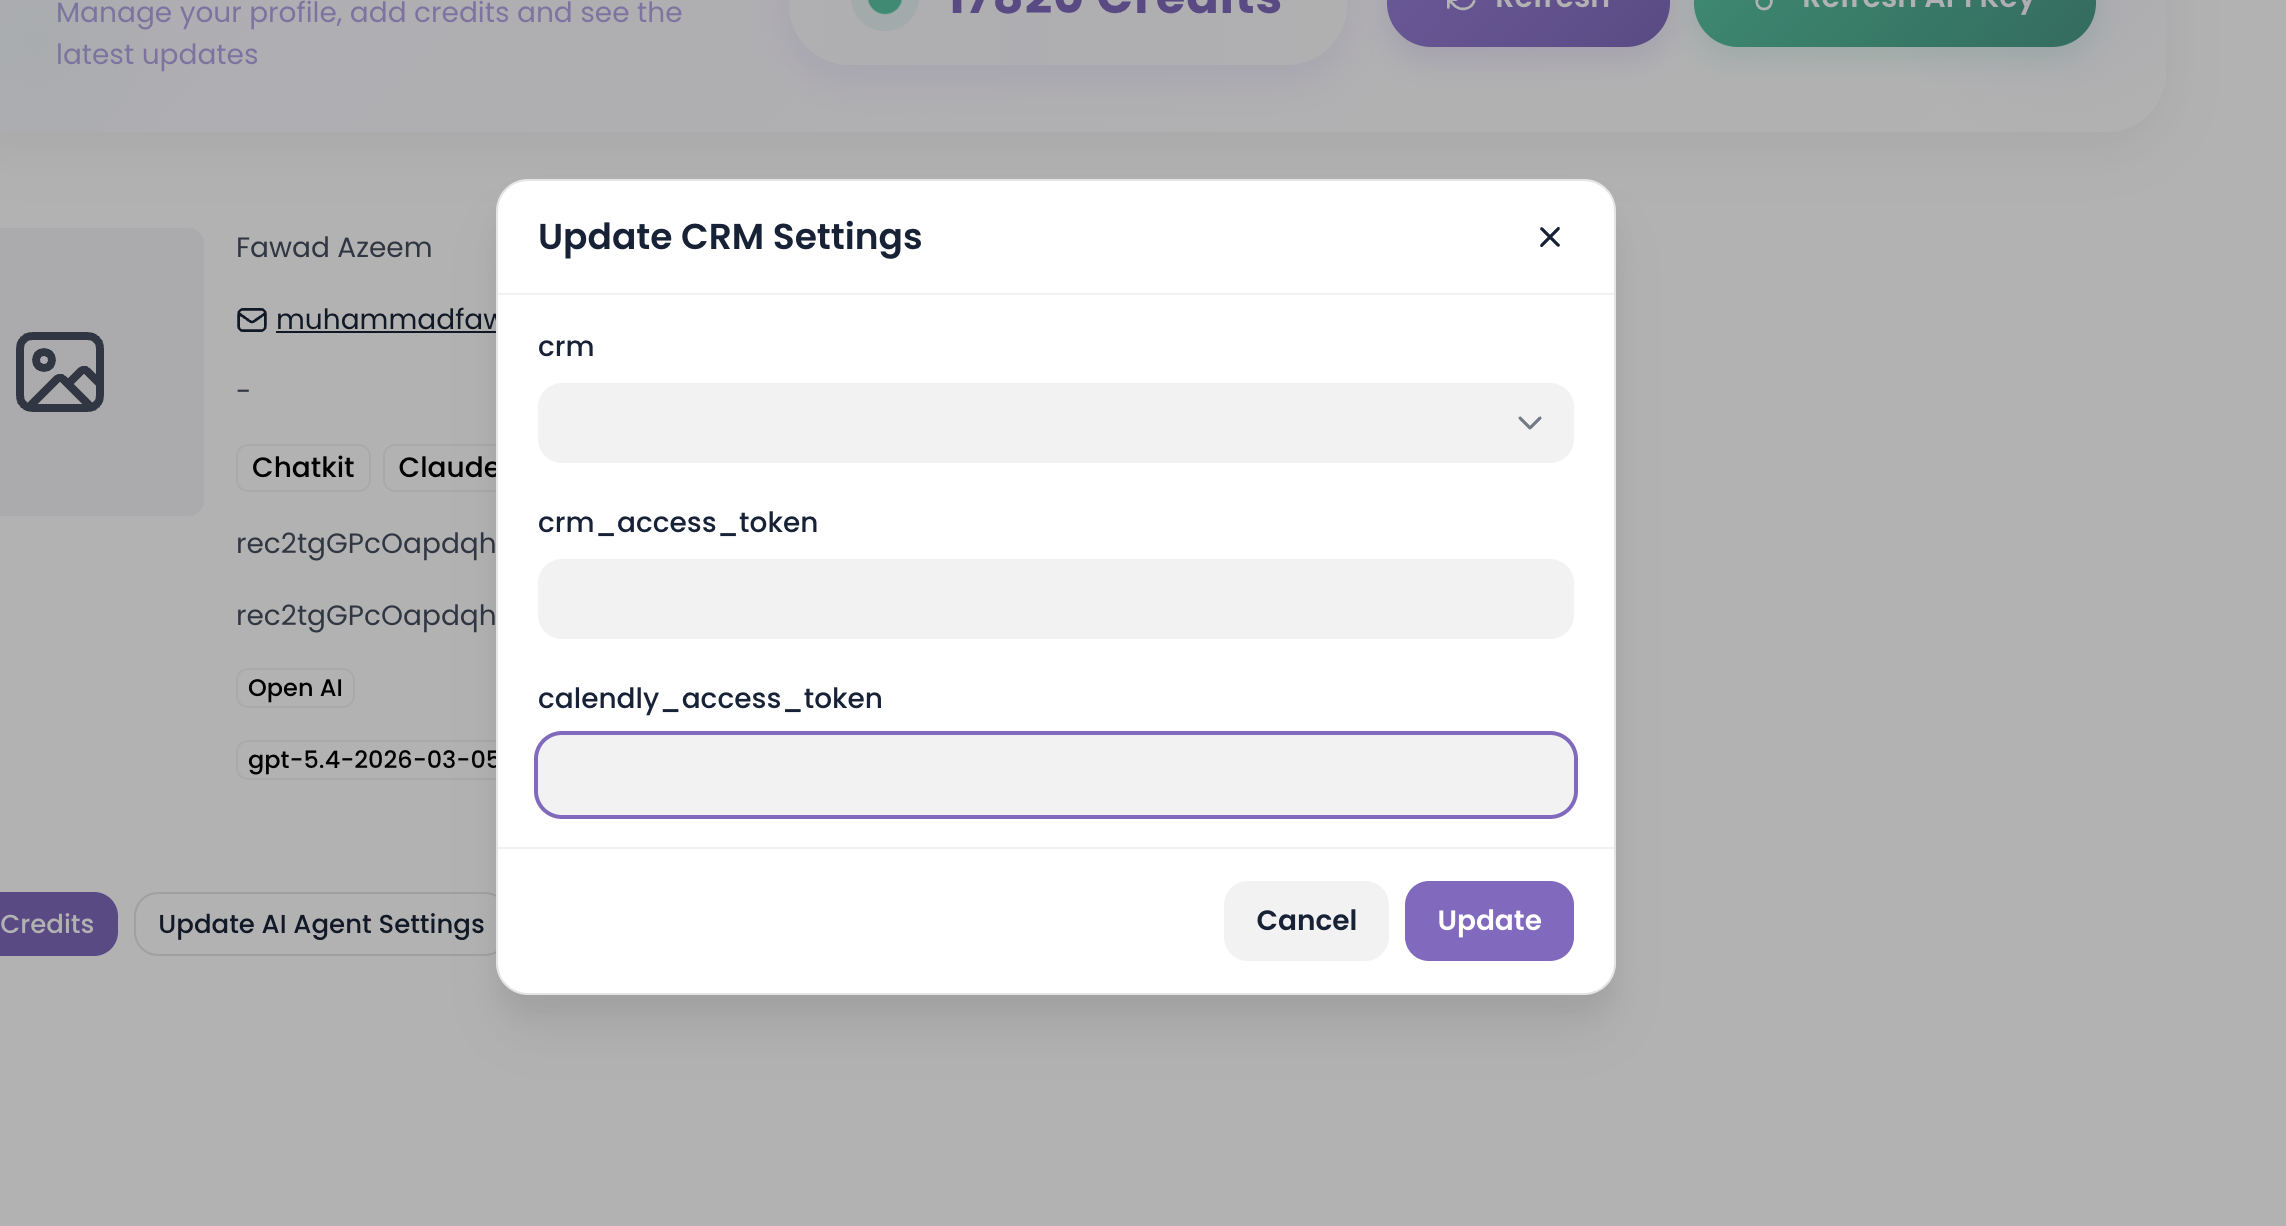
- Update. Your Calendly account is now connected to Second Brain OS
Step 3: Configure Your AI Agent Settings
Navigate to your Profile → AI Agent Settings. These settings control how your AI receptionist behaves across all channels:
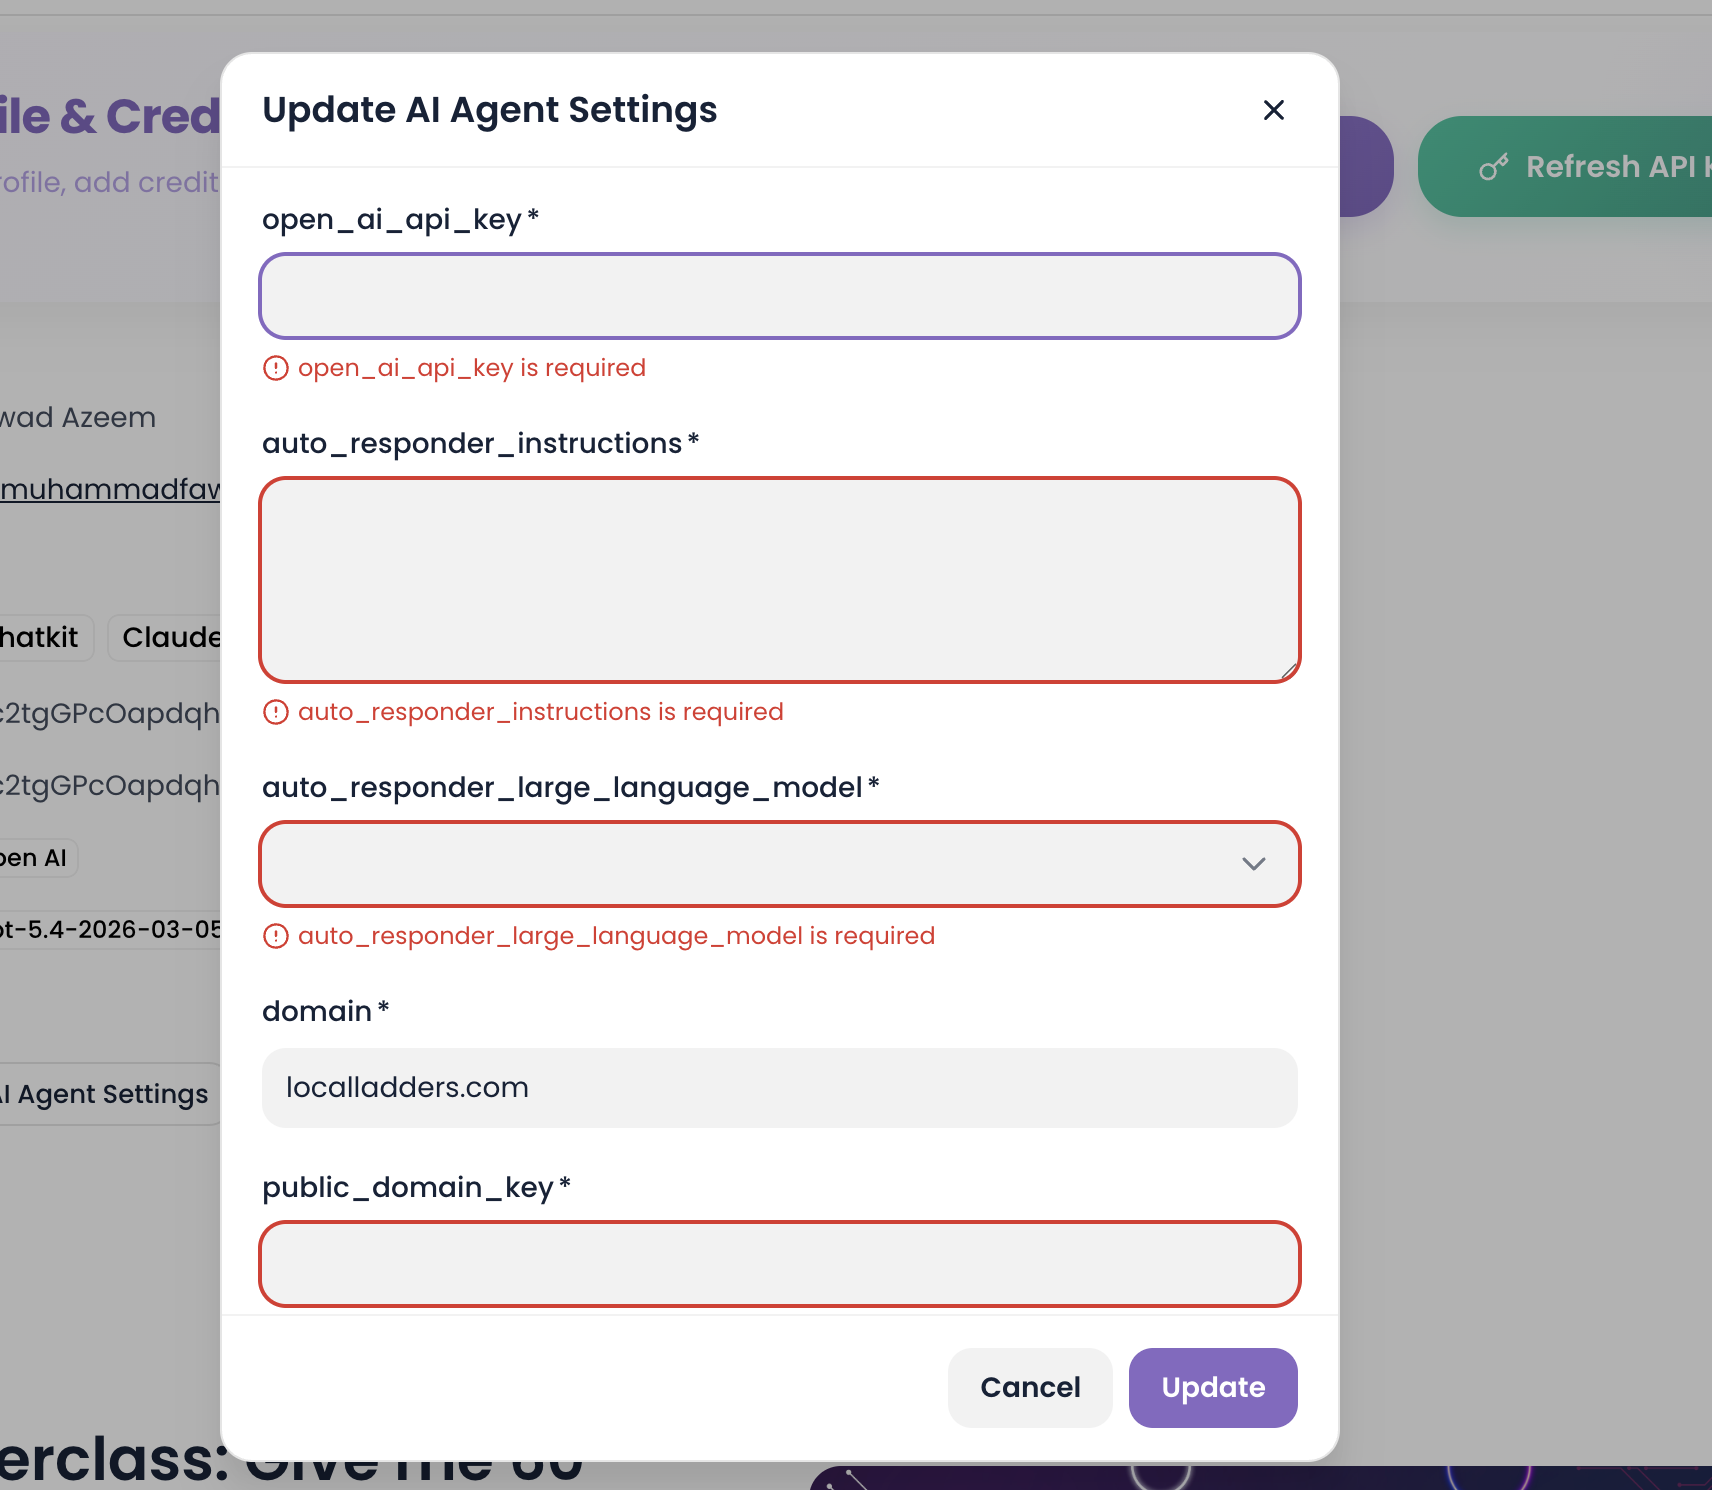
- System prompt (
auto_responder_instructions): paste the with-tools version of the humaniser prompt that came with this upgrade. This is the version that knows how to call your Calendly tools and handle booking conversations. Update it with your business name, location, hours, and any specialist info. Same as the Quickstart, just the with-tools template instead of the no-tools one - LLM model (
auto_responder_large_language_model): bump this to a smarter model (e.g.gpt-5.4or whatever’s currently listed as the recommended tool-calling model). The cheaper, faster models from the Quickstart don’t have the horsepower to handle tool calls reliably - OpenAI API key (
open_ai_api_key): required for ChatKit deployments. Get yours at platform.openai.com/api-keys - Domain: the domain where your ChatKit widget will live (must match the OpenAI domain allowlist). Required for ChatKit deployments
- Public domain key (
domain_pk_xxx): used by ChatKit to authenticate from the browser without exposing your API key. Configure it at platform.openai.com/settings/organization/security/domain-allowlist
Save your settings once configured.
Step 4: Understand The Core Calendly Tools
Your Calendly AI Receptionist comes with 7 scheduling tools. They break into two tiers: 4 core tools that handle the standard booking lifecycle, and 3 advanced tools for more complex scenarios.
Today’s focus: the two booking tools,
getCalendlyAvailabilityandcreateCalendlyContactMeeting. These are what got activated in your account on purchase. The other two core tools listed below (updateCalendlyMeetingandcancelCalendlyMeeting) are part of the next upgrade (Search, Reschedule & Cancel). If you already own that upgrade, all four are active and you’ll wire them up properly in the next blog. If you don’t own it yet and want full lifecycle control once you’ve finished today’s setup, grab the Reschedule & Cancel upgrade →.
The 4 Core Tools (Public by Default)
These are already set to public visibility and active status. They cover 90% of scheduling use cases:
getCalendlyAvailability: Fetches available time slots for your Calendly event type in the invitee’s timezone. Always pass both start_time and end_time as YYYY-MM-DD dates. For a single-day lookup, set them equal and pass multi_day: false. For ‘when are they next available’, set start_time to today and end_time up to 30 days ahead with multi_day: true — slots come back grouped by date under available_times_by_date. The service chunks Calendly’s internal 7-day API cap automatically, so up to 30 days in one call is fine. Your agent uses this to say ‘I have openings at 2pm, 3:15pm, and 4:30pm. Which works best?’
createCalendlyContactMeeting: The main booking tool. Creates or finds a contact and schedules a new event through the Calendly Scheduling API. Pass the contact’s name, email, phone (in E.164 format — e.g. +14155551234), timezone, and the scheduled datetime. The tool handles timezone conversion, deduplication of existing contacts, picking the correct event in Calendly, and inviting the contact to the meeting. The bundled humaniser prompt instructs the AI to confirm the caller’s country and format the phone number to E.164 before booking — Calendly rejects non-E.164 input.
updateCalendlyMeeting (part of the Reschedule & Cancel upgrade): Reschedules an existing Calendly event. Works two ways: pass a specific calendly event id (event_uuid) directly, or pass the customer’s email and the tool automatically finds their soonest upcoming appointment. Cancels the old event and creates a new one at the specified time. Why this is great: Calendly has no direct reschedule API, so this handles the cancel-and-update seamlessly. Something that would take 20+ steps in n8n, Zapier and other no-code/low-code tools.
cancelCalendlyMeeting (part of the Reschedule & Cancel upgrade): Cancels a scheduled event and optionally allows adding a cancellation reason. And yes, it verifies the event exists and isn’t already cancelled before proceeding. Returns cancellation details including invitee info so your agent can confirm back to the customer
What’s Next
Your SBOS account is configured and you understand your appointment booking tools. Now pick a channel to deploy your AI receptionist to:
- Website chat widget (ChatKit): add an AI receptionist to your website. Embed on WordPress, Wix, Squarespace, or any site
- Voice (ElevenLabs): a natural voice AI receptionist that handles phone calls
- Advanced tools & multi-event setups: handle multiple appointment types, lead capture, and booking lookups
Each deployment guide assumes you’ve completed this setup guide first.

