Note: This guide uses the Calendly AI Receptionist as the example, but the ChatKit (Website) deployment process is identical regardless of which AI agent you purchased. Whether you have a content creation agent, a business systems agent, or an industry-specific receptionist, the steps for adding ChatKit to your website are exactly the same. Your agent’s tools and knowledge are already configured in Second Brain OS; ChatKit is just the window your customers interact through.
Hey there. Your Calendly AI Receptionist is configured and your booking tools are live. Now let’s put it on your website. By the end of this guide you’ll have a chat widget where customers can check availability and book appointments through a conversation. If you’ve also purchased the Reschedule & Cancel upgrade, the same widget handles those flows too. If you haven’t, customers who need to change a booking will be told to contact you directly.
Pick your path
- Already deployed to Vercel from the Quickstart and want the agent on your existing website now? → Skip to Option 2: Embed ChatKit on Your Existing Website.
- Starting fresh, no Vercel deploy yet? → Option 1: Deploy to Vercel is the fastest way to go live. Recommended.
Quick Recap: AI Receptionist Settings & Domain Configuration
Already completed the Quickstart? Your API key, domain, and most of these settings are already in place. The 3 things to confirm are:
- That your system prompt is now the with-tools version.
- Your Calendly booking tools are “Active” and set to “Public”, and the prompt needs to know how to use them.
- If you now want to add the AI Agent to your own website, you will have to add your domain to Open AI’s allow list, and then add both, your domain & your newly generated public_domain_key.
Regardless of whether you did the quick start or you’re starting fresh, you just have to make sure these settings are configured in your Second Brain OS profile (Profile → AI Agent Settings):
- OpenAI API key (
open_ai_api_key): required for ChatKit. Get yours at platform.openai.com/api-keys - System prompt (
auto_responder_instructions): defines your AI receptionist’s personality, tone, and appointment booking logic - LLM model (
auto_responder_large_language_model): the model your AI receptionist uses (e.g.gpt-4o) - Domain: the exact domain where your ChatKit widget will live (e.g.
yourbusiness.com) - Public domain key (
domain_pk_xxx): used by ChatKit to authenticate from the browser without exposing your API key
Domain allowlist: you also need to add your domain to OpenAI’s allowlist so ChatKit is authorized to make requests from your site:
- Go to platform.openai.com/settings/organization/security/domain-allowlist
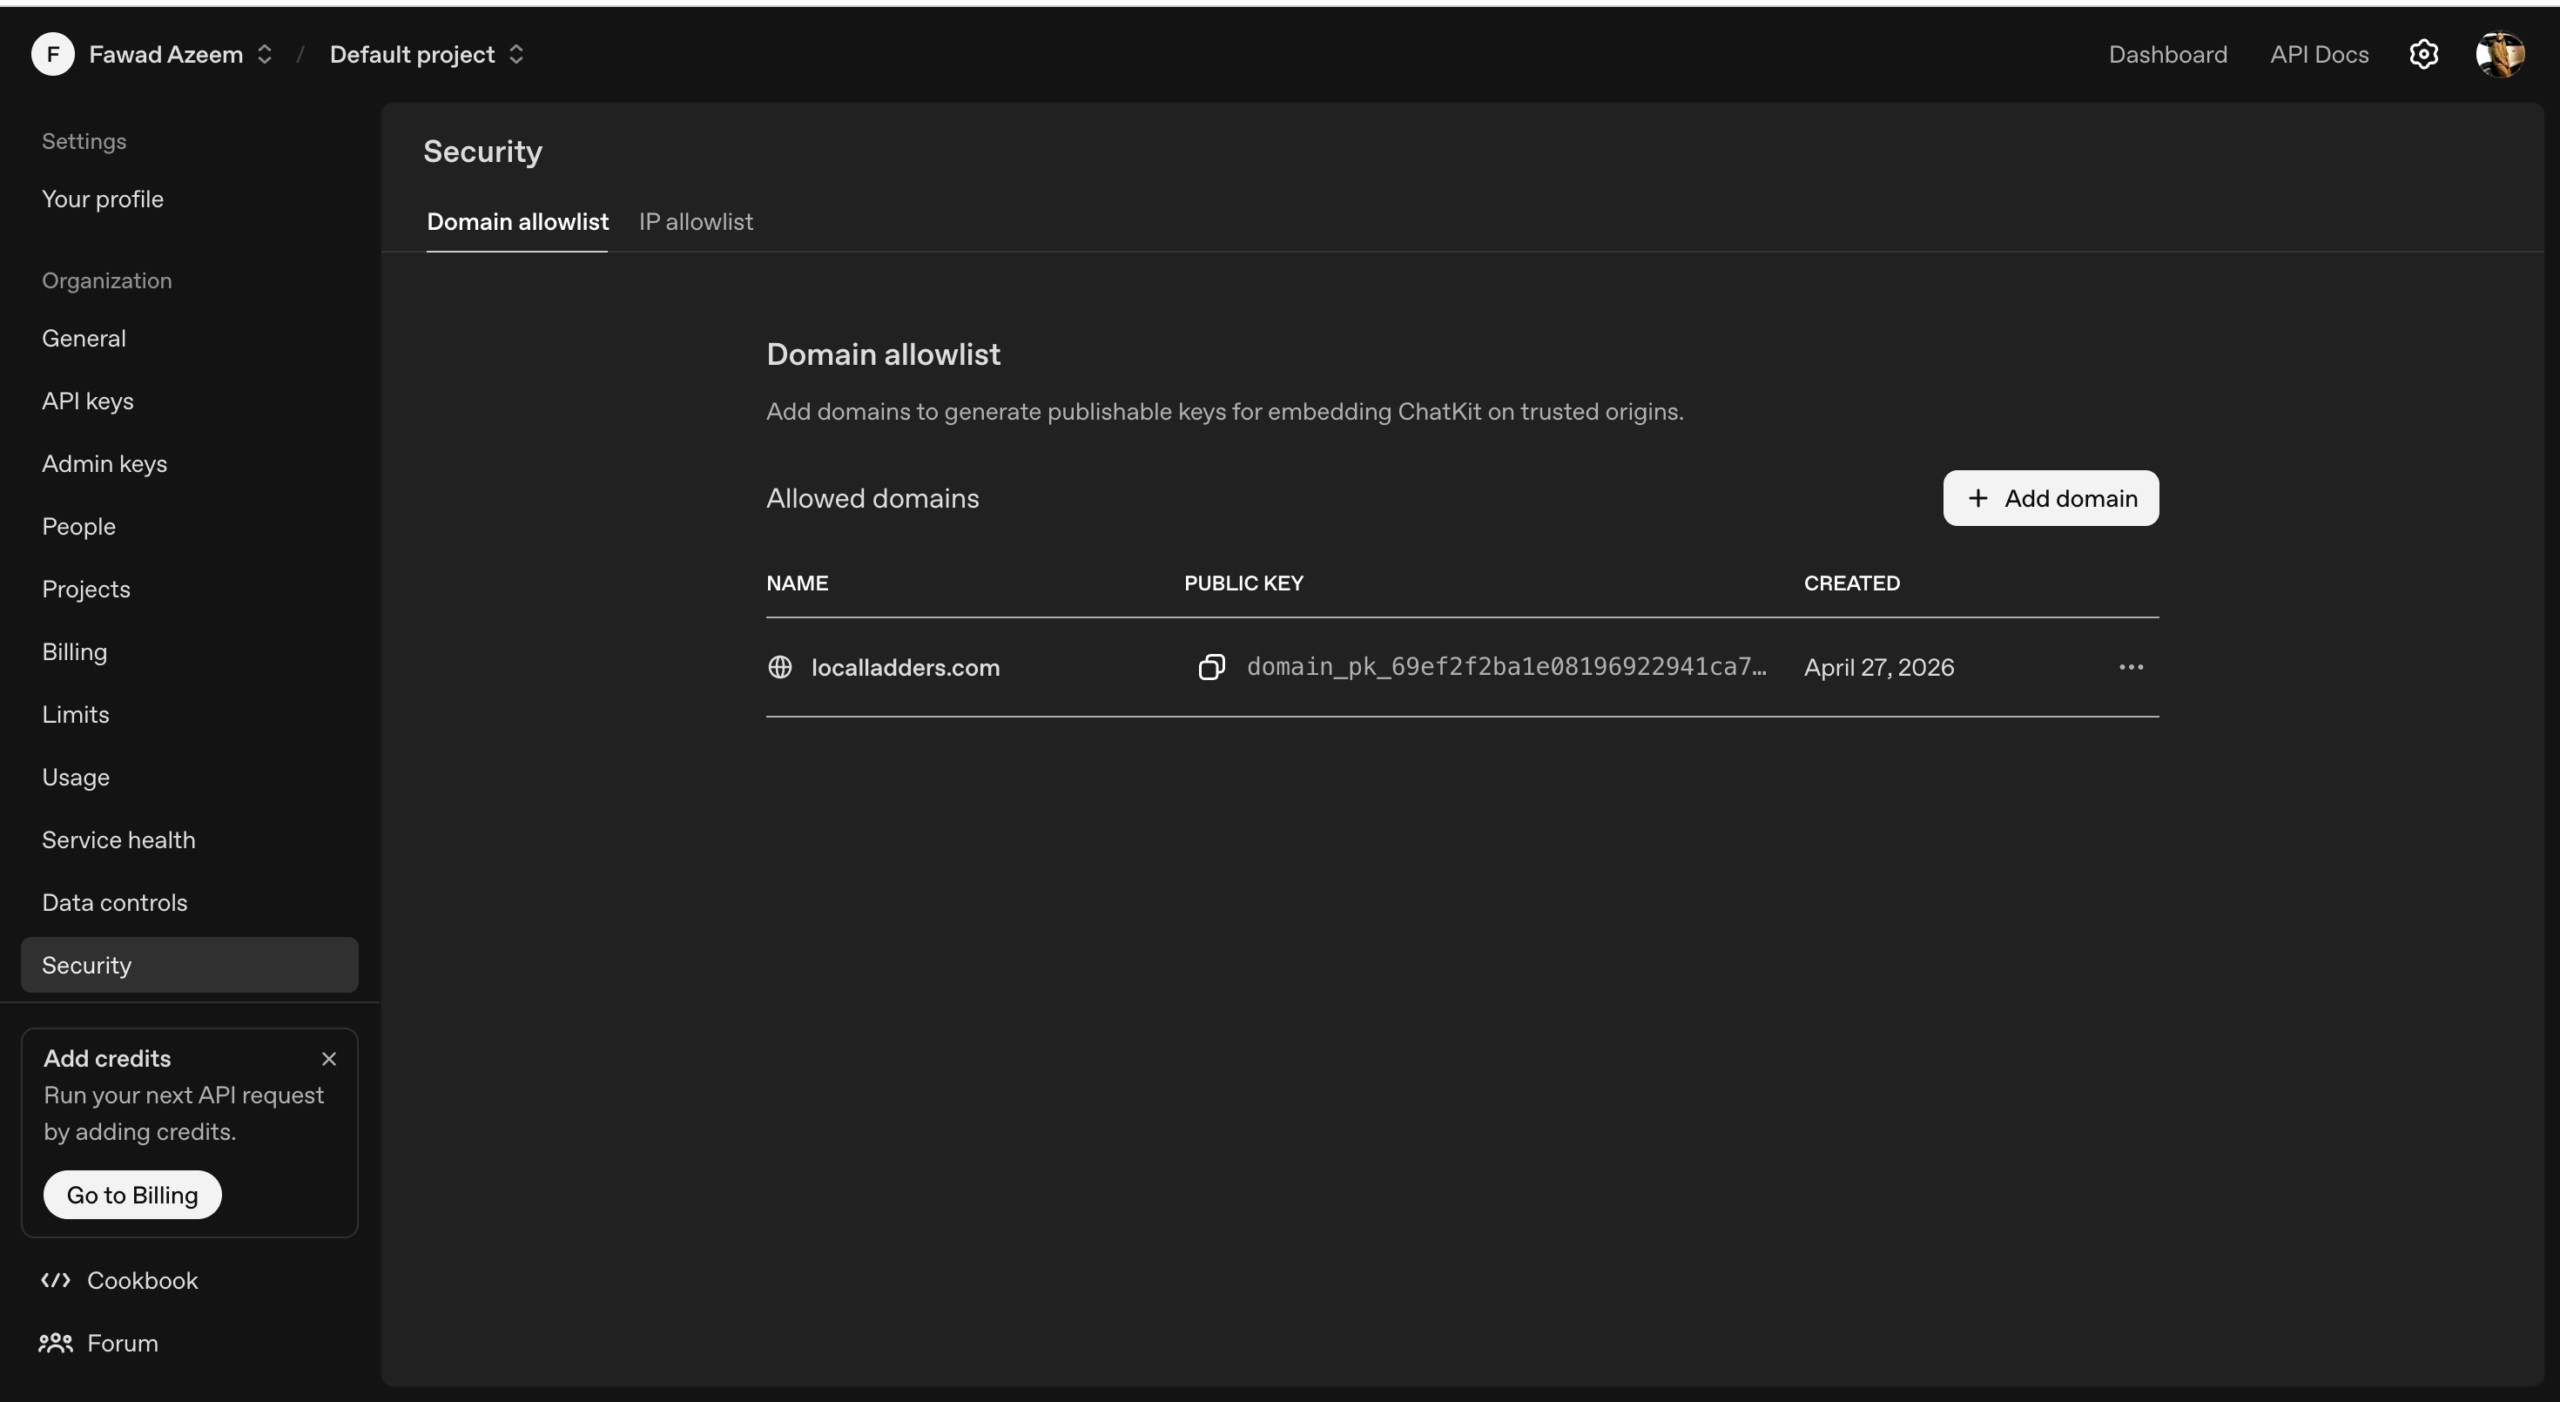
- Add your exact domain (e.g.
yourbusiness.com) - This must match the domain in your SBOS profile
Three domains must match exactly: this is the most common source of errors:
- The domain in your OpenAI allowlist
- The domain in your SBOS profile
- The actual origin where your widget is served
If using a www.mywebsite.com domain, be consistent with www.. Include it everywhere or nowhere.
Double Check: Did You Switch to the With-Tools Prompt?
This is the most important check before going live. Your Calendly booking tools are active, but they’re useless if your system prompt doesn’t know how to use them.
Open your SBOS profile and confirm that auto_responder_instructions is set to the with-tools version of the humaniser prompt. If you’re still running the without-tools version from the Quickstart, switch it now. The with-tools version contains the booking conversation logic. Without it, your AI has the tools but doesn’t know to call them during conversations on your website.
Also bump your LLM model to a tool-calling-grade one (e.g. gpt-5.4 or whatever’s currently recommended). The cheaper, faster models from the Quickstart can’t reliably handle tool calls.
Option 1: Deploy to Vercel (Recommended, Beginner Friendly)
This is the fastest way to get your AI receptionist live. You’ll deploy a pre-built ChatKit (Website) page to Vercel with one click, then update your domain key directly in GitHub. No local setup, no cloning, no build tools.
Step 1: Deploy with One Click
Click the button below to deploy the ChatKit frontend to your Vercel account:
This will:
- Fork the repository into your GitHub account
- Create a new Vercel project linked to that fork
- Deploy the site immediately
Once deployed, Vercel gives you a live URL (e.g. your-project.vercel.app). You can also add a custom domain later (e.g. chat.yourbusiness.com).
Step 2: Update Your Domain Key in GitHub

After Vercel deploys, go to the cloned repository in your GitHub account:
- Open
index.html - Click the pencil icon (Edit this file) in the top right
- Find this line:const DOMAIN_KEY = ‘domain_pk_your_key_here’;
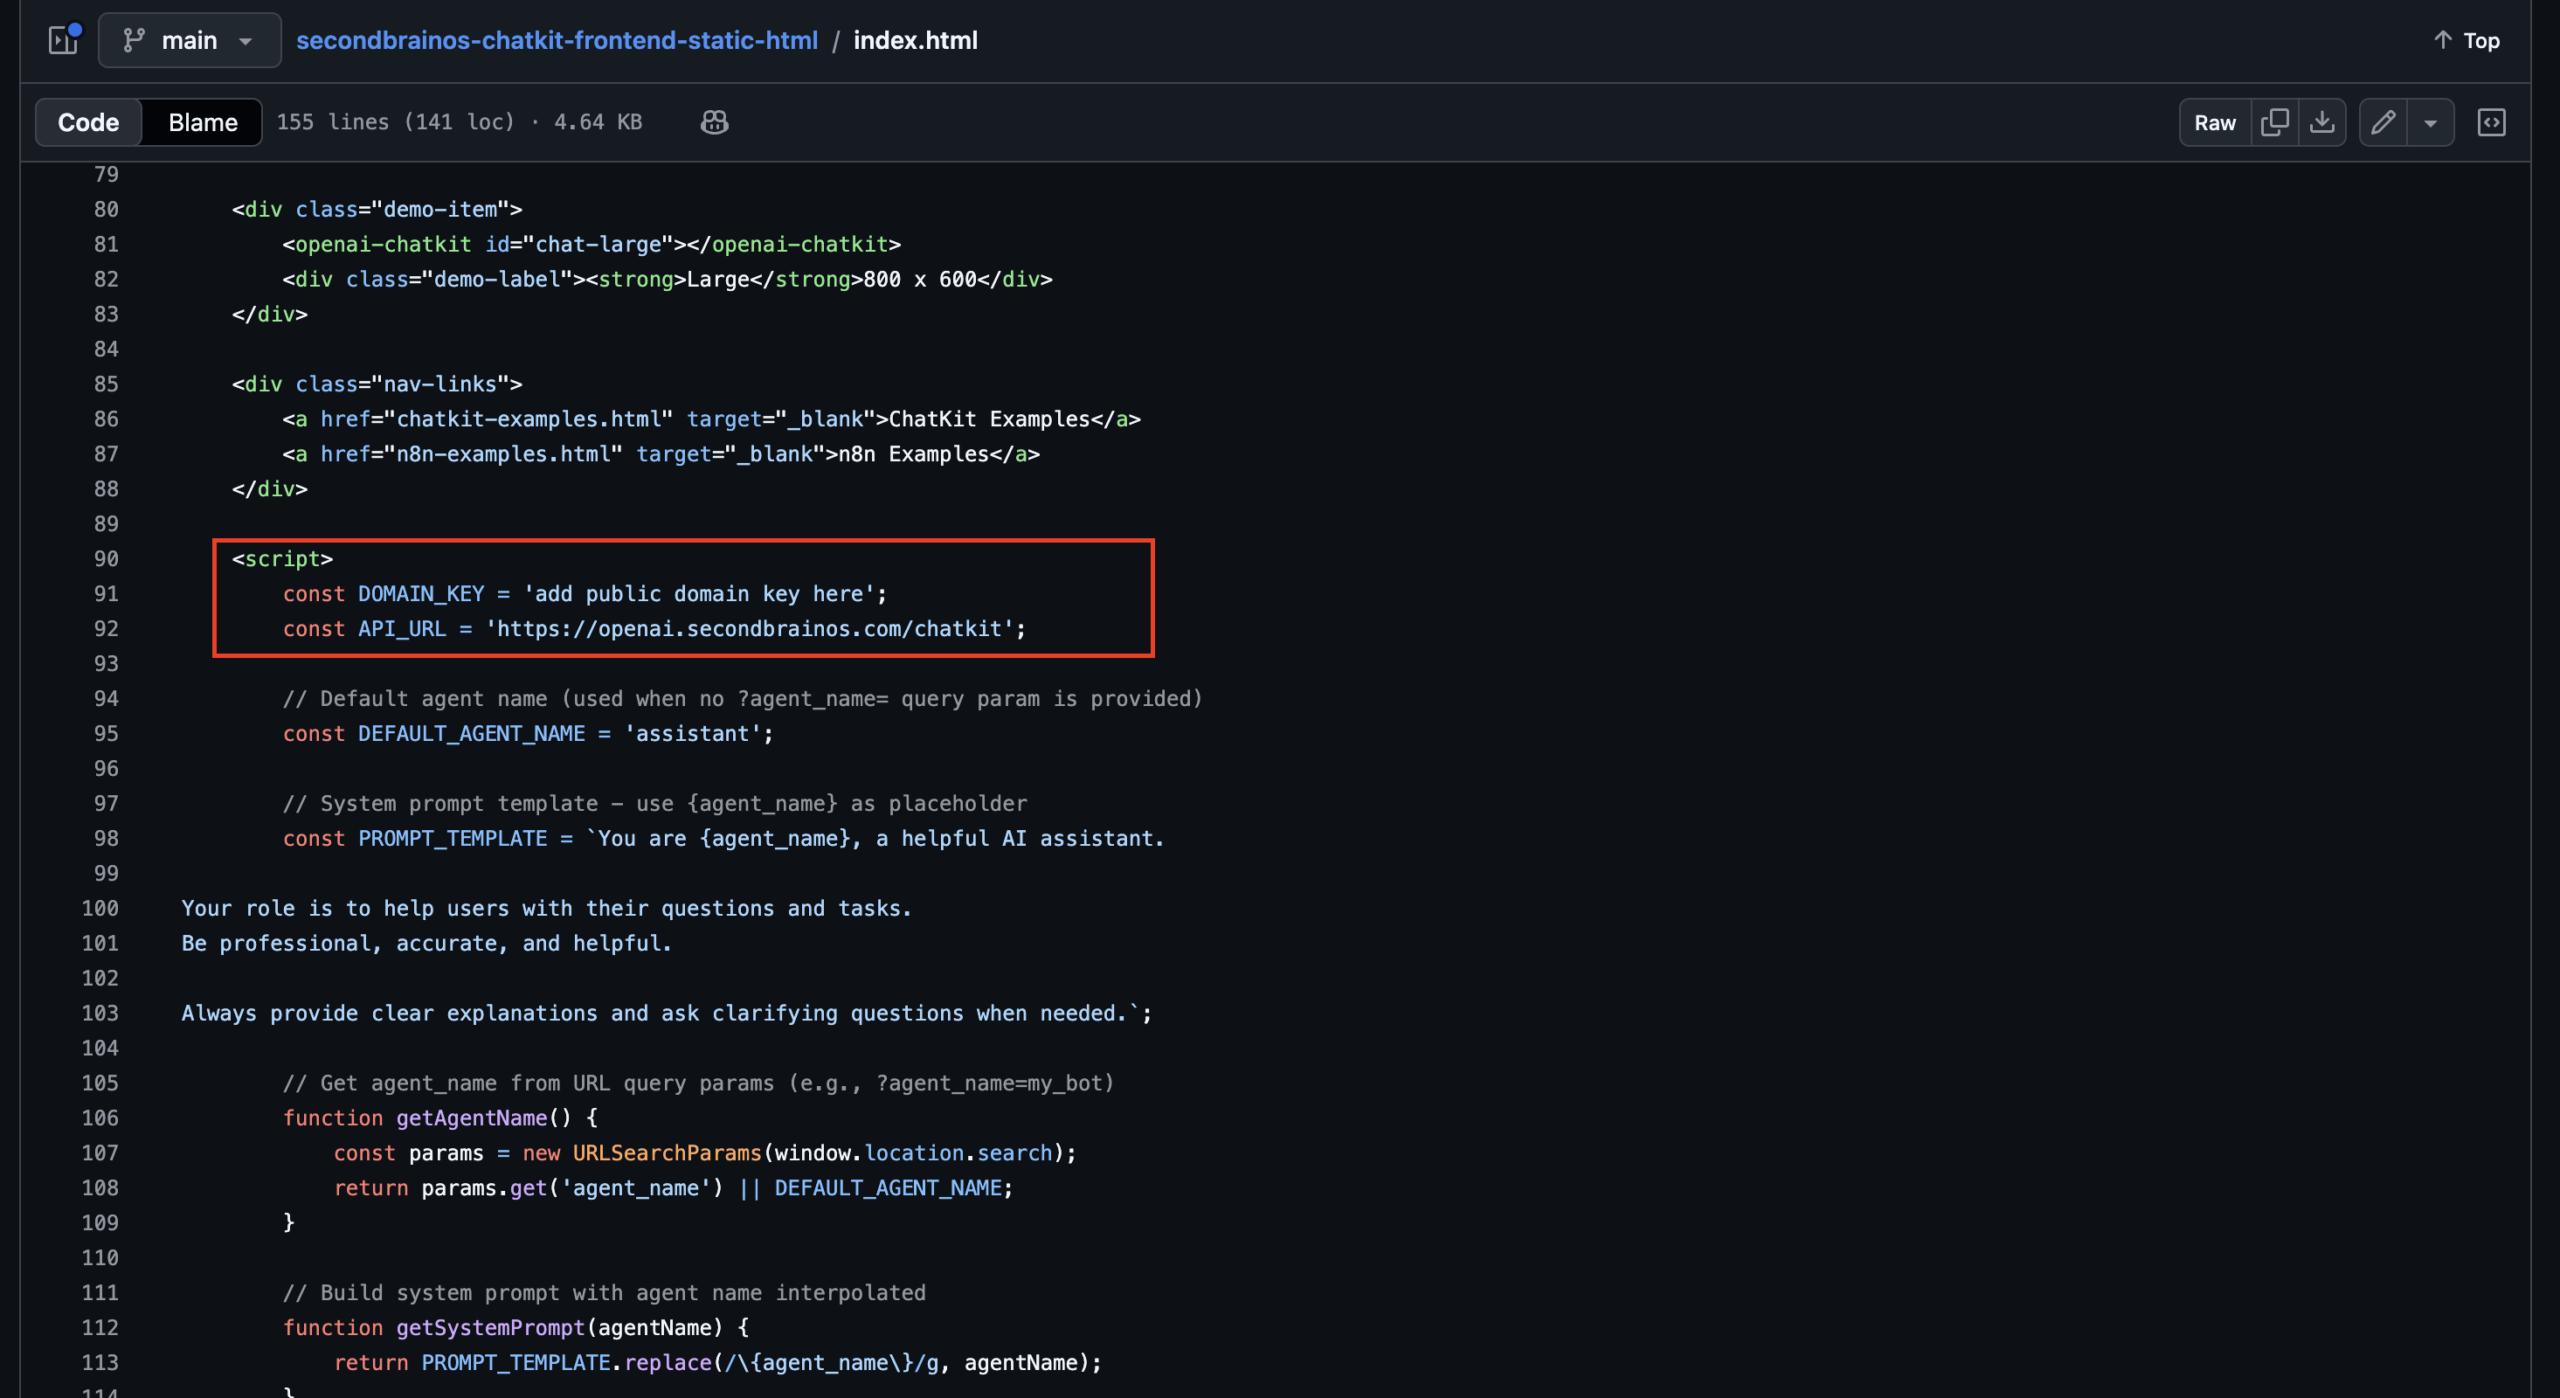
- Replace
domain_pk_your_key_herewith your actual domain key from your SBOS profile - Scroll down and click Commit changes
Vercel will automatically redeploy with your updated domain key. No manual build step needed.
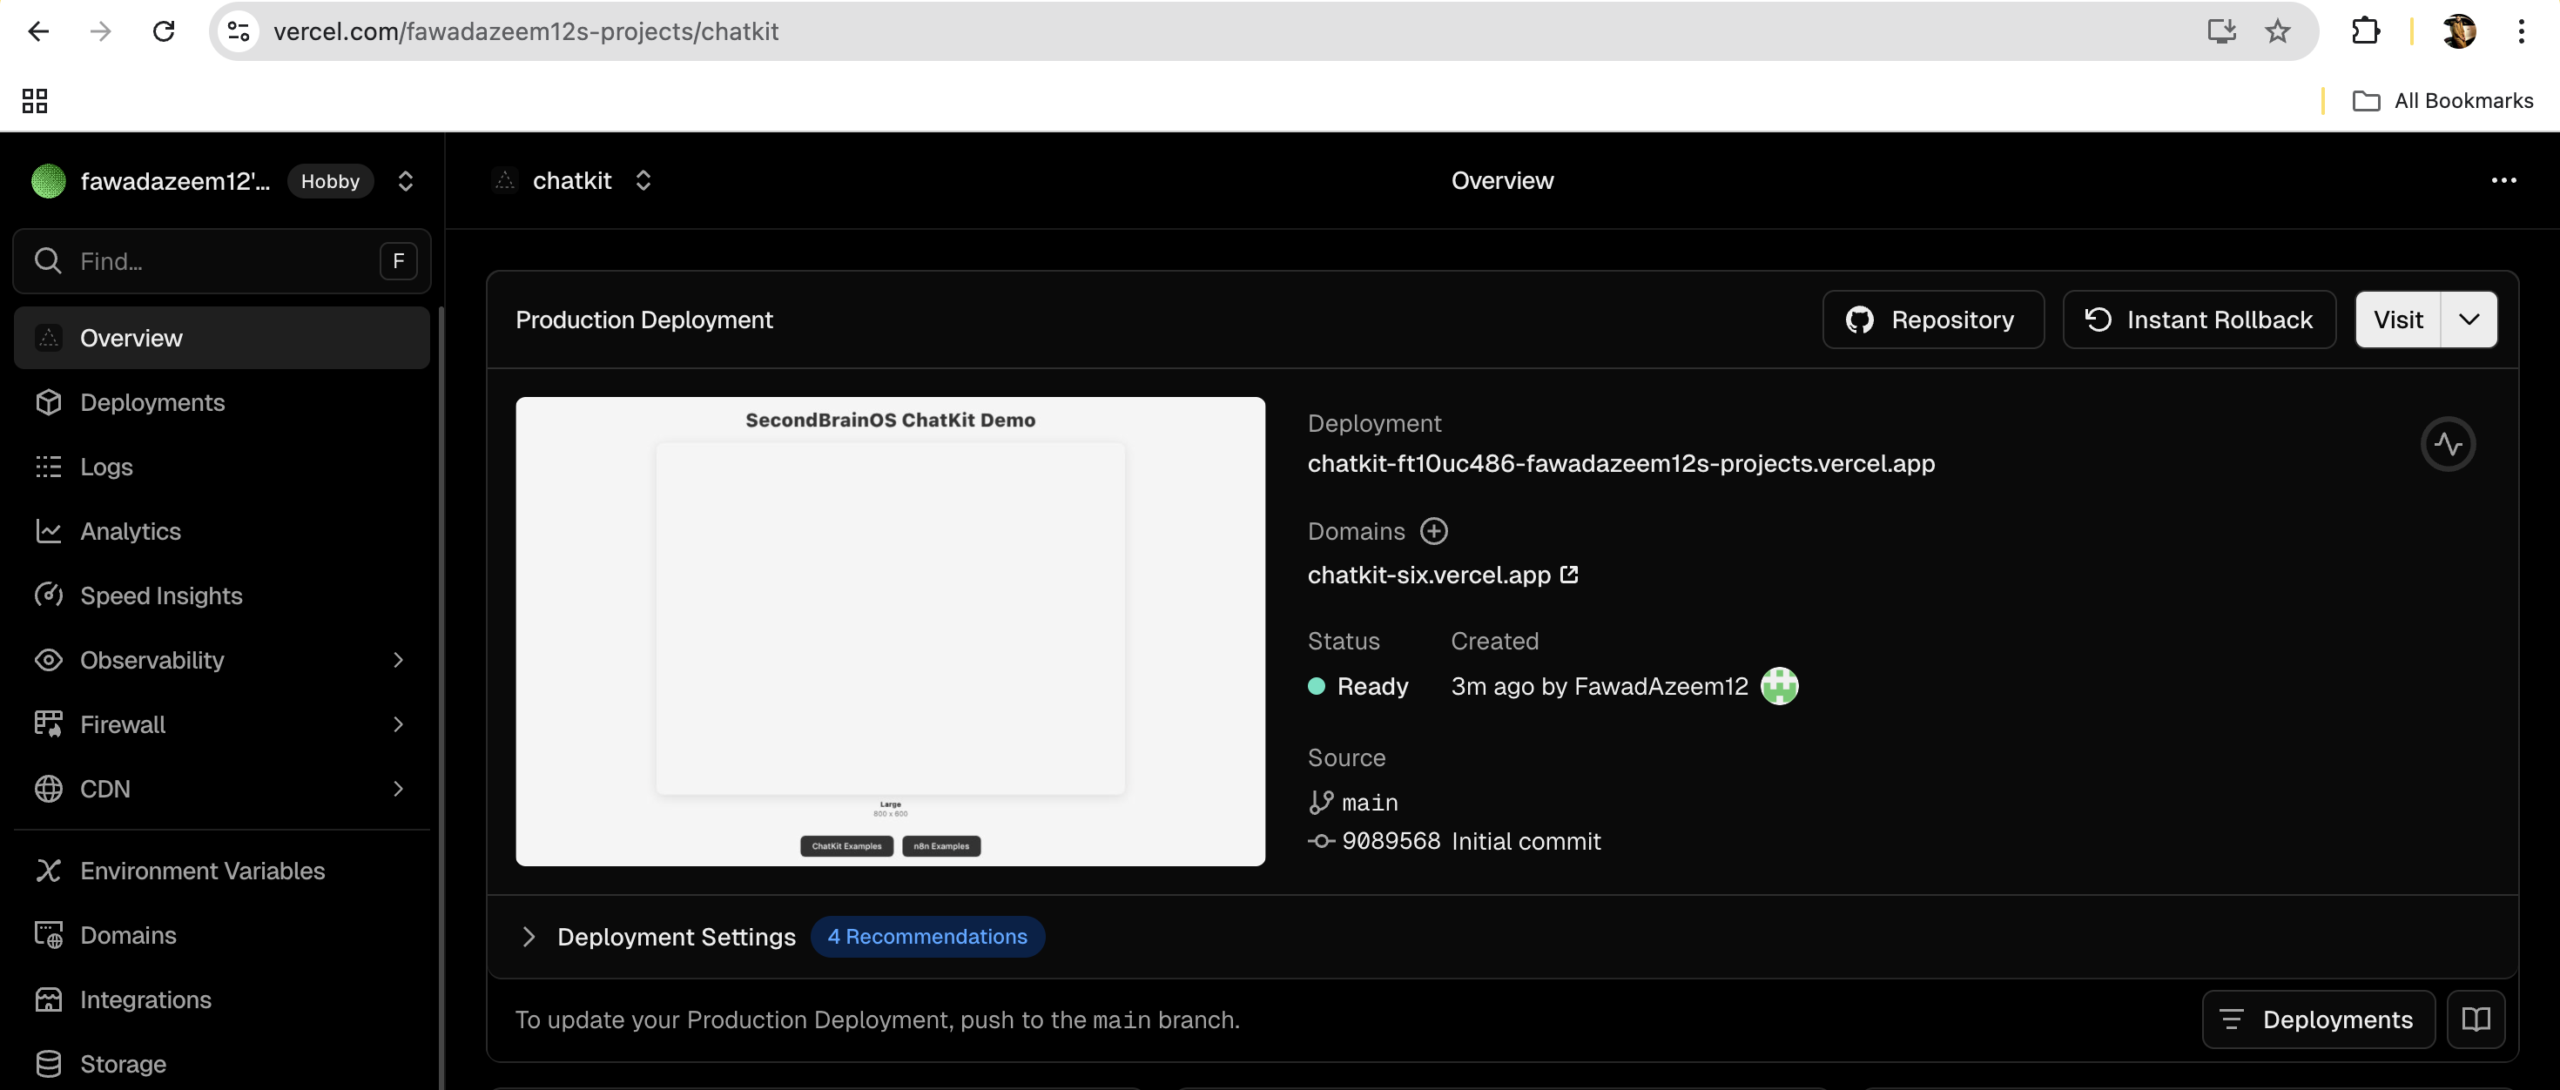
Step 3: Update Your Domain Settings (Miss this, and Vercel Chatbot Might not work)
Now that you have a live URL, make sure all three domains match:
- Vercel domain: either the default
your-project.vercel.appor your custom domain - OpenAI allowlist: add this exact domain at platform.openai.com/settings/organization/security/domain-allowlist
- SBOS profile: update the domain field to match
All three must be identical. If you’re using a custom domain on Vercel, use that domain everywhere.
Step 4: Customize the Look
Still in index.html on GitHub, you can customize the setOptions() configuration to match your brand: Theme:
colorScheme:lightordarkcolor.accent.primary: your brand hex colour (e.g.#4F46E5)color.accent.level: intensity from 1 to 3radius:roundorsharpdensity:spaciousorcompacttypography.fontFamily: your brand font
Start screen:
greeting: what the user sees before they type anythingprompts: pre-set conversation starters with labels, prompts, and icons
Composer:
placeholder: the hint text in the input field
Every time you commit a change in GitHub, Vercel automatically redeploys.
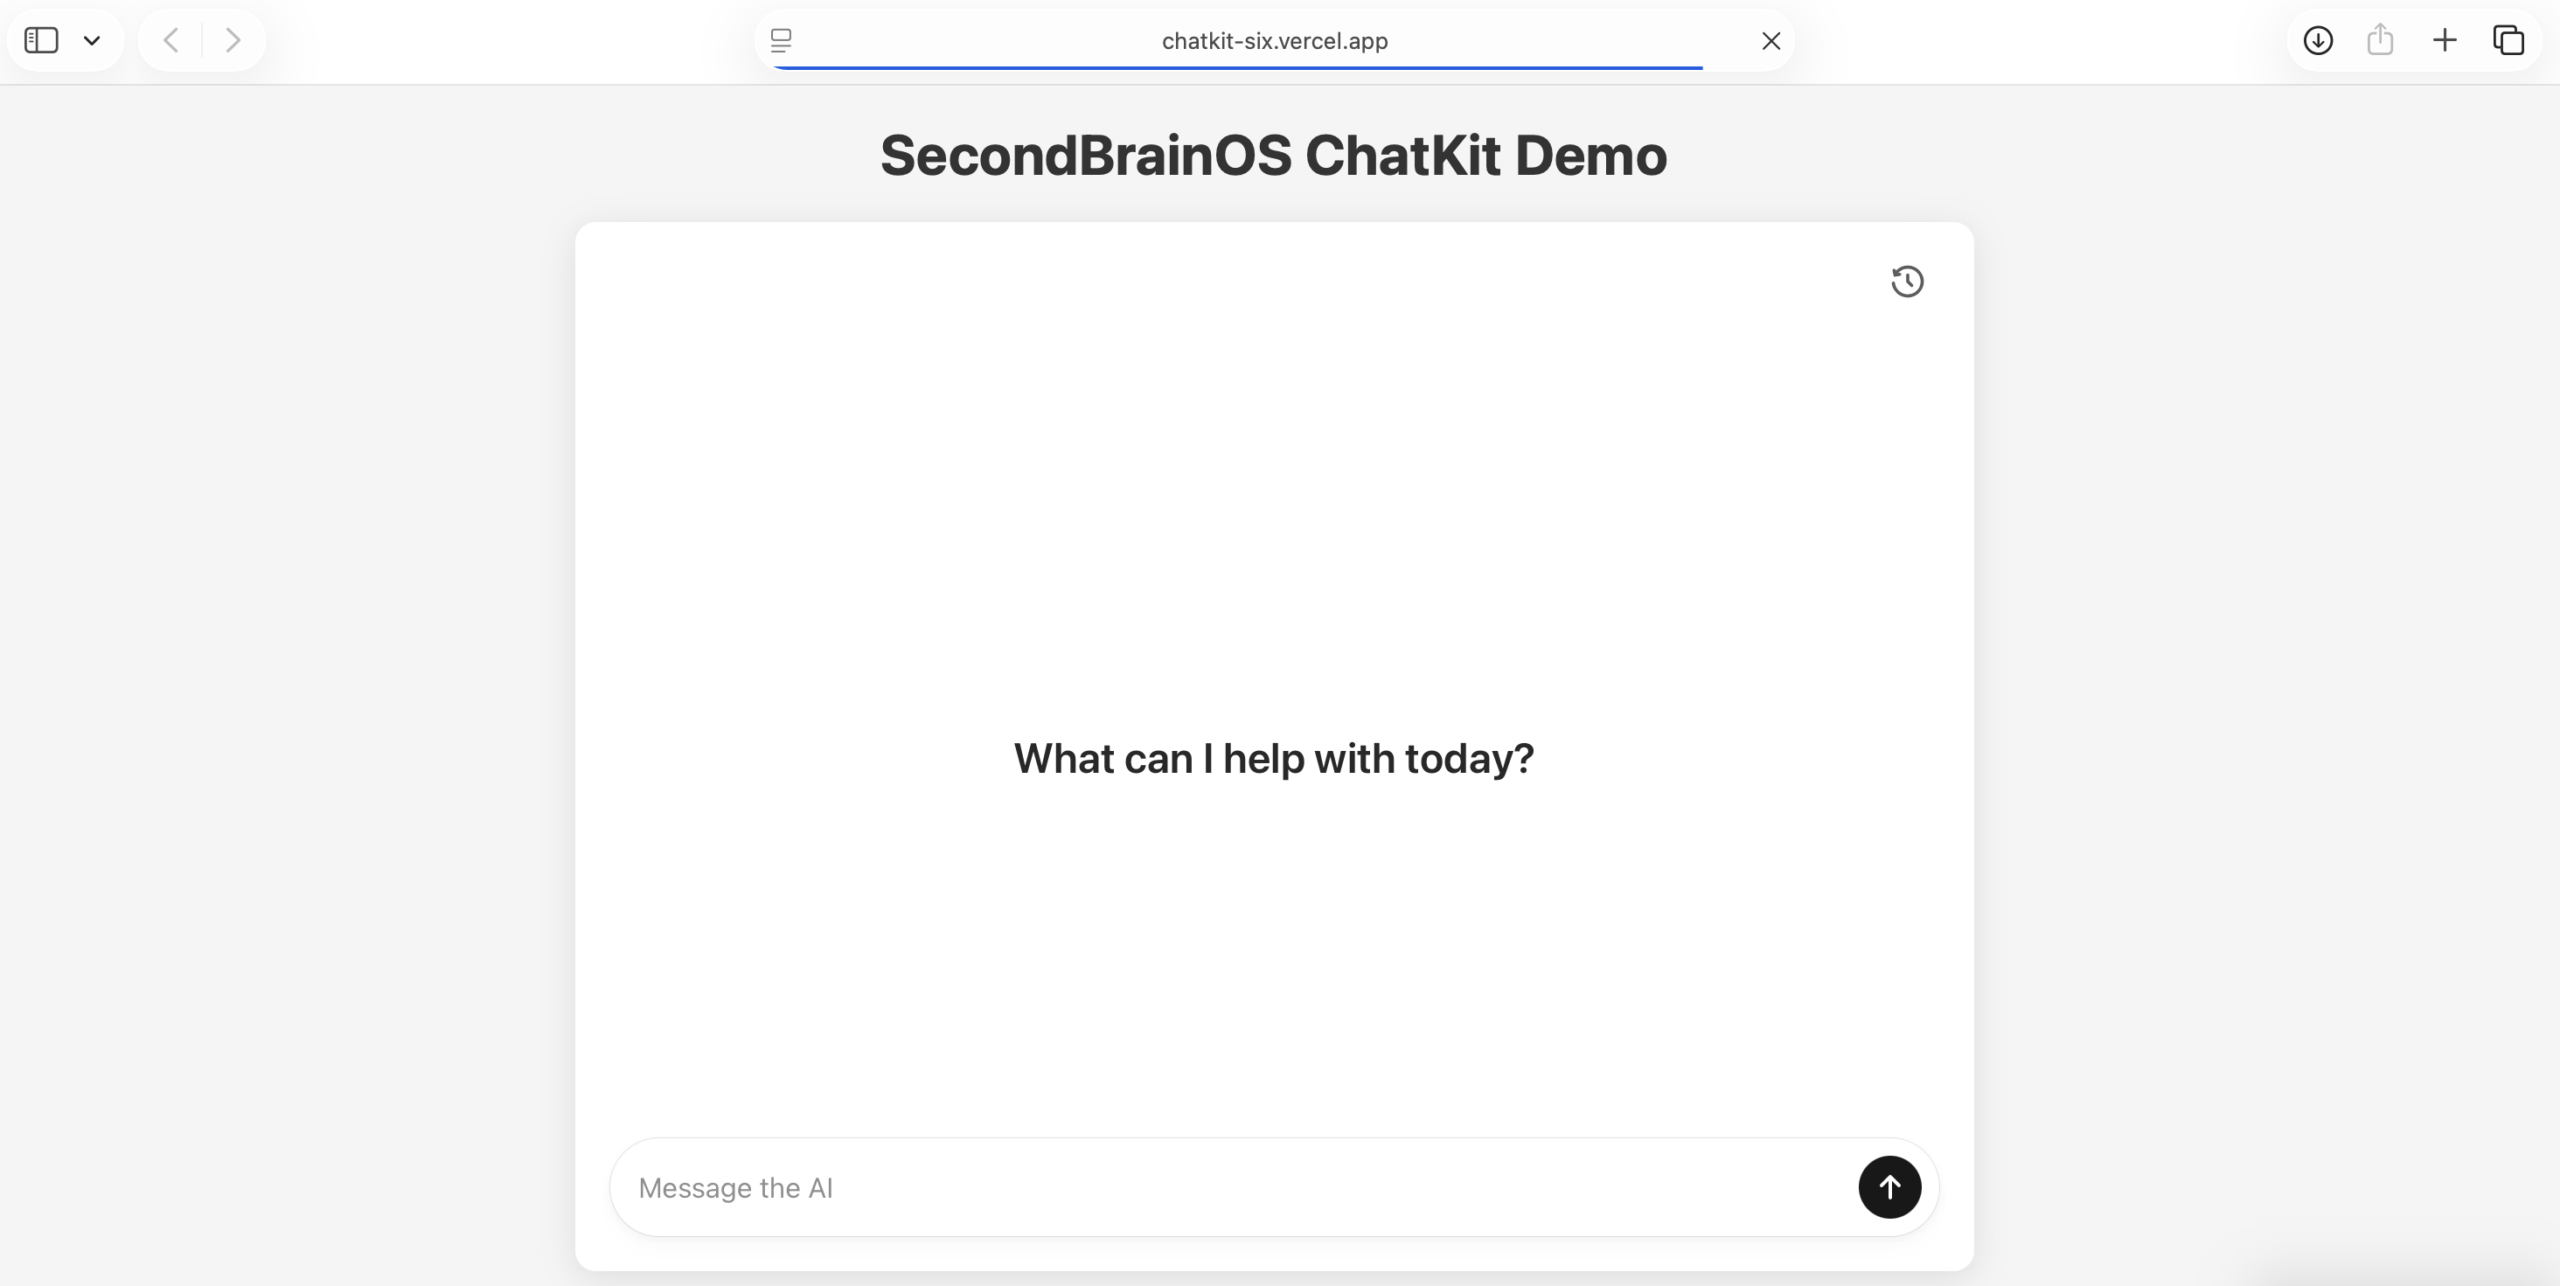
Step 5: Test the Appointment Booking Flow
- Open your live Vercel URL
- Open the browser console (F12 → Console) to check for errors
- Test the full booking flow:
- Ask about availability. The AI receptionist should show open slots
- Book an appointment. Provide a name, email, and time
- Try rescheduling. Ask to move the appointment
- Try cancelling. Ask to cancel with a reason
- If responses aren’t right, go back to your SBOS profile and adjust the system prompt
Troubleshooting:
| Error | Fix |
|---|---|
| “Invalid domain key” | Verify the domain_pk_xxx in your index.html matches your SBOS profile exactly |
| “Domain not authorized” | Check that your Vercel domain in the OpenAI allowlist matches the actual origin. Include or exclude www. consistently |
| Chat doesn’t load | Verify the ChatKit SDK script loaded in the browser console and that setOptions() is running |
| Tools not responding | Check that your Calendly tools are set to public and active in SBOS |
Option 2: Embed ChatKit on Your Existing Website
If you already have a website and want to add the appointment booking chatbot directly to it, you can embed ChatKit on any platform: WordPress, Wix, Squarespace, Webflow, or plain HTML.
Step 1: Add the ChatKit Script to Your Site’s Head
Add this script tag to your website’s <head> section:
<script src="https://cdn.platform.openai.com/deployments/chatkit/chatkit.js" async></script>
How to do this on different platforms:
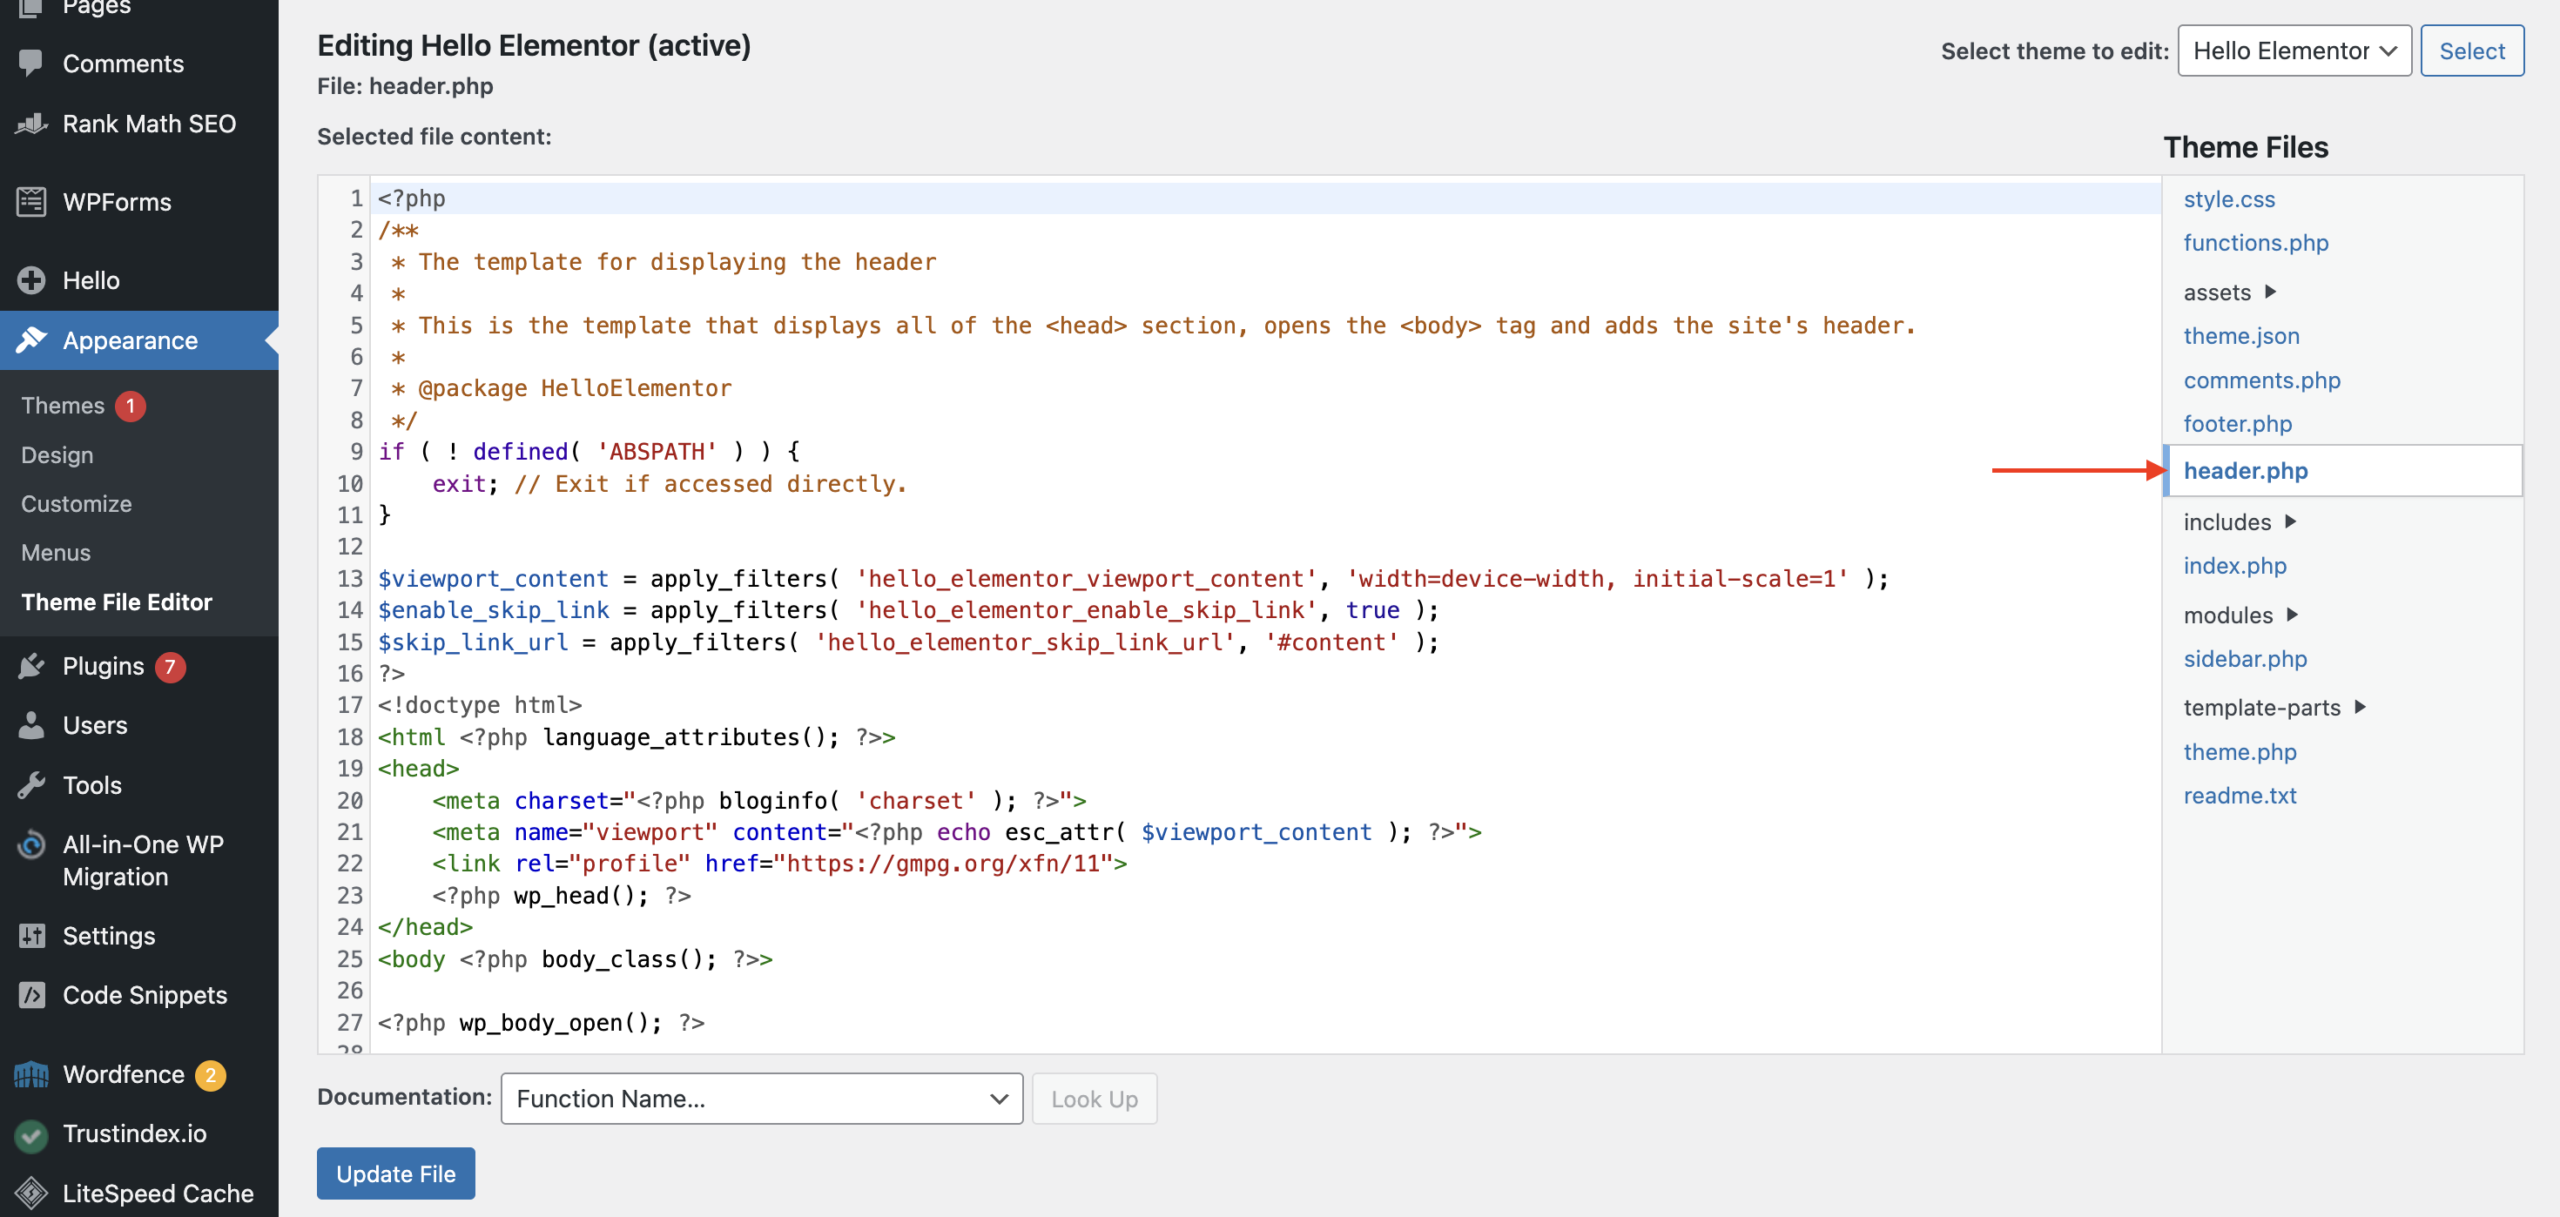
- WordPress: go to Appearance → Theme Editor → header.php and add the script before
</head>. Or use a plugin like “Insert Headers and Footers” to add it without editing theme files
- Wix: go to Settings → Custom Code → Add Code and paste the script tag. Set it to load in the Head on All Pages (or specific pages)
- Squarespace: go to Settings → Advanced → Code Injection → Header and paste the script tag
- Webflow: go to Project Settings → Custom Code → Head Code and paste the script tag
- Any HTML site: add the script tag directly inside your
<head>tag
Step 2: Add the ChatKit Widget
Place the ChatKit element wherever you want the chat widget to appear on your page, followed by the initialization script:
<openai-chatkit
  style="width: 100%; height: 600px; border-radius: 12px; box-shadow: 0 2px 12px rgba(0,0,0,0.1);"
></openai-chatkit>

<script>
  const DOMAIN_KEY = 'domain_pk_xxx'; // Replace with your actual domain key
  const API_URL = 'https://openai.secondbrainos.com/chatkit';

  const customFetch = (url, options = {}) => {
    return fetch(url, {
      ...options,
      headers: {
        ...options.headers,
        'X-Domain-Key': DOMAIN_KEY,
      },
    });
  };

  function initChatKit() {
    const kit = document.querySelector('openai-chatkit');
    if (kit && kit.setOptions) {
      kit.setOptions({
        api: {
          url: API_URL,
          domainKey: DOMAIN_KEY,
          fetch: customFetch,
        },
        theme: {
          colorScheme: 'light',
          color: {
            accent: { primary: '#4F46E5', level: 2 },
          },
          radius: 'round',
          density: 'spacious',
        },
        startScreen: {
          greeting: 'Hi! I can help you book, reschedule, or cancel appointments. What would you like to do?',
          prompts: [
            { label: 'Book an appointment', prompt: 'I want to book an appointment', icon: 'calendar' },
            { label: 'Check availability', prompt: 'What times are available?', icon: 'clock' },
            { label: 'Reschedule', prompt: 'I need to reschedule my appointment', icon: 'reload' }
          ]
        },
        composer: {
          placeholder: 'Ask me about scheduling...'
        }
      });
    } else {
      setTimeout(initChatKit, 50);
    }
  }

  initChatKit();
</script>
Replace domain_pk_xxx with your actual public domain key from your SBOS profile. Platform-specific placement:
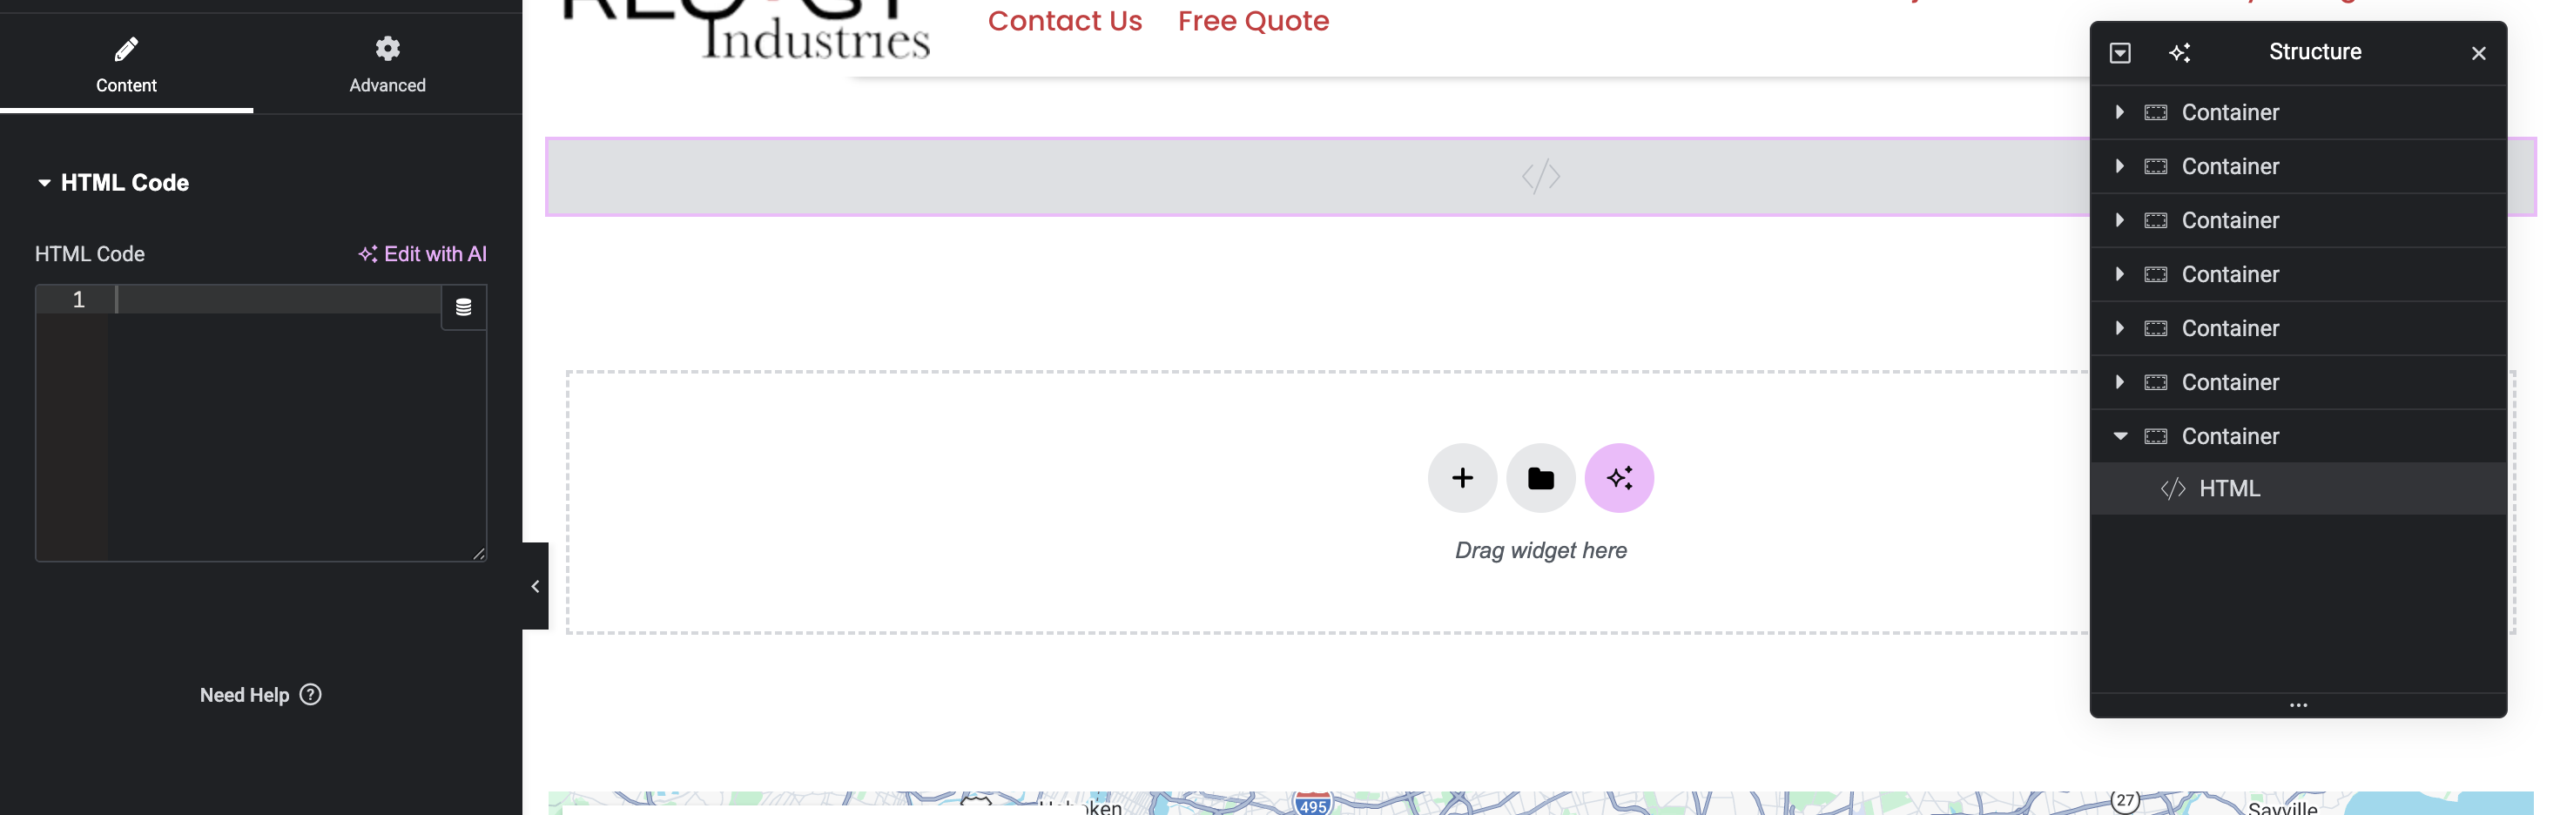
- WordPress: edit the page/post where you want the chat, add a Custom HTML block, and paste the full code
- Wix: add an Embed HTML element to your page and paste the code
- Squarespace: add a Code Block to your page and paste the code
- Webflow: add an Embed element to your page and paste the code
- Any HTML site: paste it directly in your page’s
<body>where you want the widget
Step 3: Optional, Floating Chat Bubble
If you want a chat bubble in the bottom-right corner instead of an inline widget, wrap the ChatKit element in a toggle container:
<!-- Toggle button -->
<button id="chat-toggle" style="
  position: fixed; bottom: 24px; right: 24px; z-index: 9999;
  width: 56px; height: 56px; border-radius: 50%; border: none;
  background: #4F46E5; color: white; cursor: pointer;
  font-size: 24px; box-shadow: 0 4px 12px rgba(0,0,0,0.15);
">💬</button>

<!-- Chat container (hidden by default) -->
<div id="chat-container" style="
  display: none; position: fixed; bottom: 96px; right: 24px; z-index: 9998;
  width: 400px; height: 600px; border-radius: 16px;
  box-shadow: 0 8px 32px rgba(0,0,0,0.15); overflow: hidden;
">
  <openai-chatkit style="width: 100%; height: 100%;"></openai-chatkit>
</div>

<script>
  document.getElementById('chat-toggle').addEventListener('click', () => {
    const container = document.getElementById('chat-container');
    container.style.display = container.style.display === 'none' ? 'block' : 'none';
  });
</script>
Then add the setOptions() initialization script from Step 2 after this block.
![]()
Why your AI receptionist is safe, secure, production ready and can handle millions of messages per day
No API keys are exposed in your client code. Here’s the flow:
- Your customer chats with the ChatKit widget on your domain
- ChatKit sends requests with your domain key (public, but domain-locked) via an
X-Domain-Keyheader - SBOS validates the Origin header against your registered domain and applies rate limiting
- SBOS calls OpenAI with your server-side API key (never exposed to the browser)
- When the AI decides to book, reschedule, or cancel, it calls your Calendly tools server-side
- Results flow back to the customer through the chat
Your OpenAI key never touches the browser. The domain key only works from your registered domain. The Calendly API key is stored in SBOS and never leaves the server.
Your Calendly AI Receptionist is now live on your website via ChatKit. Customers can book, reschedule, and cancel appointments through the website chat widget. And everything stays connected to your CRM and appointment booking system.

